Appointment Types
The Appointment Types tab controls what kinds of appointments clients can book and how long each one lasts. You can present a single type (clients skip straight to picking a time) or multiple types (clients choose a service first, then pick a time).
Single appointment type
Section titled “Single appointment type”Choose Single Option when you offer only one kind of appointment. Clients land directly on the availability calendar without being asked to choose a type.
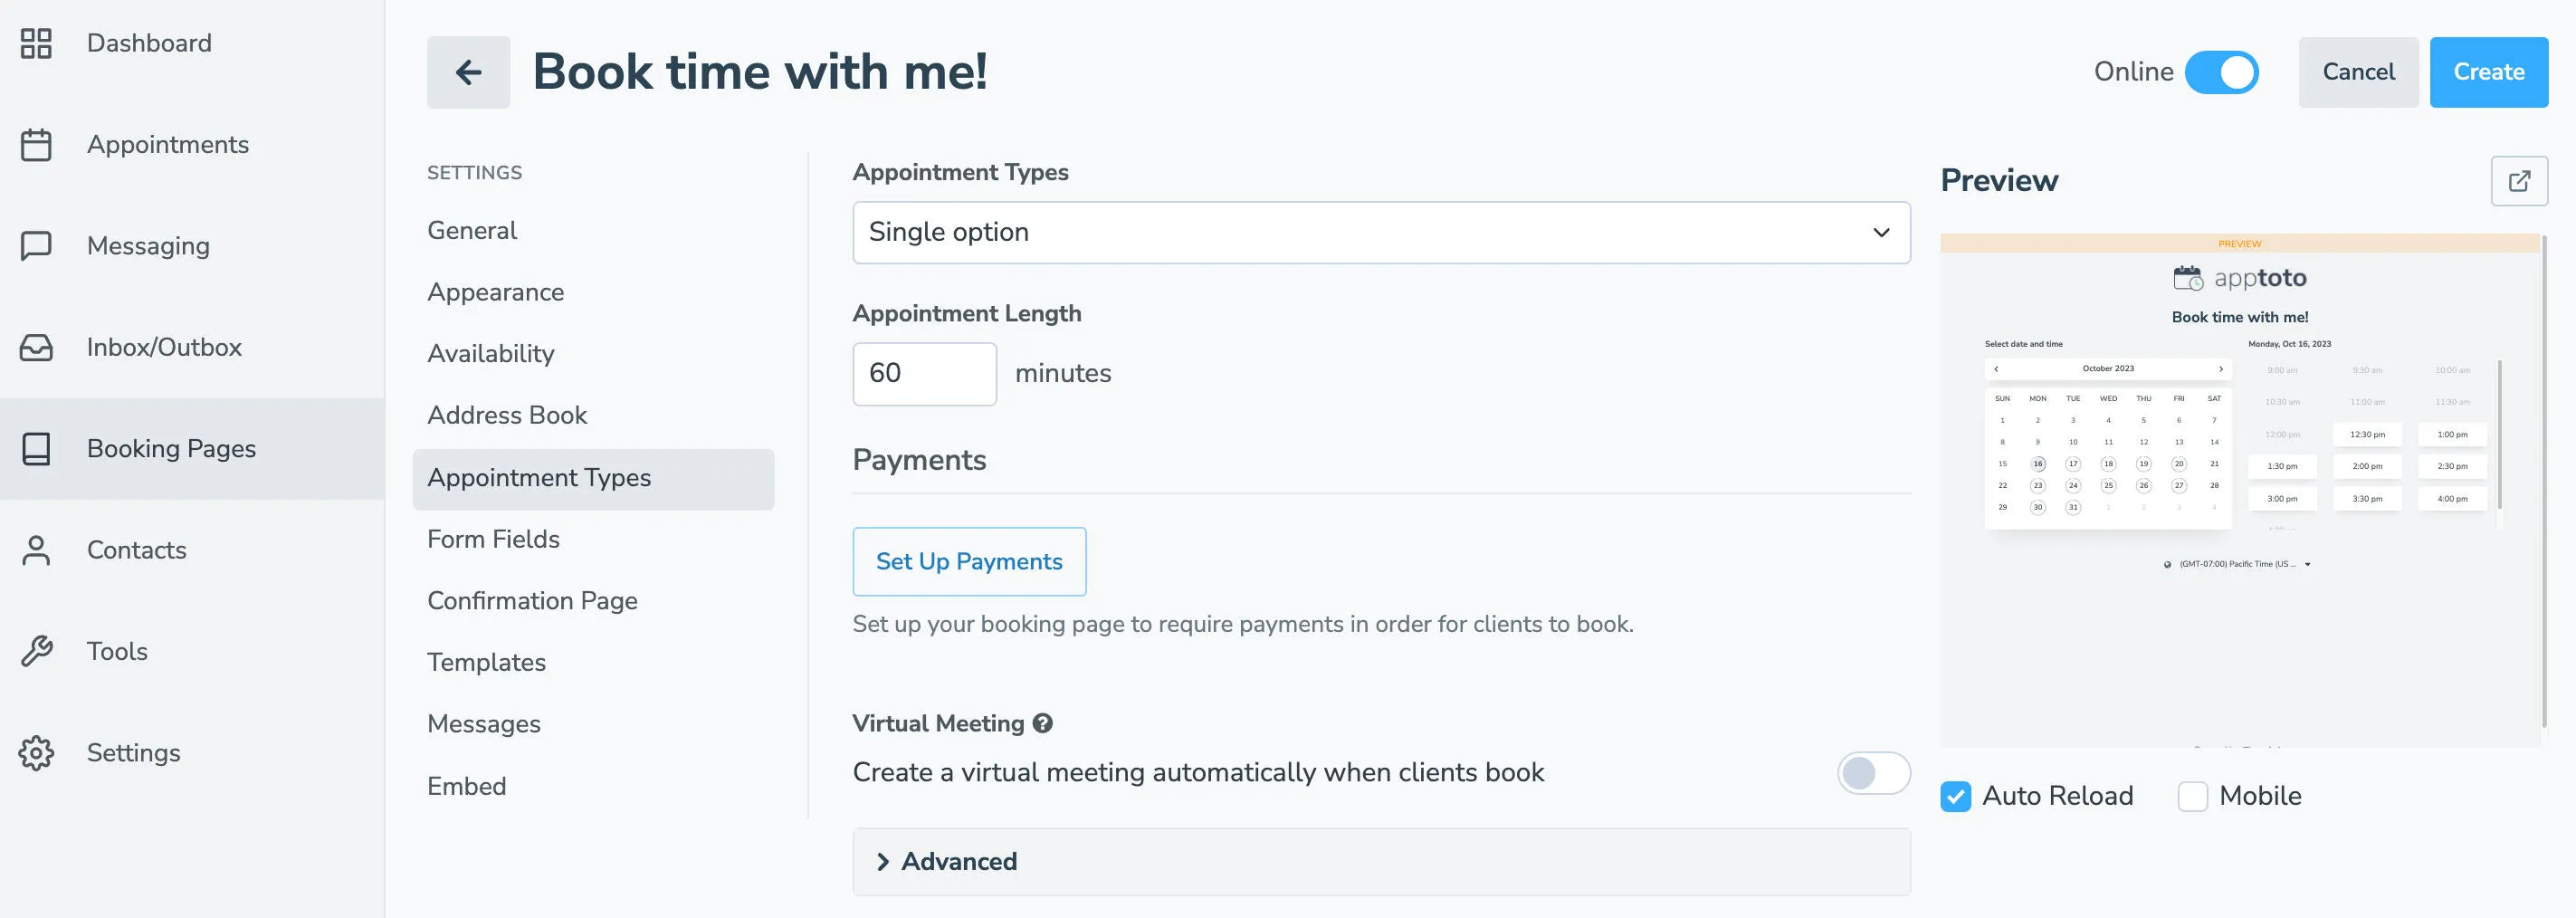
Configure the following:
- Appointment Length: duration in minutes
- Payments: click Set Up Payments to connect a payment processor and collect a deposit or full payment at booking
- Create Virtual Meeting: toggle on to automatically generate a Zoom, Microsoft Teams, or Google Meet link when a client books
Multiple appointment types
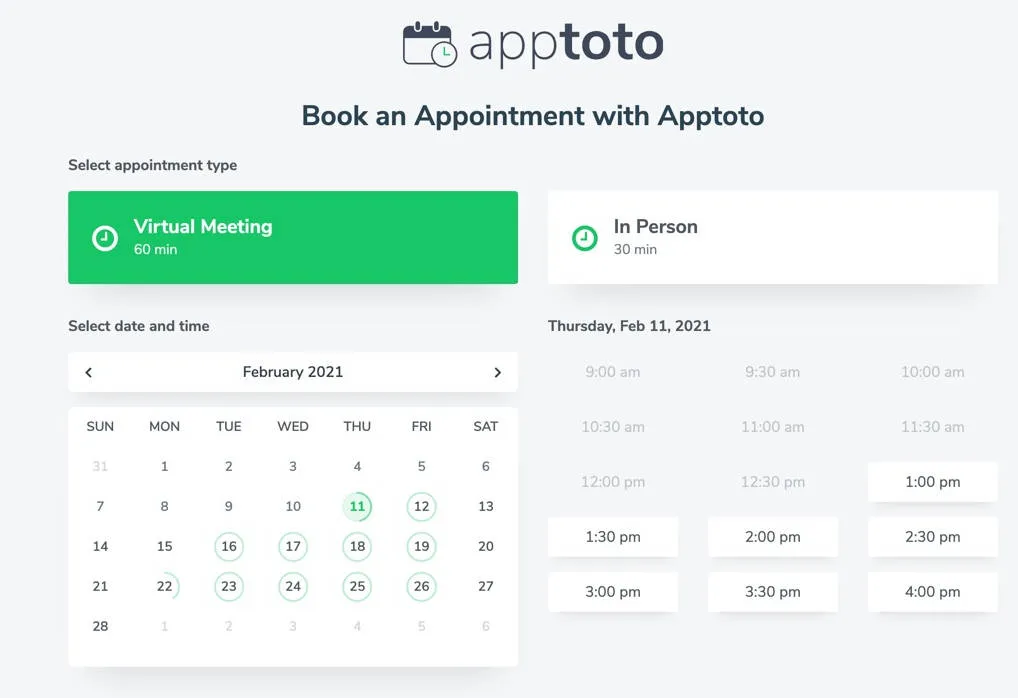
Section titled “Multiple appointment types”Choose Multiple Options when you want clients to select a service, location, or meeting format before seeing available times.
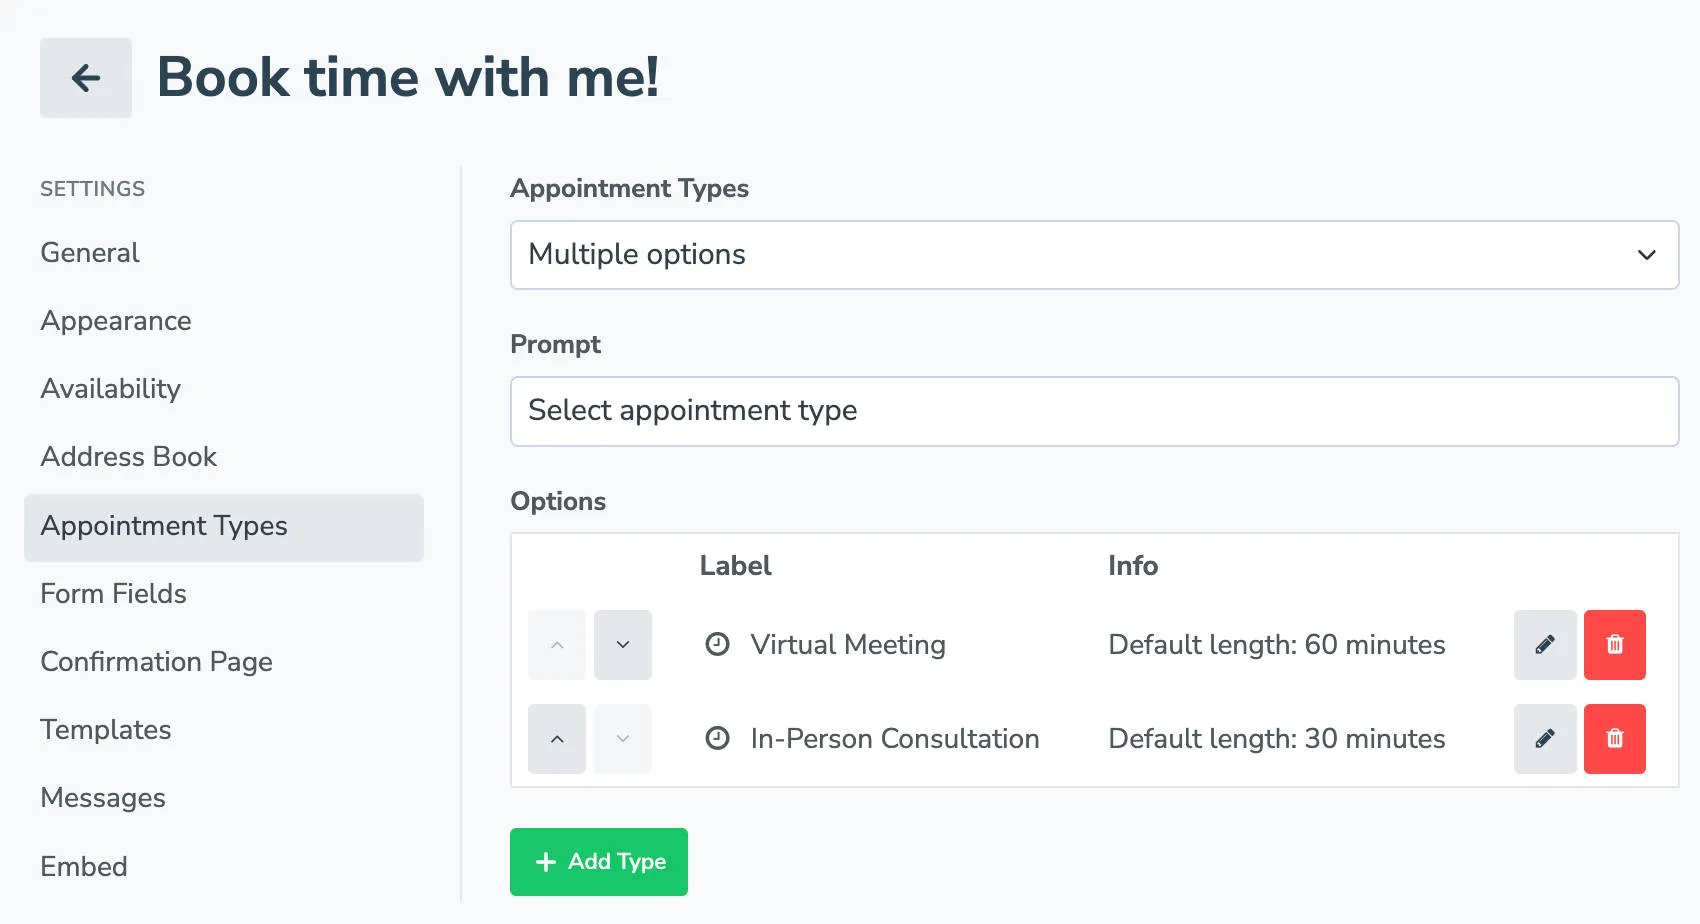
Clients land on a type-selection screen first, then continue to the calendar.
You can also send clients directly to a specific type by appending it to your URL: https://SUBDOMAIN.apptoto.com/TYPE.
Adding and editing appointment types
Section titled “Adding and editing appointment types”Click + Add Type to create a new type. Click the pencil icon next to an existing type to edit it.
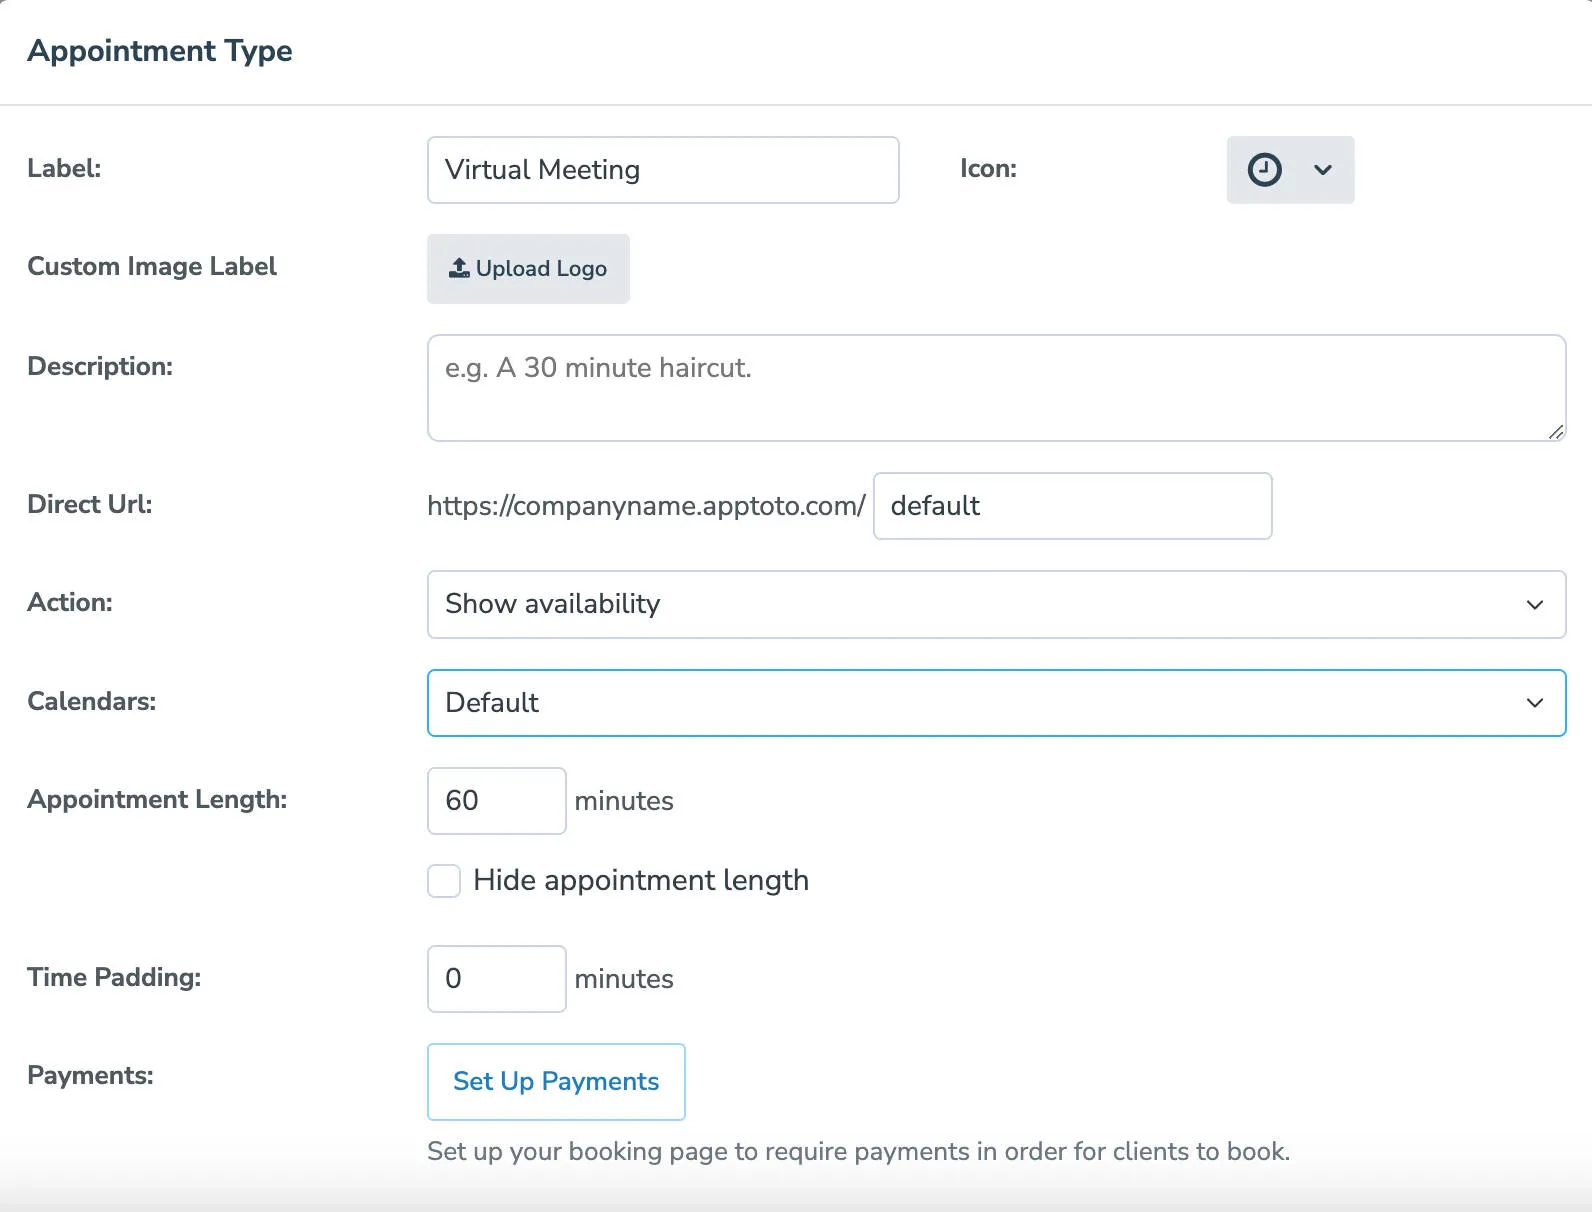
To set “Option” for each appointment type, click the pencil icon next to your Appointment Type name.
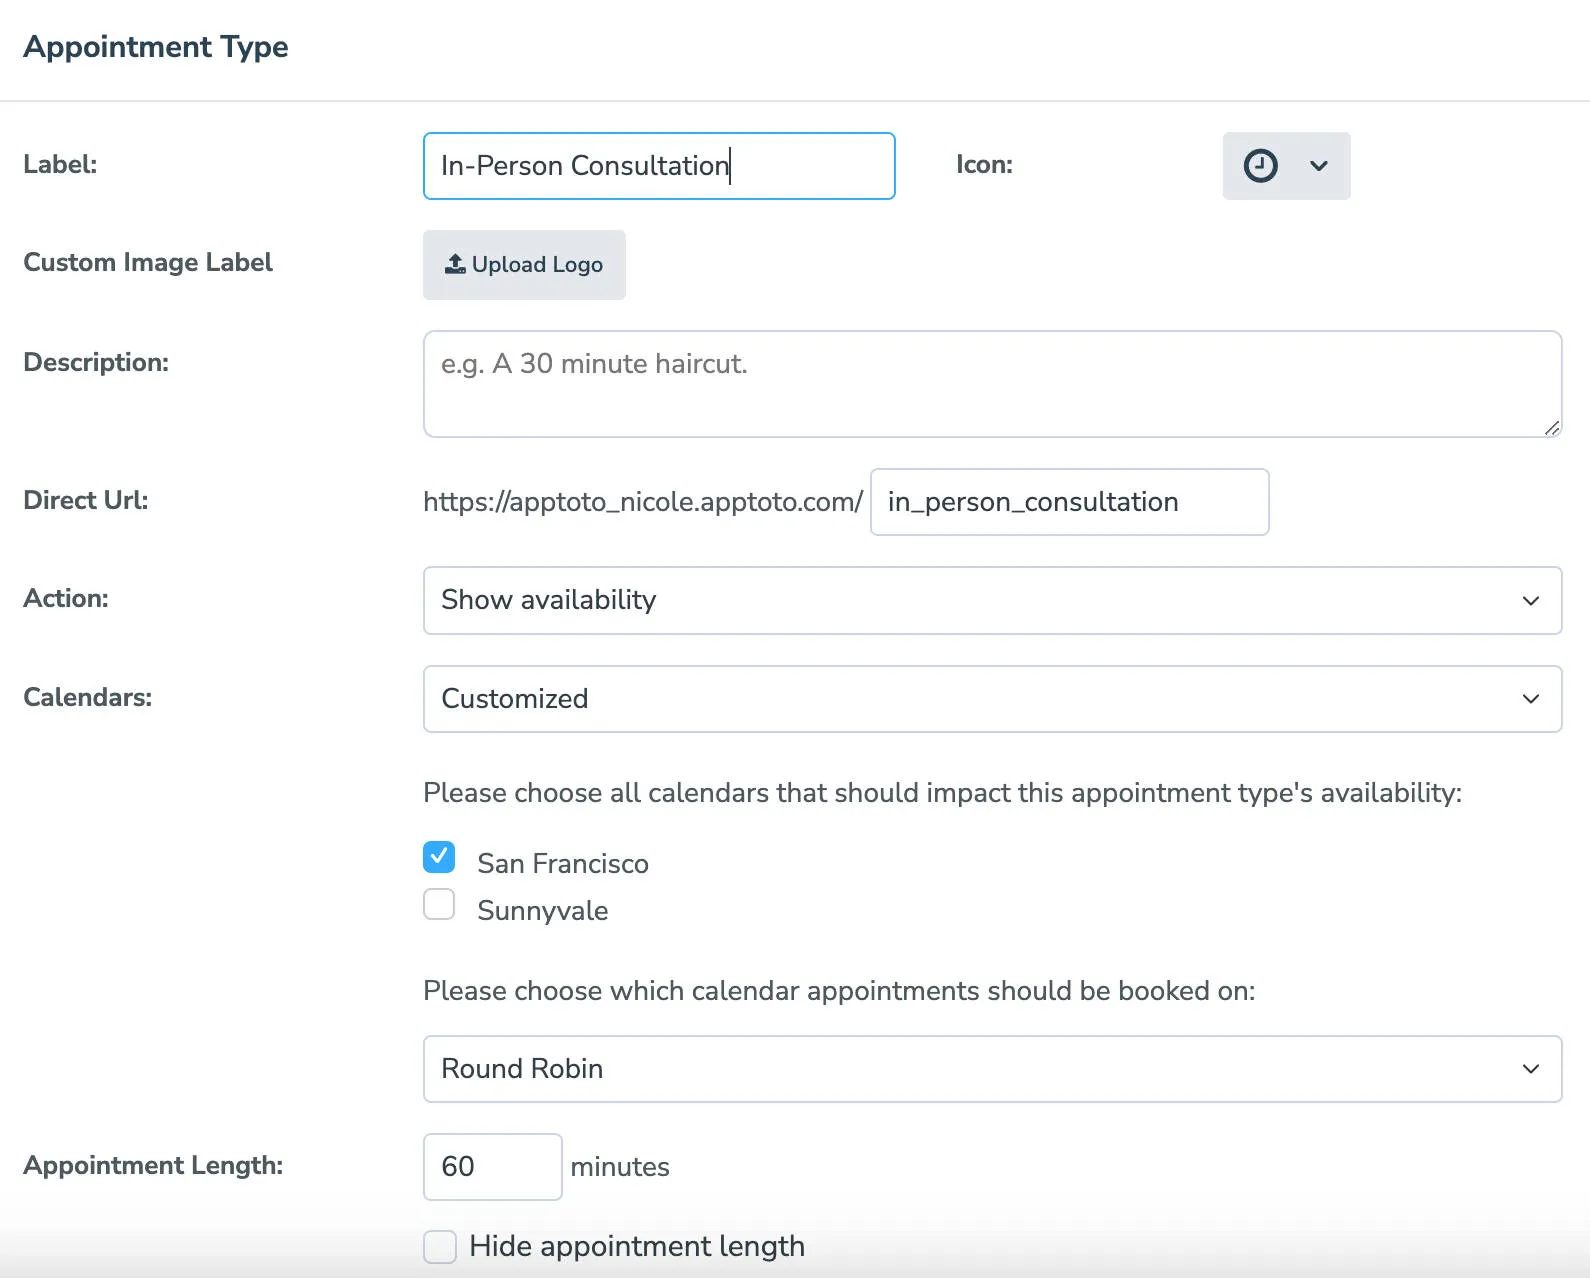
Each appointment type has the following fields:
| Setting | Description |
|---|---|
| Label | Name shown to clients on the booking page |
| Icon | Icon displayed next to the label |
| Custom Image Label | Upload a custom image to use instead of text |
| Description | Additional context shown when clients select this type |
| Direct URL | The URL path used for this type (also available as {{ type }} in templates) |
| Action | What happens when a client selects this type (see below) |
| Calendars | Which calendars control availability for this type (default or customized) |
| Appointment Length | Duration in minutes; toggle Hide Appointment Length to keep this private |
| Time Padding | Buffer time before and after appointments of this type |
| Payments | Payment settings specific to this appointment type |
| Create Virtual Meeting | Auto-generate a video call link for this type |
Actions
Section titled “Actions”Each appointment type can do one of two things when a client selects it:
Show availability: the default. The client proceeds to the calendar and picks a time. When this is selected, you can customize which calendars control availability for this appointment type if you have multiple calendars synced to the booking page.
Link to another page: sends the client to a different booking page or any URL. Use this when you need different availability schedules for different appointment types (create a separate booking page with the desired schedule, then link to it from this type).
Routing appointments to different calendars based on appointment type
Section titled “Routing appointments to different calendars based on appointment type”Let’s say you want to book a specific appointment type on a corresponding calendar (no other appointment types allowed). For example, if you have a calendar for your “Sunnyvale” location and a calendar for your “San Francisco” location, you can set up one booking page with two different appointment types. One appointment type routed to “Sunnyvale” and one to “San Francisco.” Your client can then choose which location is the first step in the booking process.
-
On Booking Pages > Appointment Types, set up your booking page to use multiple appointment types.
-
Enter key details for your appointment type, like name, length, and time padding.
-
Set the Calendars field to Customized.
-
Check only the calendar for the appointment type’s location.
Advanced appointment type settings
Section titled “Advanced appointment type settings”Advanced Settings are only available on Booking Pages with a Single Option appointment type.
Hide Appointment Length
Section titled “Hide Appointment Length”Toggling this on will hide the appointment length
Time Padding
Section titled “Time Padding”This is the time you need before and after an appointment to prepare. For example, entering 10 minutes would result in the client being unable to book an appointment of this type 10 minutes before or after any other meeting.