Confirmation Page (fka "Booking Actions")
After a client or patient books an appointment with you, you can direct them to one of three places via the Booking Page > Confirmation Page tab.
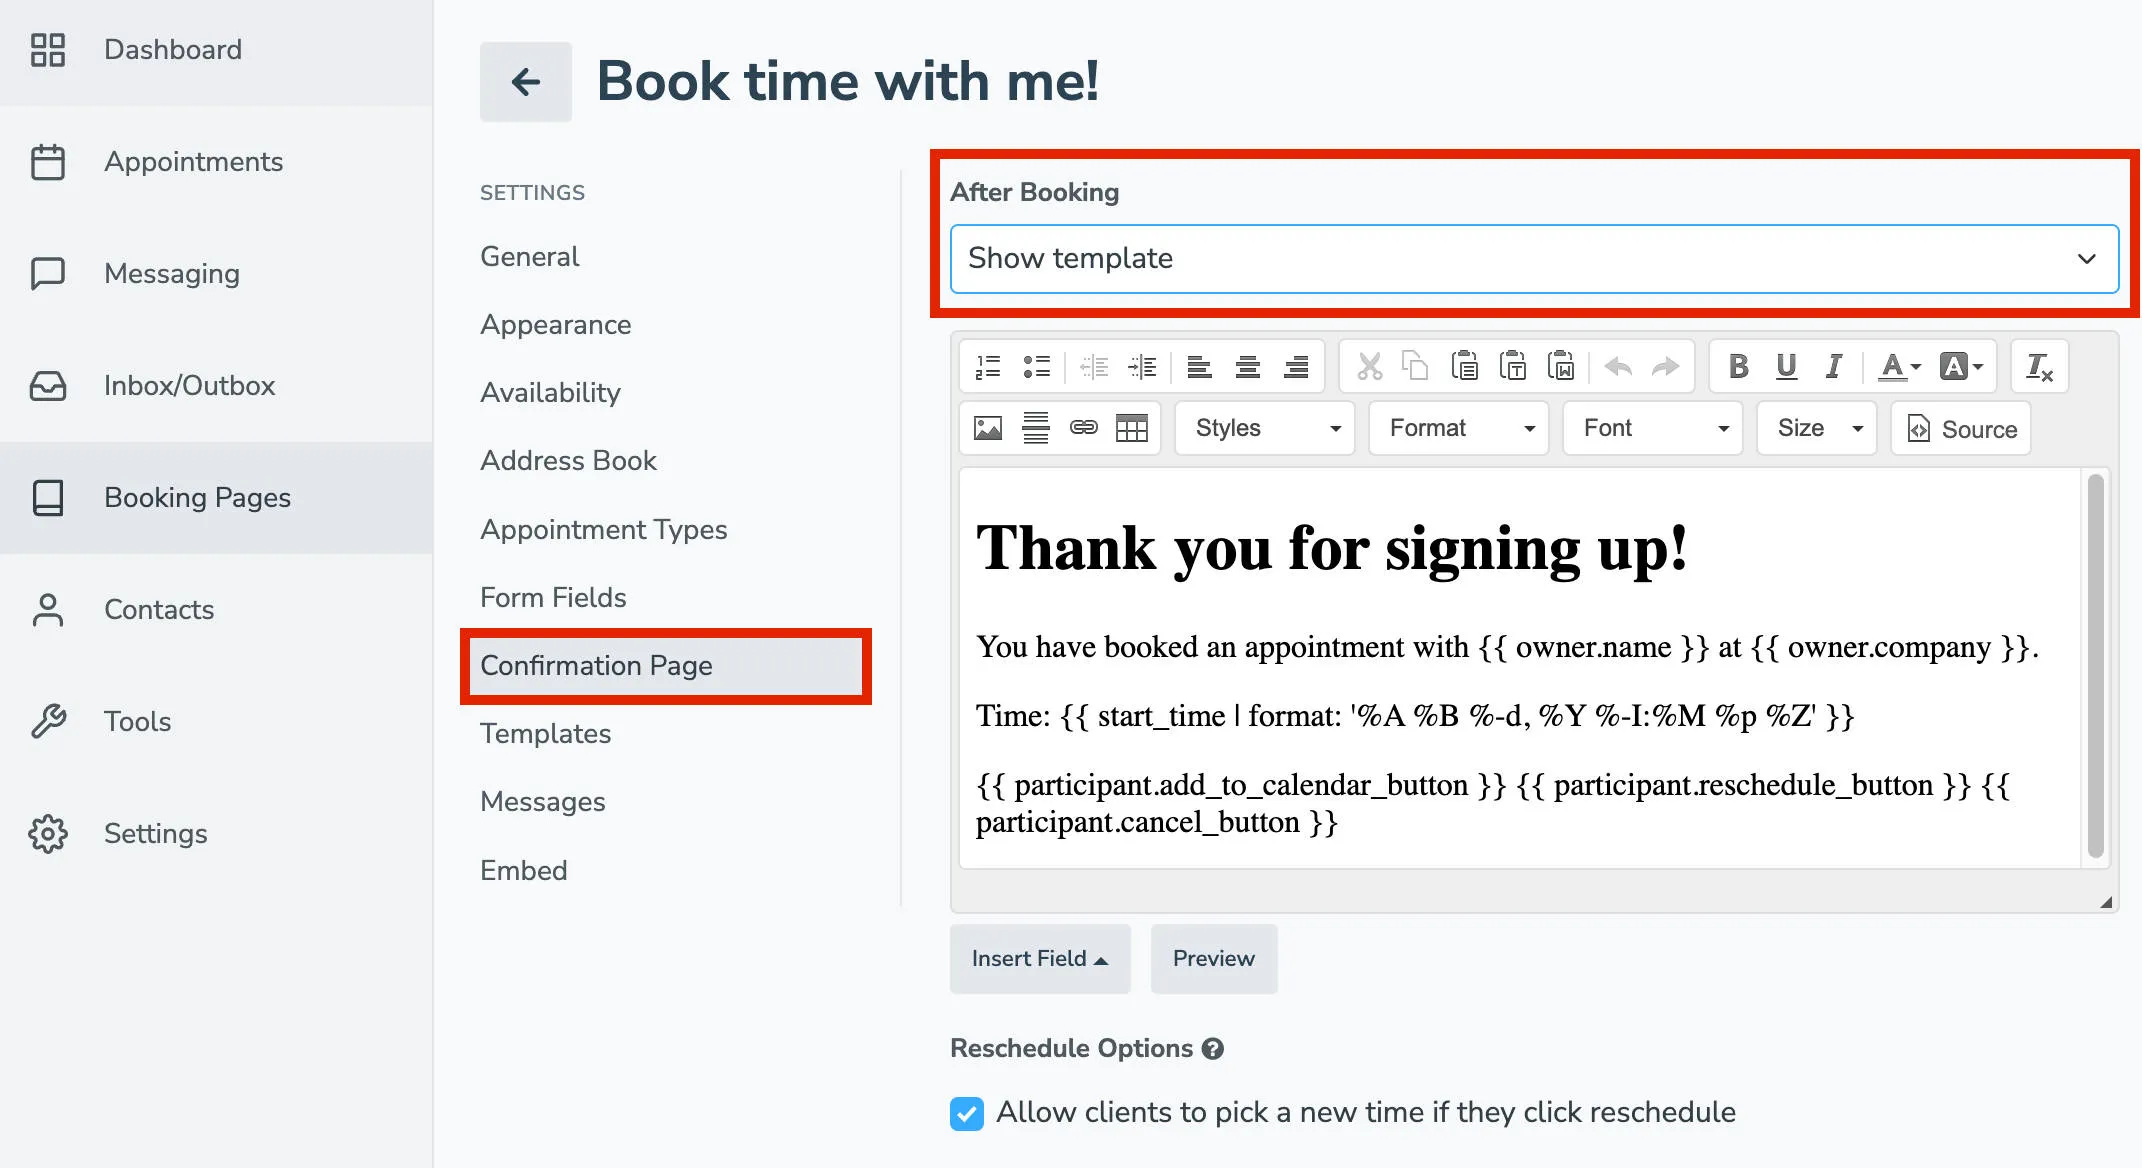
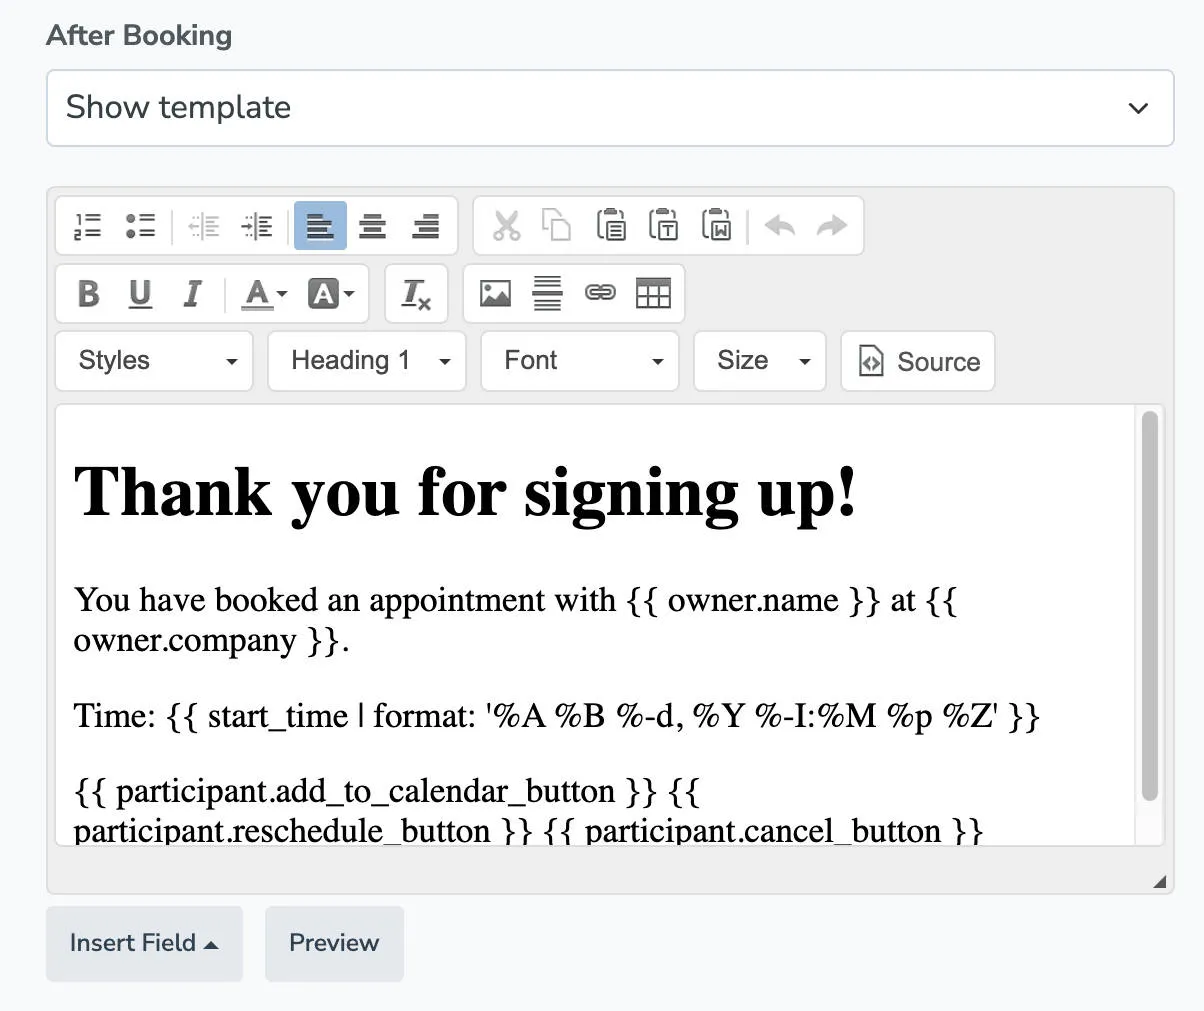
Show Template
Section titled “Show Template”If you want to create a custom confirmation page and message to display to your clients or patients after they book an appointment, use Show Template. A template editor will appear, allowing you to customize and preview your confirmation page.
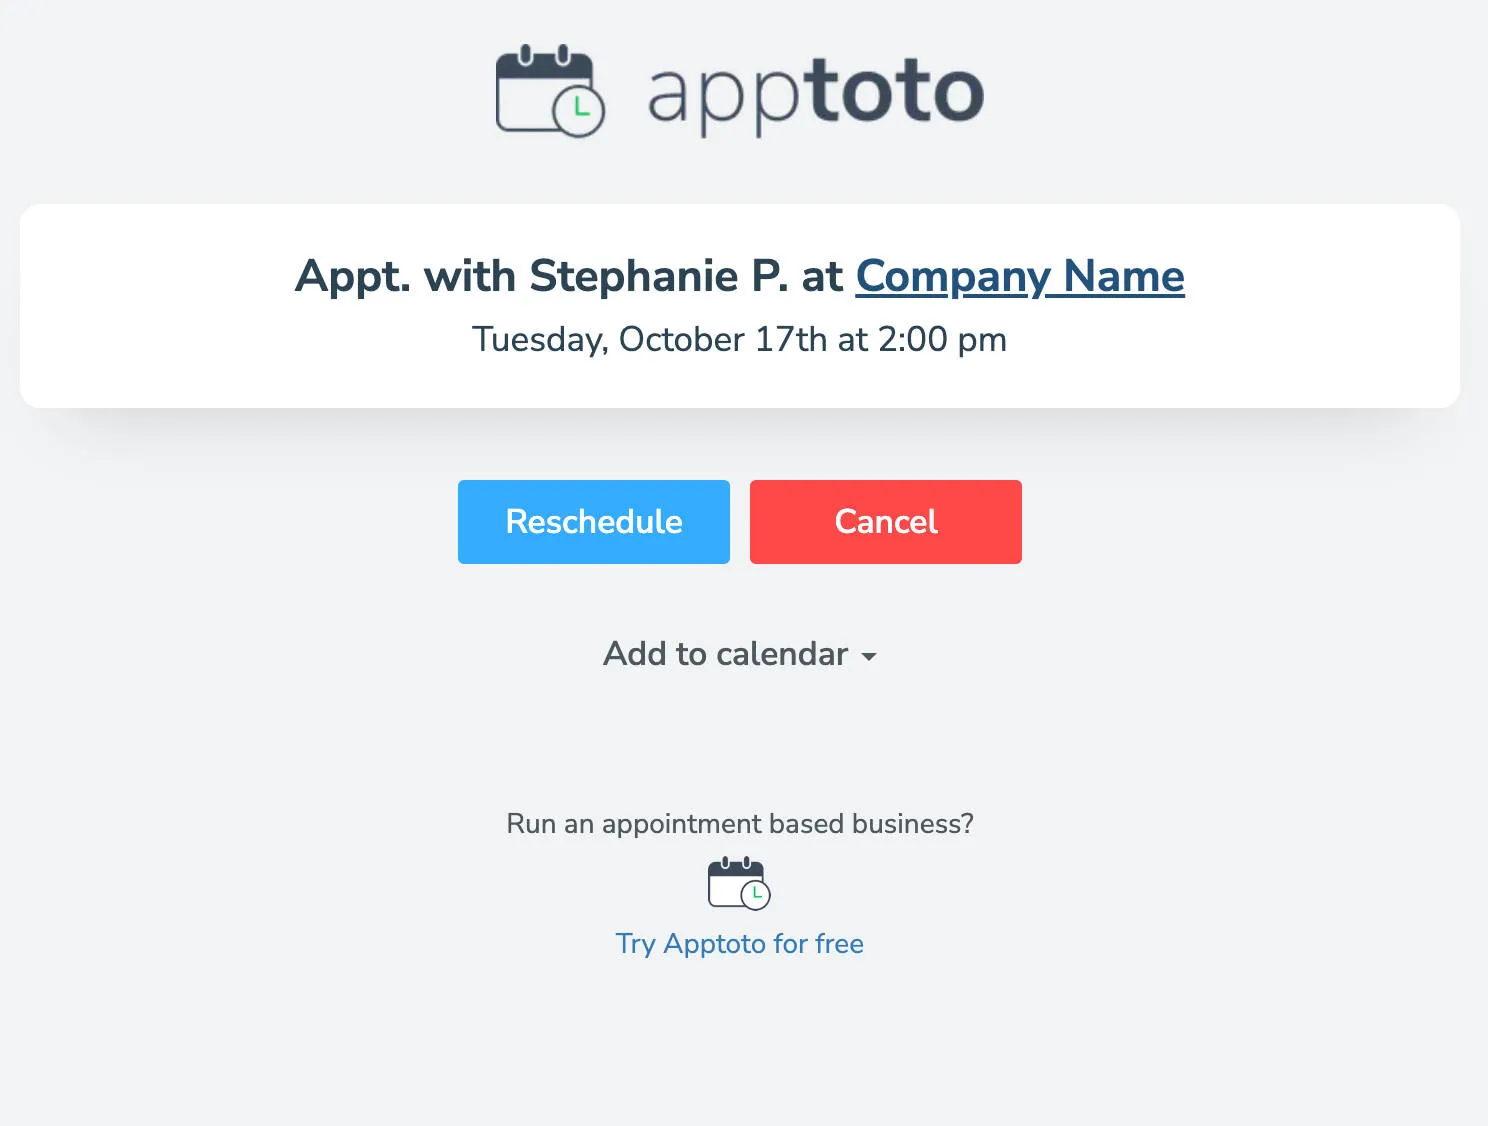
Show Appointment Page
Section titled “Show Appointment Page”When you select this option, the client will be shown the Appointment Page for the appointment. To configure the appointment page, head over to the Settings > Appointment Pages tab. An example of an appointment page is below:
Redirecting to URL
Section titled “Redirecting to URL”Instead of showing the client the Appointment Page, you can redirect them to a URL, such as your website. Select Redirect to URL and enter your unique URL in the Redirect URL field.
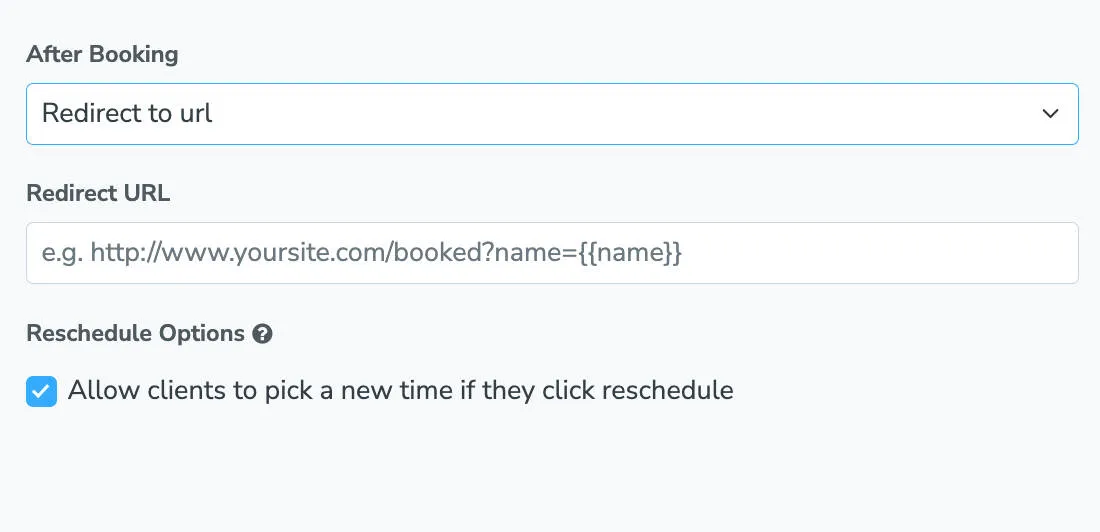
Note that you can use the same fields that you can use in the booking appointment templates as appended parameters (following ?) to your URL.
Reschedule Options
Section titled “Reschedule Options”Each of the three after-booking actions presents you with the option to “Allow clients to pick a new time if they click reschedule.” Leaving this enabled will allow the client to book a new time if they need to move their appointment. If you deselect this option, you will simply be notified the customer would like to reschedule and you will need to reach out to them directly.