Images (Emails Only)
Images can be added to email messages on the Appointment Auto Messages tab. How you upload depends on the email Format selected for that message (Markdown or HTML).
Click the email message to open the editor, then click the image icon in the Markdown toolbar above the body. Pick a file from your computer; once it finishes uploading, the image is inserted at your cursor and a placeholder appears in the body that looks like this:
{{ 'photo123' | image_tag: 'photo.png' }}You don’t need to type that yourself - the toolbar inserts it for you. The text in single quotes after image_tag: is the alt text, which you can edit. To control how the image is sized in the email, add a width (and optionally a height) in pixels:
{{ 'photo123' | image_tag: 'photo.png', 600 }}{{ 'photo123' | image_tag: 'photo.png', 600, 400 }}Images are automatically optimized for each recipient when the email is sent, so they load quickly without you having to resize the original file.
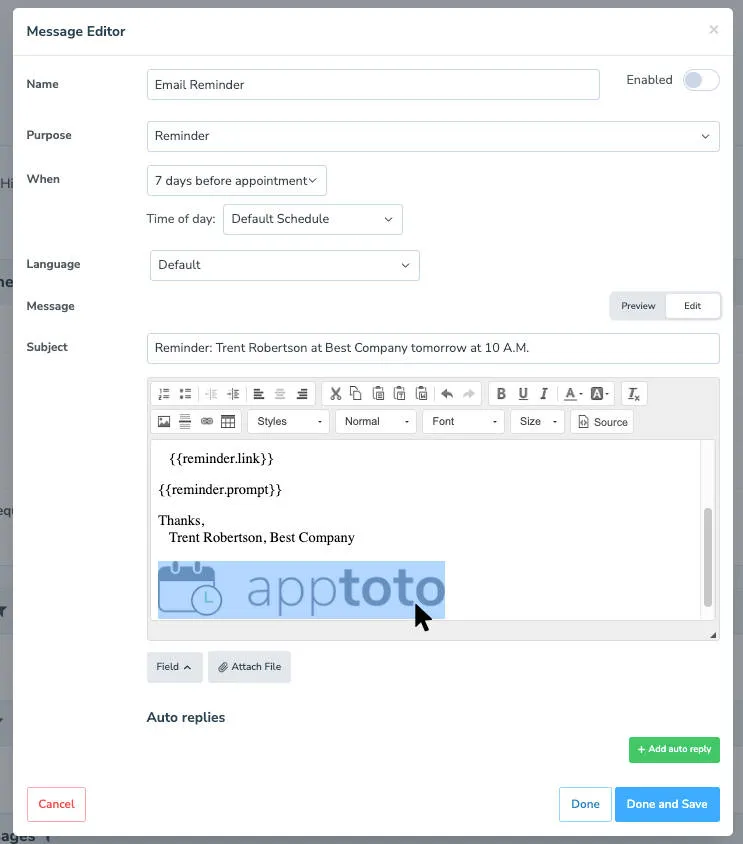
When the email format is set to HTML, the editor is a rich-text (WYSIWYG) editor with its own image controls.
- On the Appointment Auto Messages tab, click the email message you want to edit and set Format to HTML.
- Click the image icon in the toolbar directly below the Subject line field.
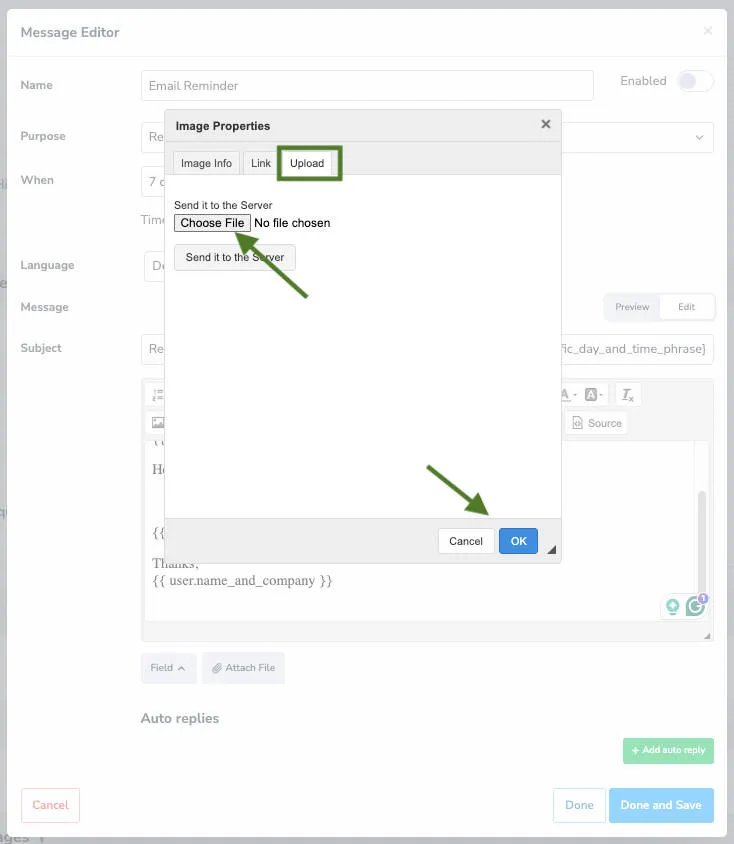
- On the Image Properties screen, click the Upload tab.
- Click Choose file to select your image, then click Send it to the Server.
- You’ll be directed back to the image info page. Adjust the width, height, and other settings as needed, then click OK.
You can also drag and drop image files directly into the WYSIWYG editor:
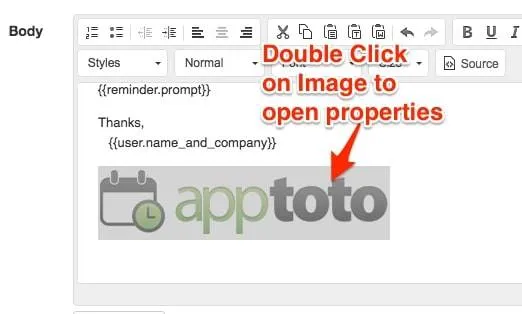
Double-click an image in the WYSIWYG editor to edit its properties (width, height, border, alignment):