Step 1 – Creating a Salesforce Account and Connecting a Salesforce Calendar to Apptoto
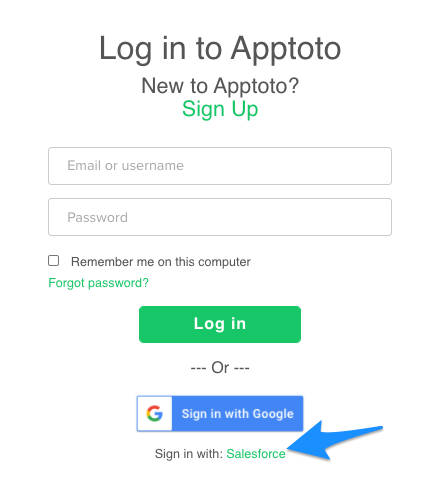
In the top right corner of the Apptoto home page, there is a “Sign Up Free” button. After clicking that button, a login page will appear. Select Sign Up with Salesforce to begin to create your Apptoto account.
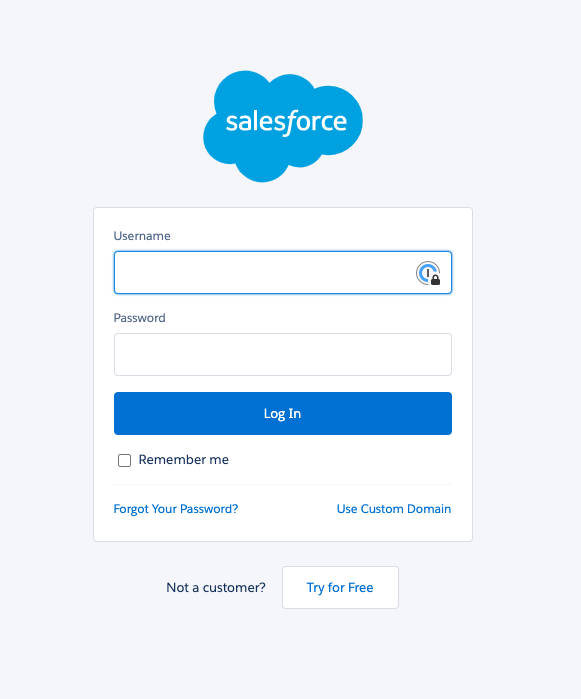
Once clicked, a pop-up will appear. In this pop-up, enter your Salesforce login information. This will allow Apptoto to sync with your Salesforce calendar.
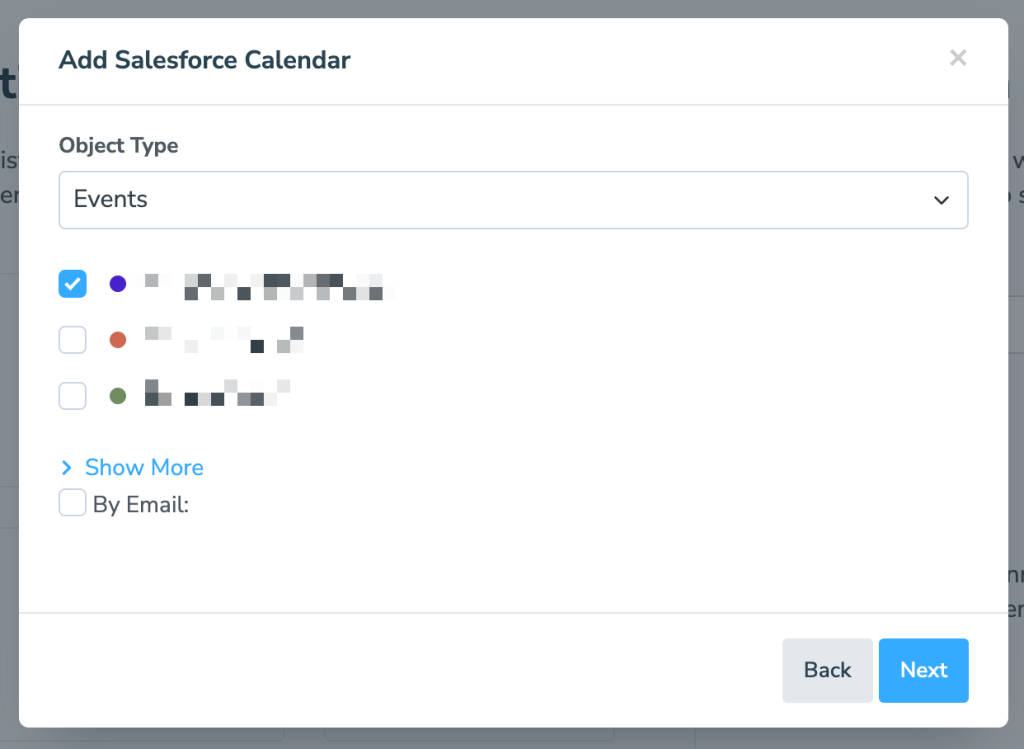
Once Apptoto has verified your login credentials with Salesforce, you can choose the calendar you want to connect with Apptoto. (If you want to connect more calendars, please check the others from the list and you will be able to edit the individual settings later in the Settings>Calendars.)
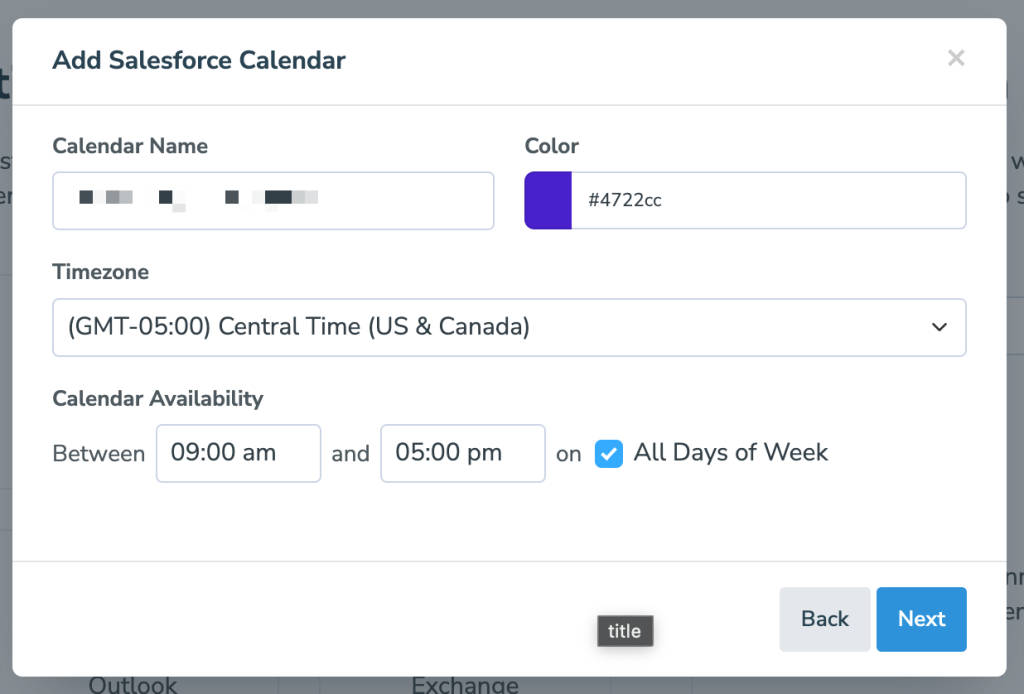
The “Calendar Name” and “Color” options are identifiers for you in Apptoto and will not impact your calendars in Salesforce. By default, we will populate the “Calendar Name” with the Salesforce name. Once you have completed those prompts, the availability can be set (relative to online booking in Apptoto) if you would like to utilize online scheduling. Please note: clients will not be able to schedule with you unless you were to set up a booking page. Proceed to the next step by clicking the “Next” button.
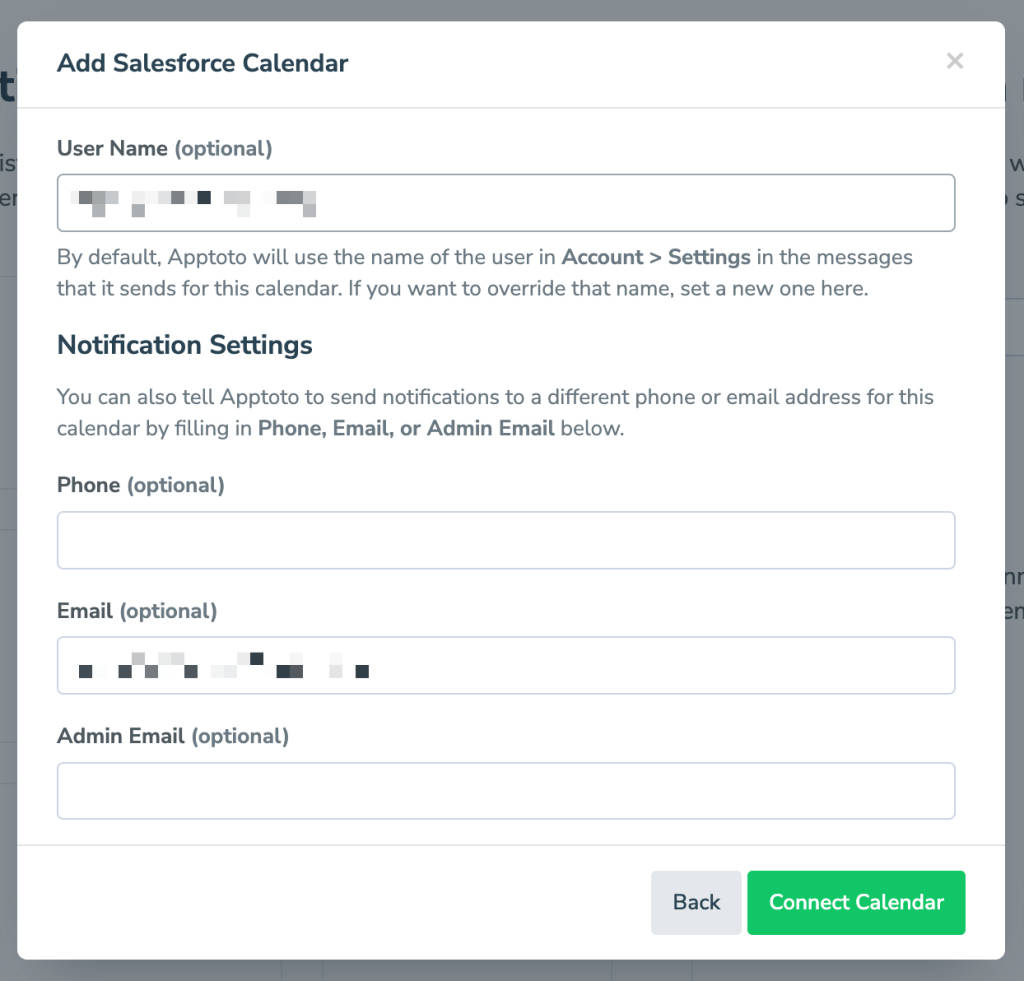
The next step allows you to set the notification preferences when an individual calendar is chosen. Once completed, click the “Connect Calendar” button to complete the connection between the chosen Salesforce calendar(s) and Apptoto.
It’s possible no appointments will be found immediately. That might be because Apptoto hasn’t synced enough of your calendar yet. Reload the page or the click the “Sync” button to ask Apptoto to sync right away. Apptoto will automatically sync with your calendar once an hour.
Step 2 – Create a Fake Test Appointment in Salesforce
To test the connection and get more familiar with how Apptoto and Salesforce interact, create a test appointment one week from today with your cell phone number and email address in Salesforce as you would normally.
Then click the “Sync” button to pull in the new appointment.

Apptoto will now fetch your newly created appointment and extract the contact information from that appointment. You should see the appointment now on the right hand side. *Note – if you created a new contact within Salesforce for this appointment, it will not immediately recognize until it’s first full sync – which occurs hourly for your account, though not always on the hour.
For next steps in setting up your account, see message setup.