Availability Pages
An Availability Page shows your real-time calendar availability so clients can self-schedule individual appointments with you. Apptoto reads your connected calendar to determine when you’re free and blocks off time automatically as bookings come in.
Create an Availability Page
Section titled “Create an Availability Page”-
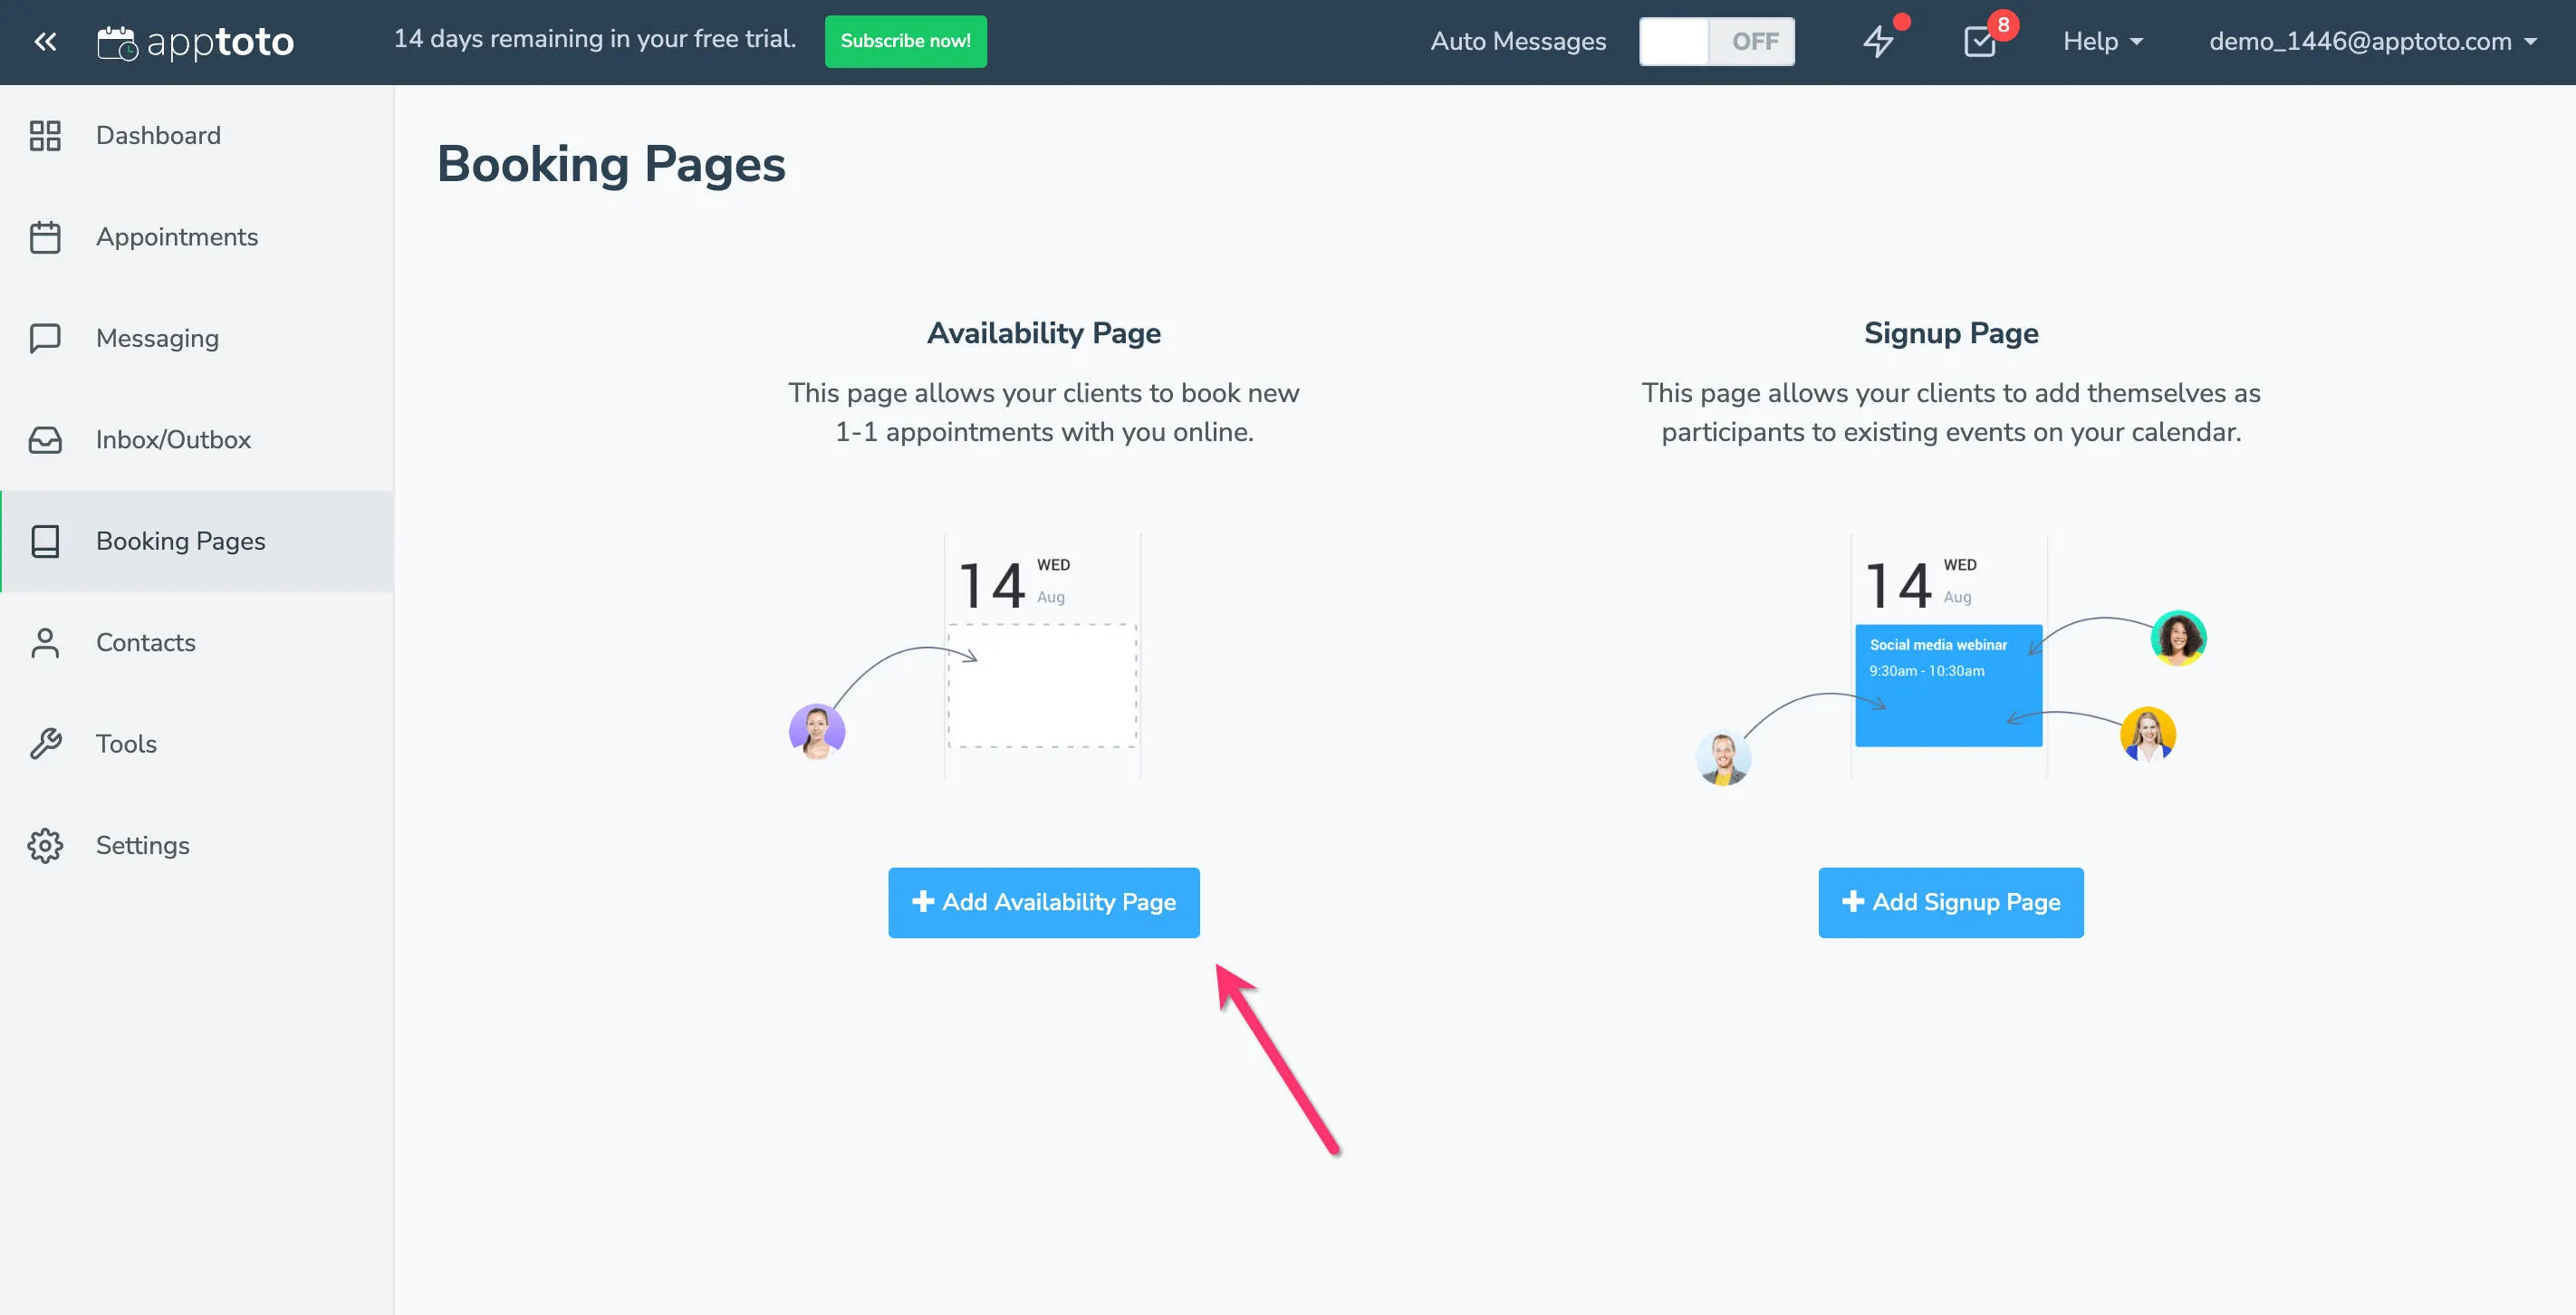
Open Booking Pages: Go to the Booking Pages tab and click + Add Availability Page.
-
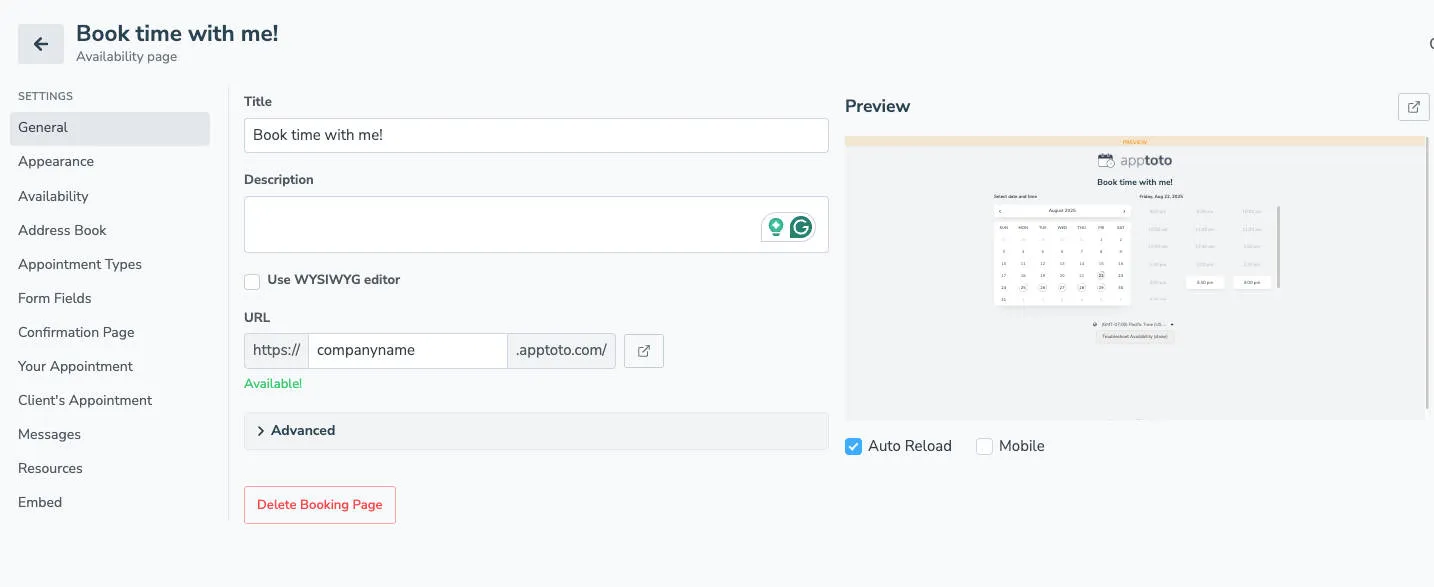
Fill in general information:
- Title — appears at the top of the booking page and in the browser tab (e.g., “Joe’s Salon Online Booking”)
- Description — displayed below the title; supports a WYSIWYG editor on All-in-One, Weekly, and Monthly layouts
- URL — choose a subdomain for https://SUBDOMAIN.apptoto.com/ (letters, numbers, underscores; 5+ characters)
-
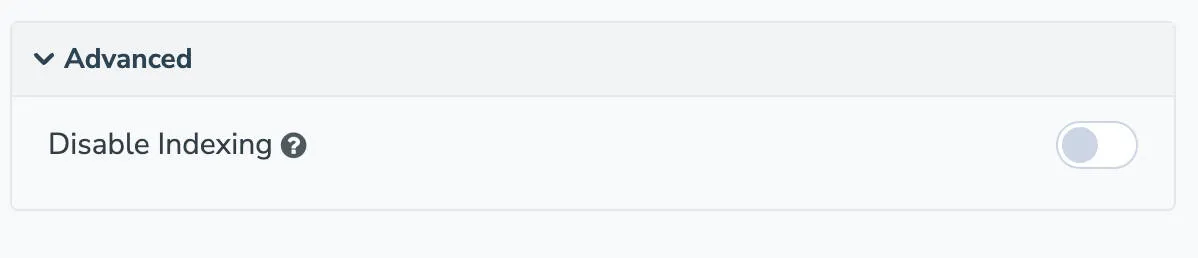
Configure advanced settings (optional): Expand Advanced Settings to control search engine indexing. By default, Apptoto sets pages to non-indexable. Toggle “Disable Indexing” off if you want search engines to find the page.
-
Save and launch: Click Create to publish the page, or continue configuring the tabs below before going live. Use the Online toggle in the upper-right corner to take the page live when you’re ready.
Each of the Booking Page details tabs offers you additional advanced customization. We recommend checking out the links below before finalizing your booking page: