Configuring “Rules” for your Appointment Auto Messages lets you control which messages (voice calls, texts, and emails) go to which events. You can create a default message sequence if you want all your participants to receive the same messages. Or, you can create as many unique rules as you wish.
Rules are incredibly helpful for customizing and personalizing your messages. You can make unique rules and customize the messaging each receives based on appointment type, staff member, and more.
Walk step-by-step through setting up rules for an example appointment type, “Initial Consultation.” Or, follow along using the appointment type you want to create.
Setting Up Rules for Appointment Auto Messaging
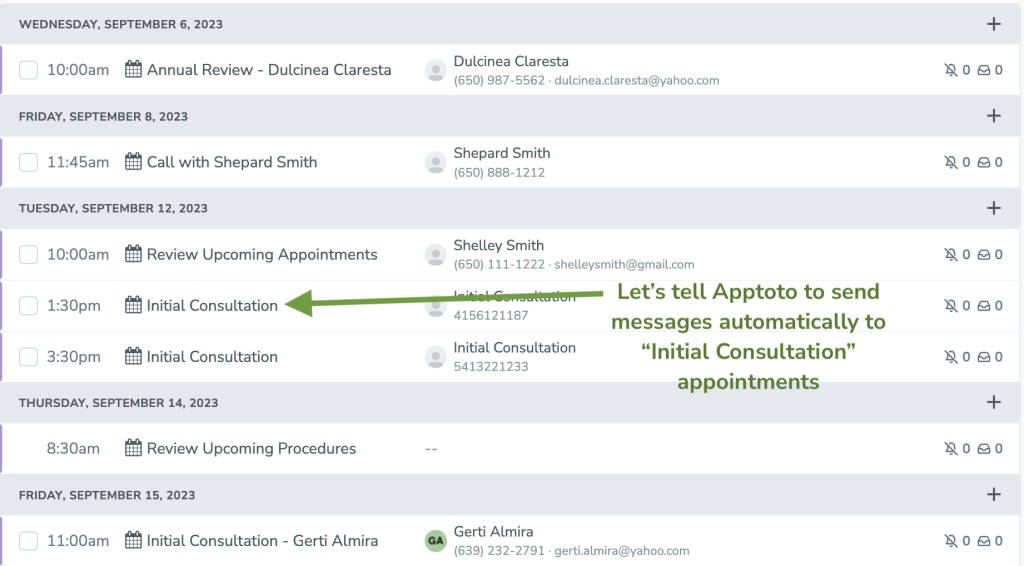
- In this guide, we’ll tell Apptoto to only send auto messages to appointments with “Initial consultation” in the event.
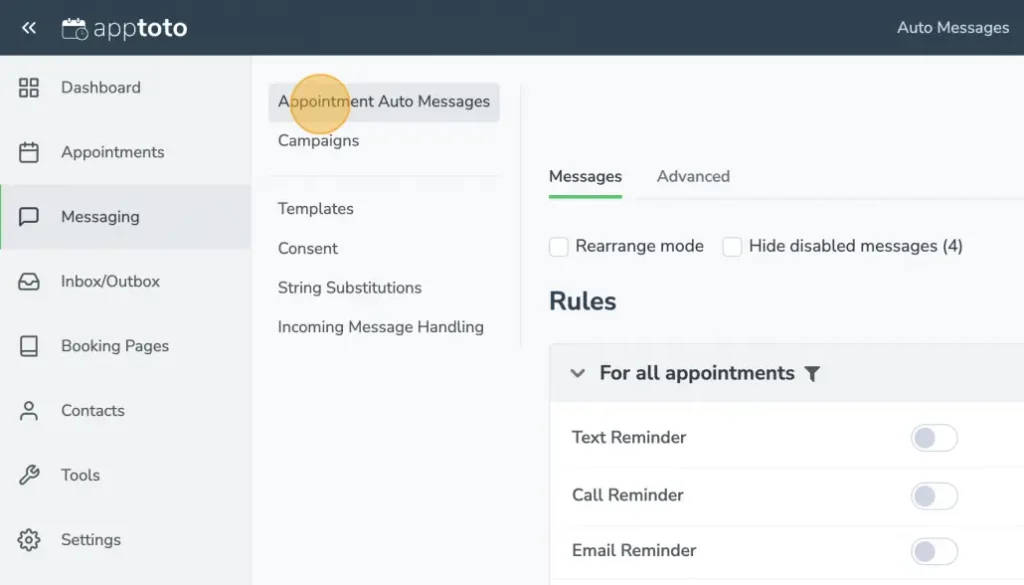
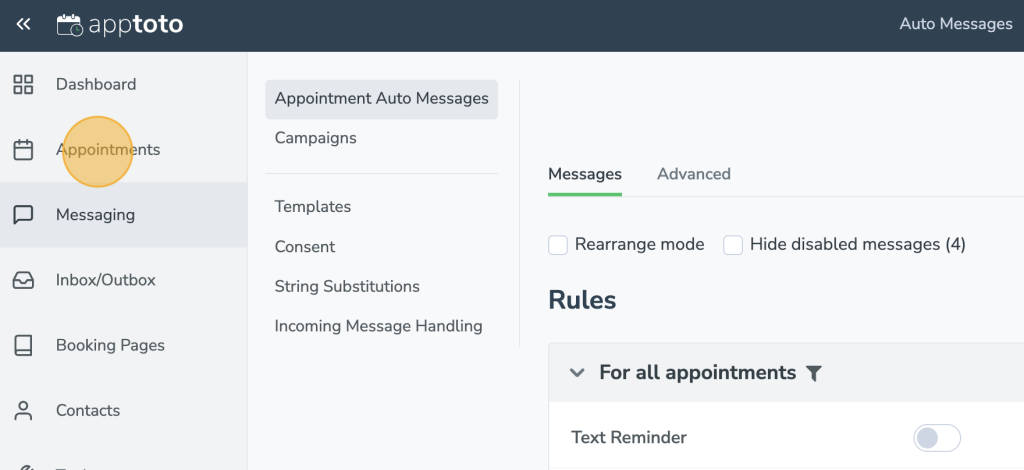
- Click on “Messaging” and then “Appointment Auto Messages.”
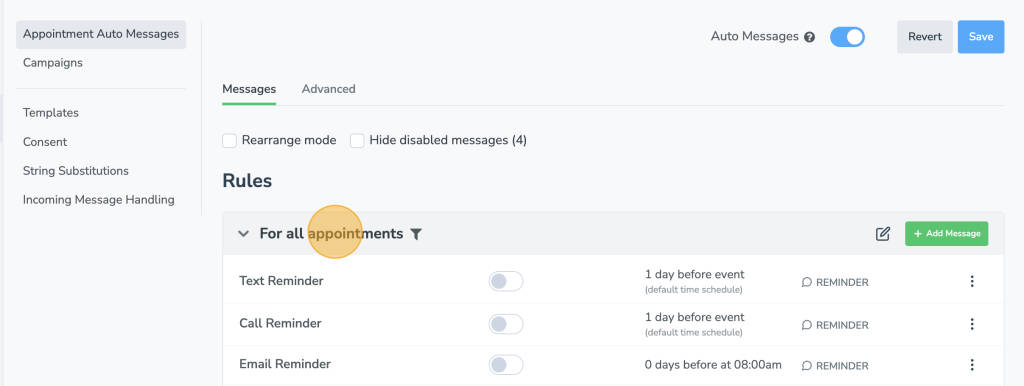
- Under “Rules,” the “For all Appointments” section shows the default messages sent to all appointments that don’t meet your more specific rules (such as having a specific keyword in the event title or body).
- Scroll to the bottom of the Appointment Auto Messages tab and click “+Add Rule.”
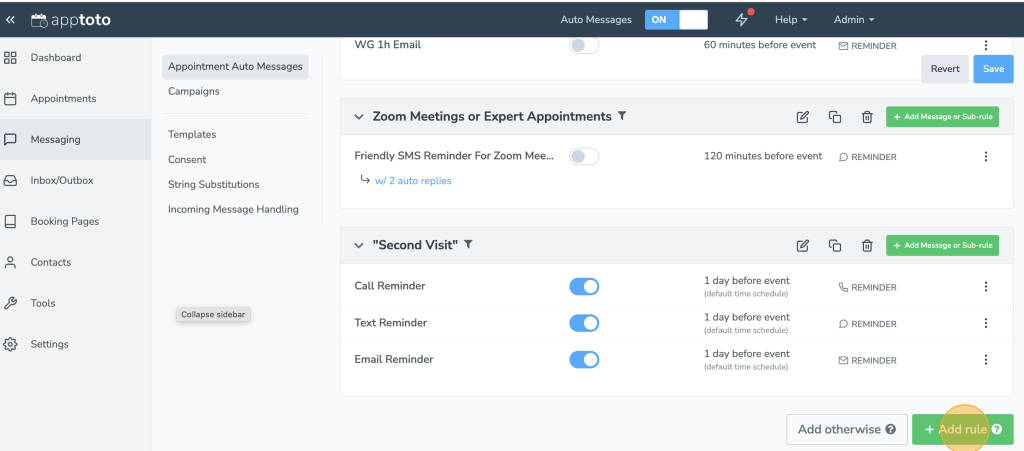
- The Rule Editor screen will appear. Enter the keyword you want Apptoto to look for in your event’s title or body. You can use a basic, advanced, or custom rule to filter events with your selected keyword.
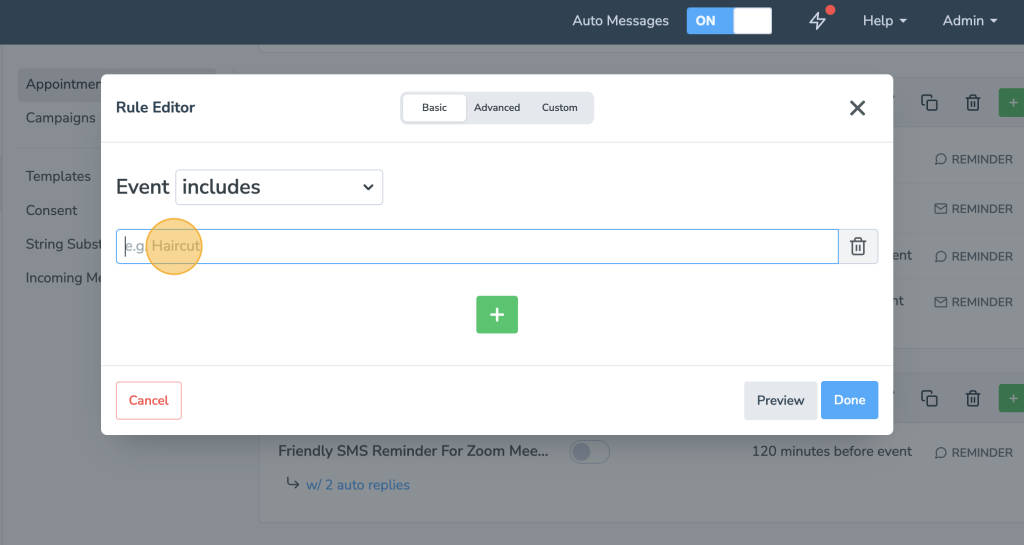
- Type “Initial Consultation” (if you’re following along with our demo) or the keyword you wish to filter by.
- Click “Done.”
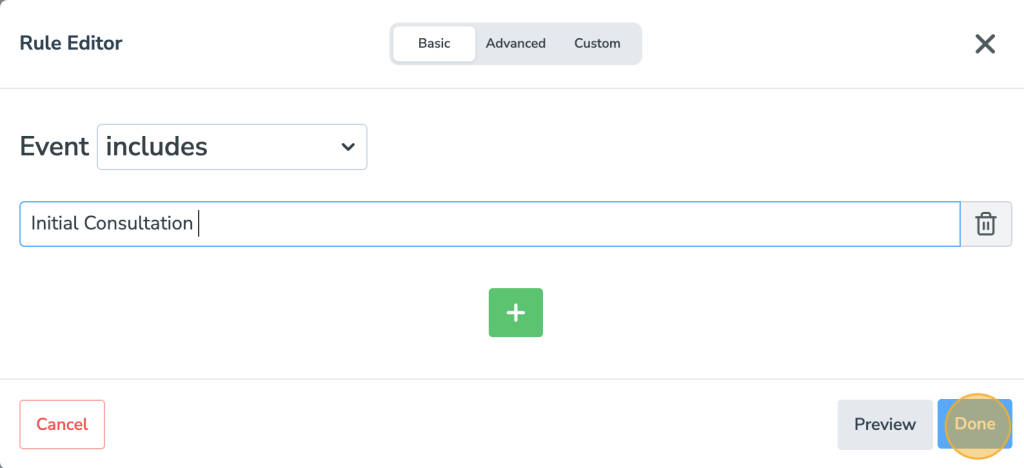
- Now, Apptoto will only send your Auto Messages sequence to appointments with “Initial consultation” in the event title or body.
- Under the “Initial Consultation” rule you created, click “+Add Message or Sub-Rule” to add messages to your sequence.

- When you create a message, you’ll need to name it and define its purpose (confirmation, reminder, or follow-up). You’ll also need to set when you want it delivered and in what language, craft the content, and add auto-replies. Learn more about all the message customization options you can use in the Auto Messages section of our knowledge base.

- In this example, we’ve created an SMS text, email, and voice call reminder for appointment events that include “Initial Consultation.” To turn off a specific automated reminder type (e.g., call reminders), toggle the blue switch so it is greyed out/off.

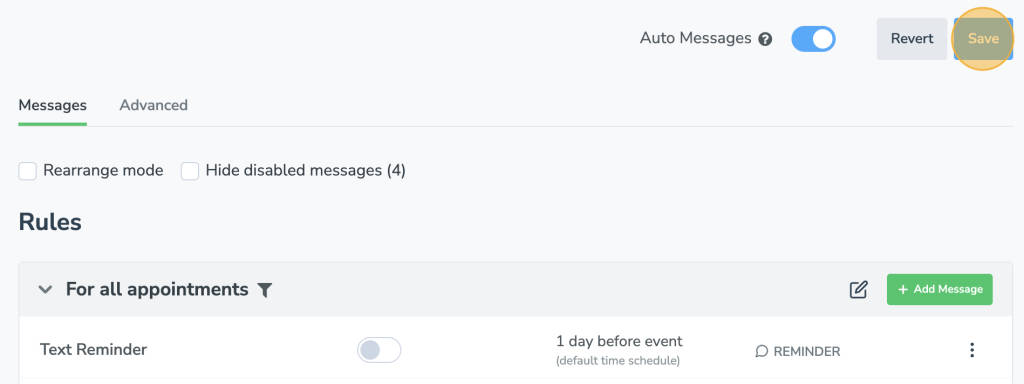
- After making your desired changes, click “Save” in the upper right-hand corner of the screen.
- To confirm that appointments with “Initial consultation” will receive the messages you just configured, click on the “Appointments” tab.
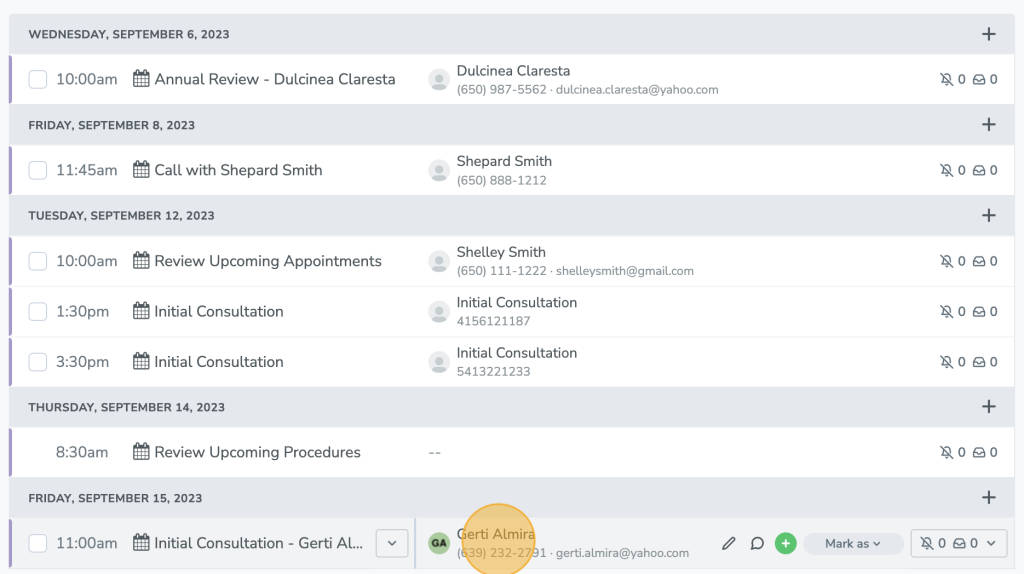
- Click on one of the participants whose event includes “Initial Consultation.”
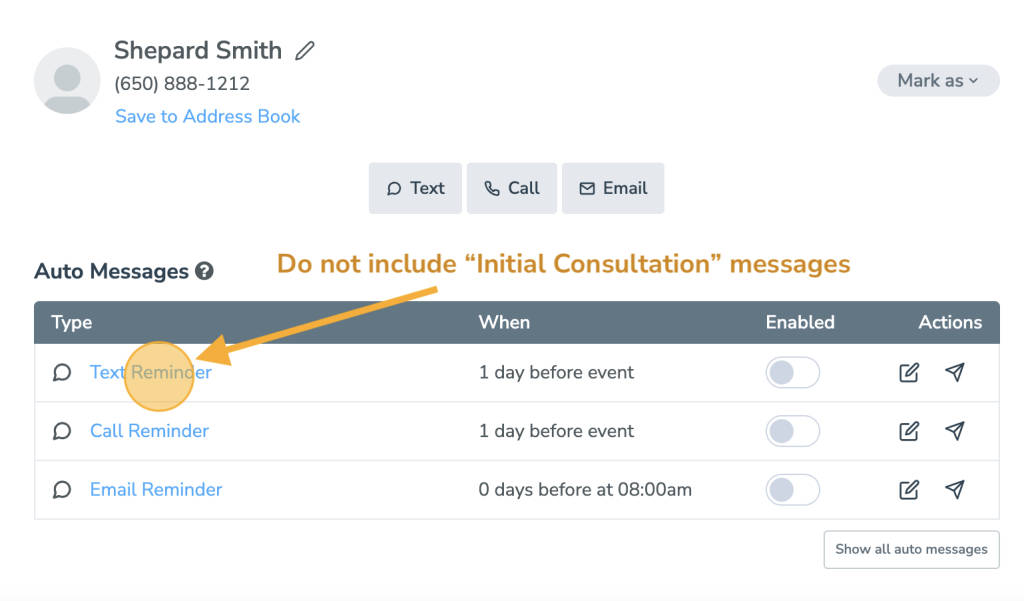
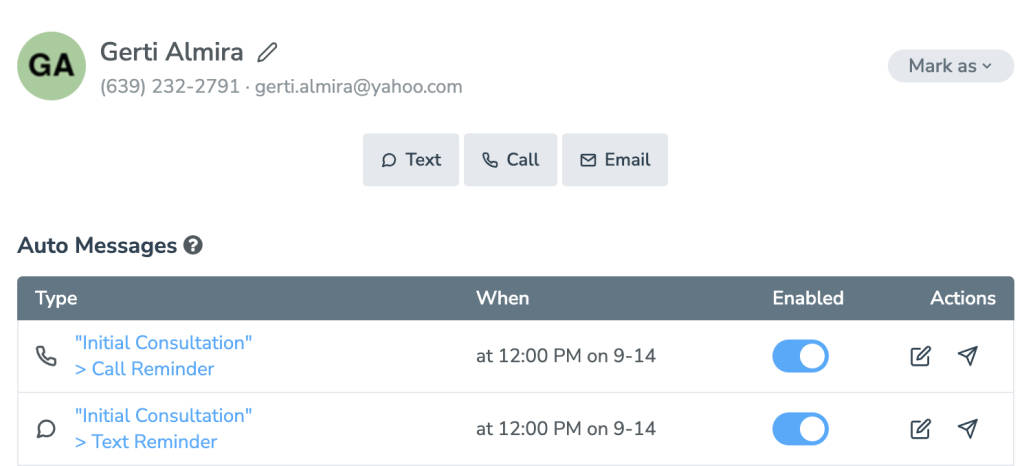
- Notice that only the “Initial Consultation” Auto Messages appear.
- Now click on a different appointment that doesn’t contain the words you put in the Auto Message rule.
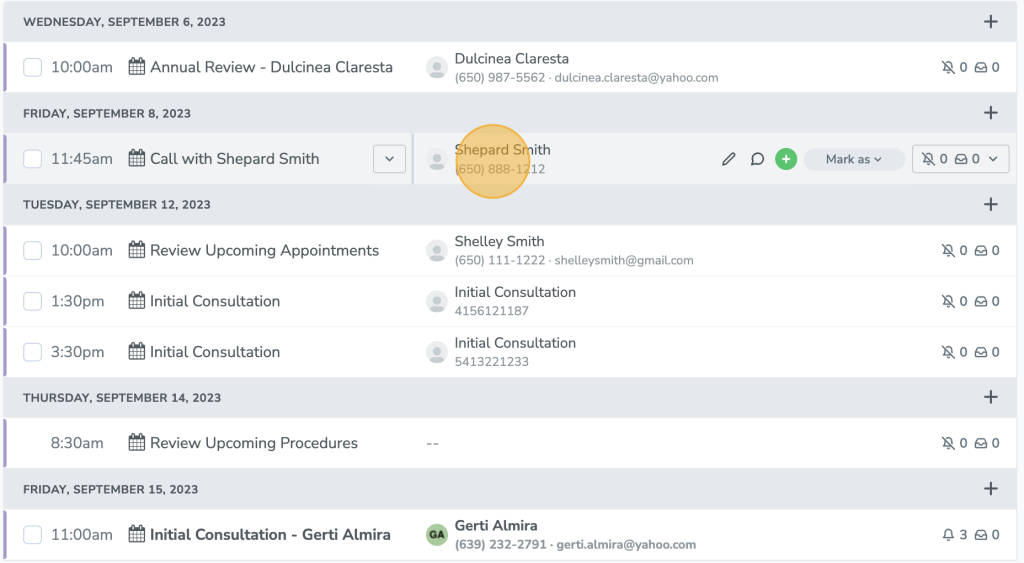
- Notice that auto messages match those appointments that do not include “Initial consultation” in the event information. The messages utilize the “Default” (aka “For All Appointments”) rule. This is because “Initial Consultation” is not included in the event title or body.
