Clio
Syncing Clio as a new Apptoto user
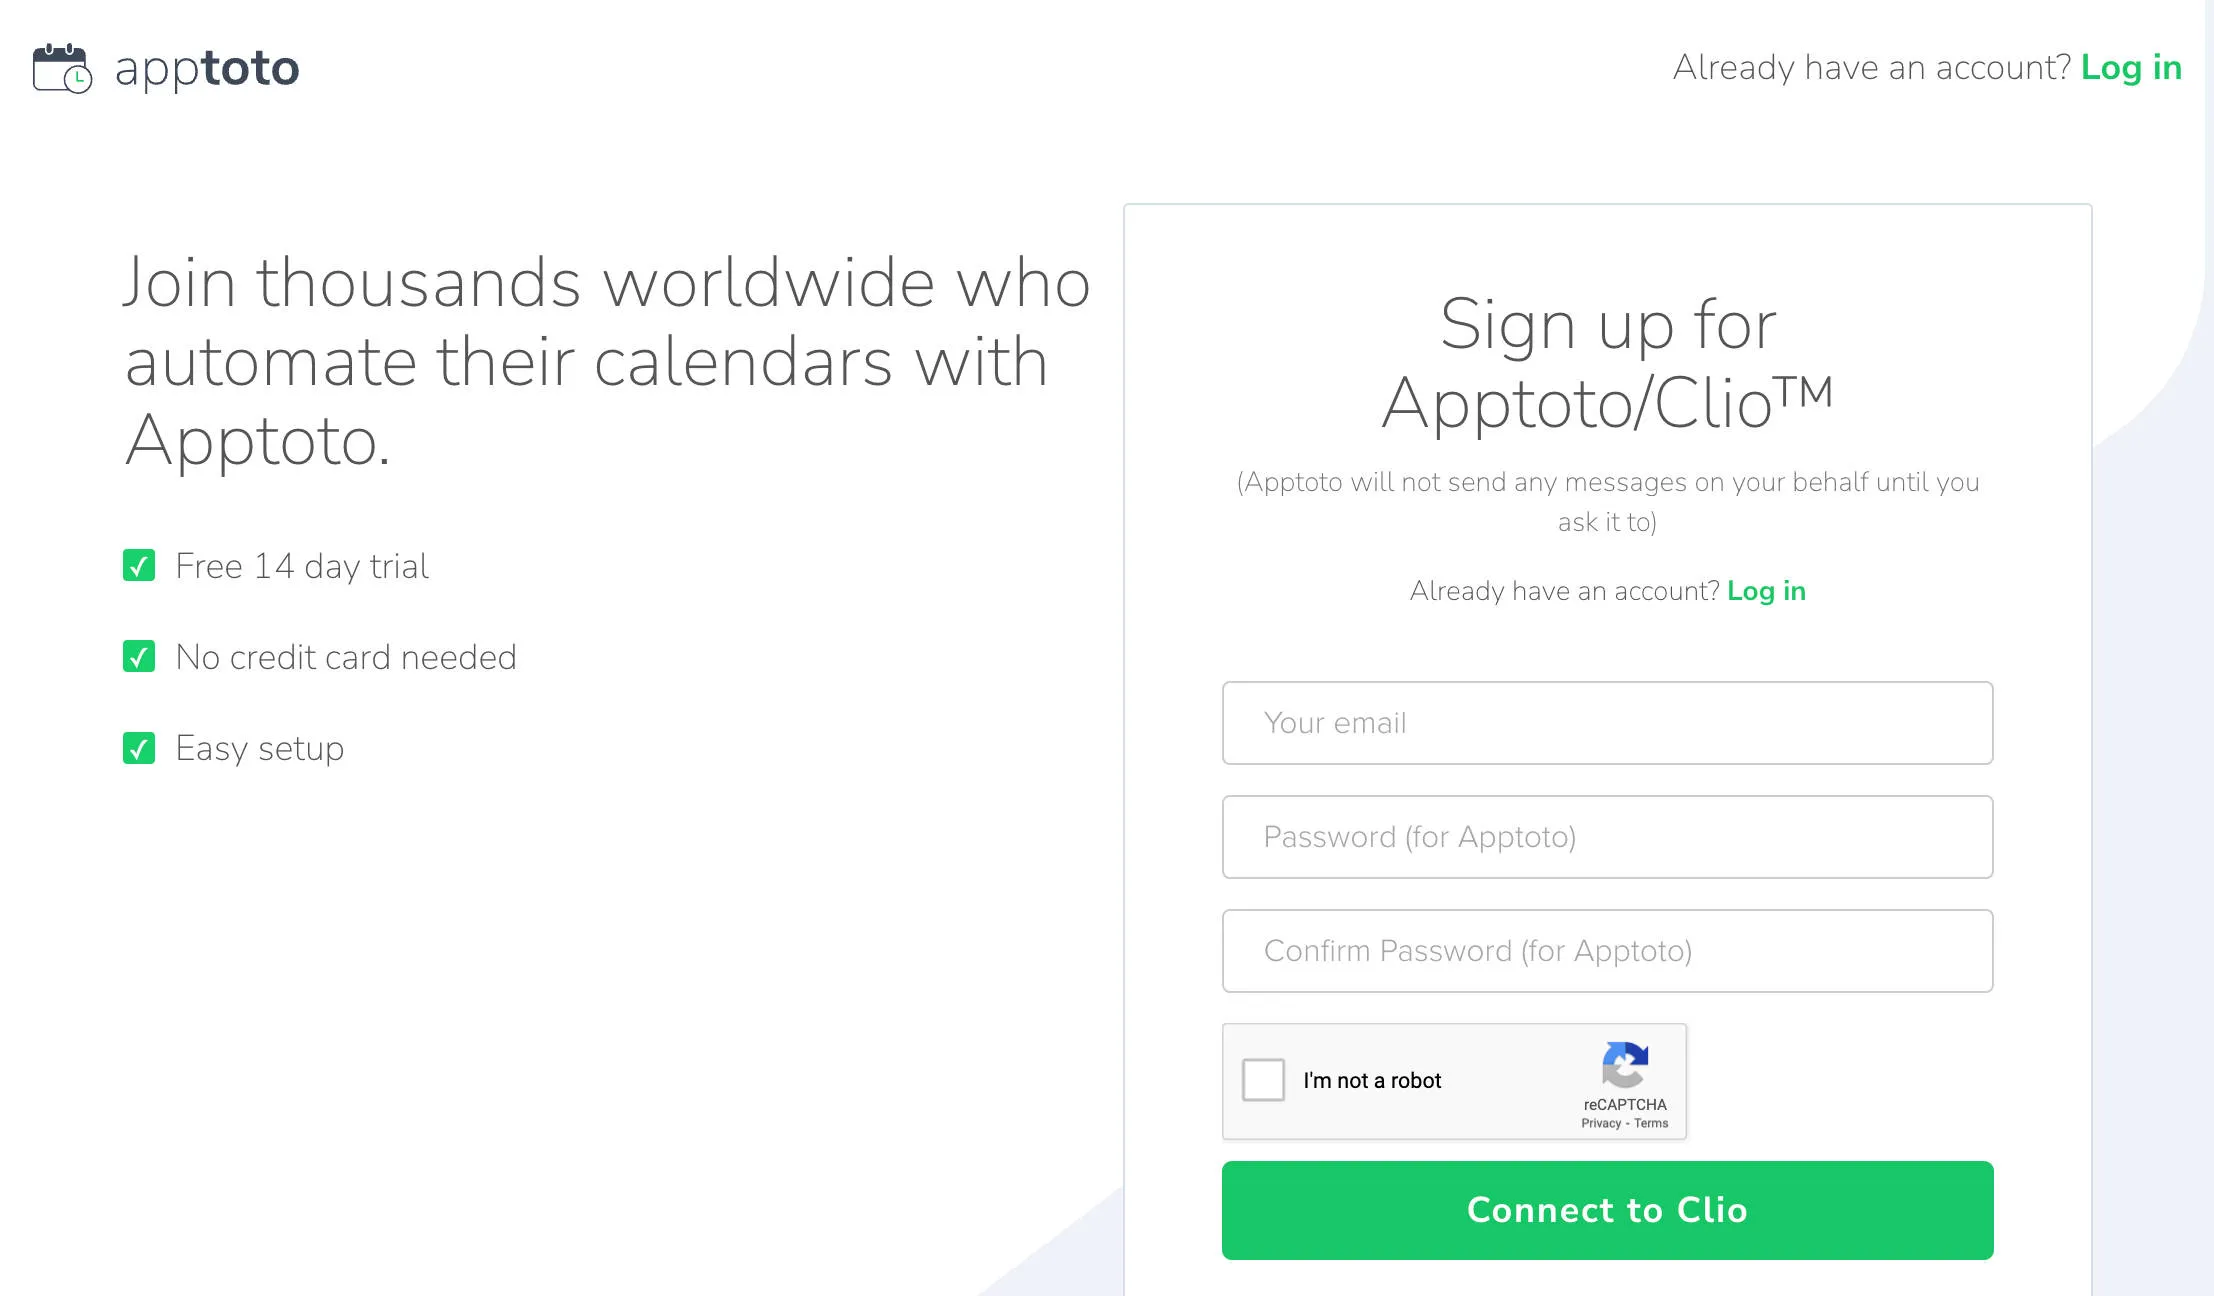
Section titled “Syncing Clio as a new Apptoto user”If you’ve never used Apptoto before, a streamlined process is available for creating and associating an Apptoto account with your Clio account.
Ensure you’re logged into your Clio account, then visit the signup page and follow these steps:
-
Establish an email and password for your new Apptoto account, then click Connect to Clio.
-
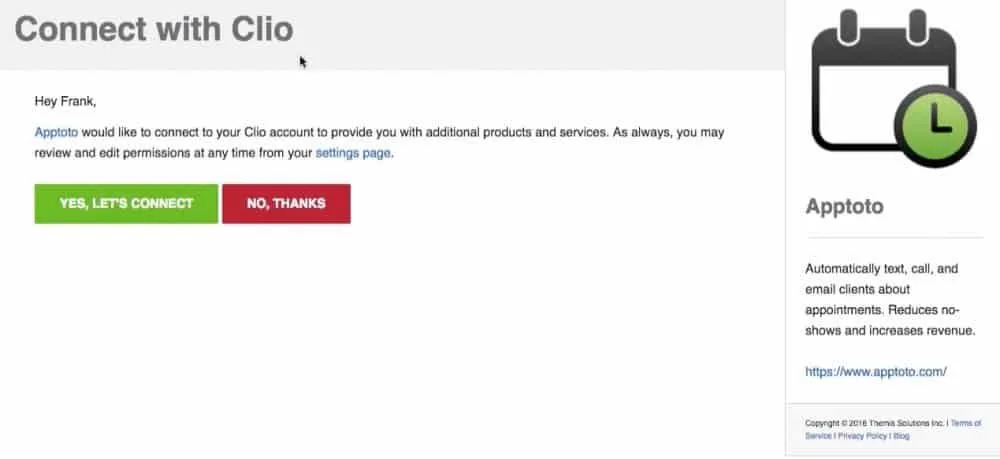
On the following Clio Authorization page, click Yes, Let’s Connect.
Your new Apptoto account is now synced with your Clio account and has imported the Firm calendar by default. Follow the instructions below for more info on connecting additional Clio calendars.
Existing Apptoto user / connecting additional Clio calendars
Section titled “Existing Apptoto user / connecting additional Clio calendars”If you’re an existing Apptoto customer, connect your Clio calendars by following these steps:
-
Ensure you’re logged into your Clio account.
-
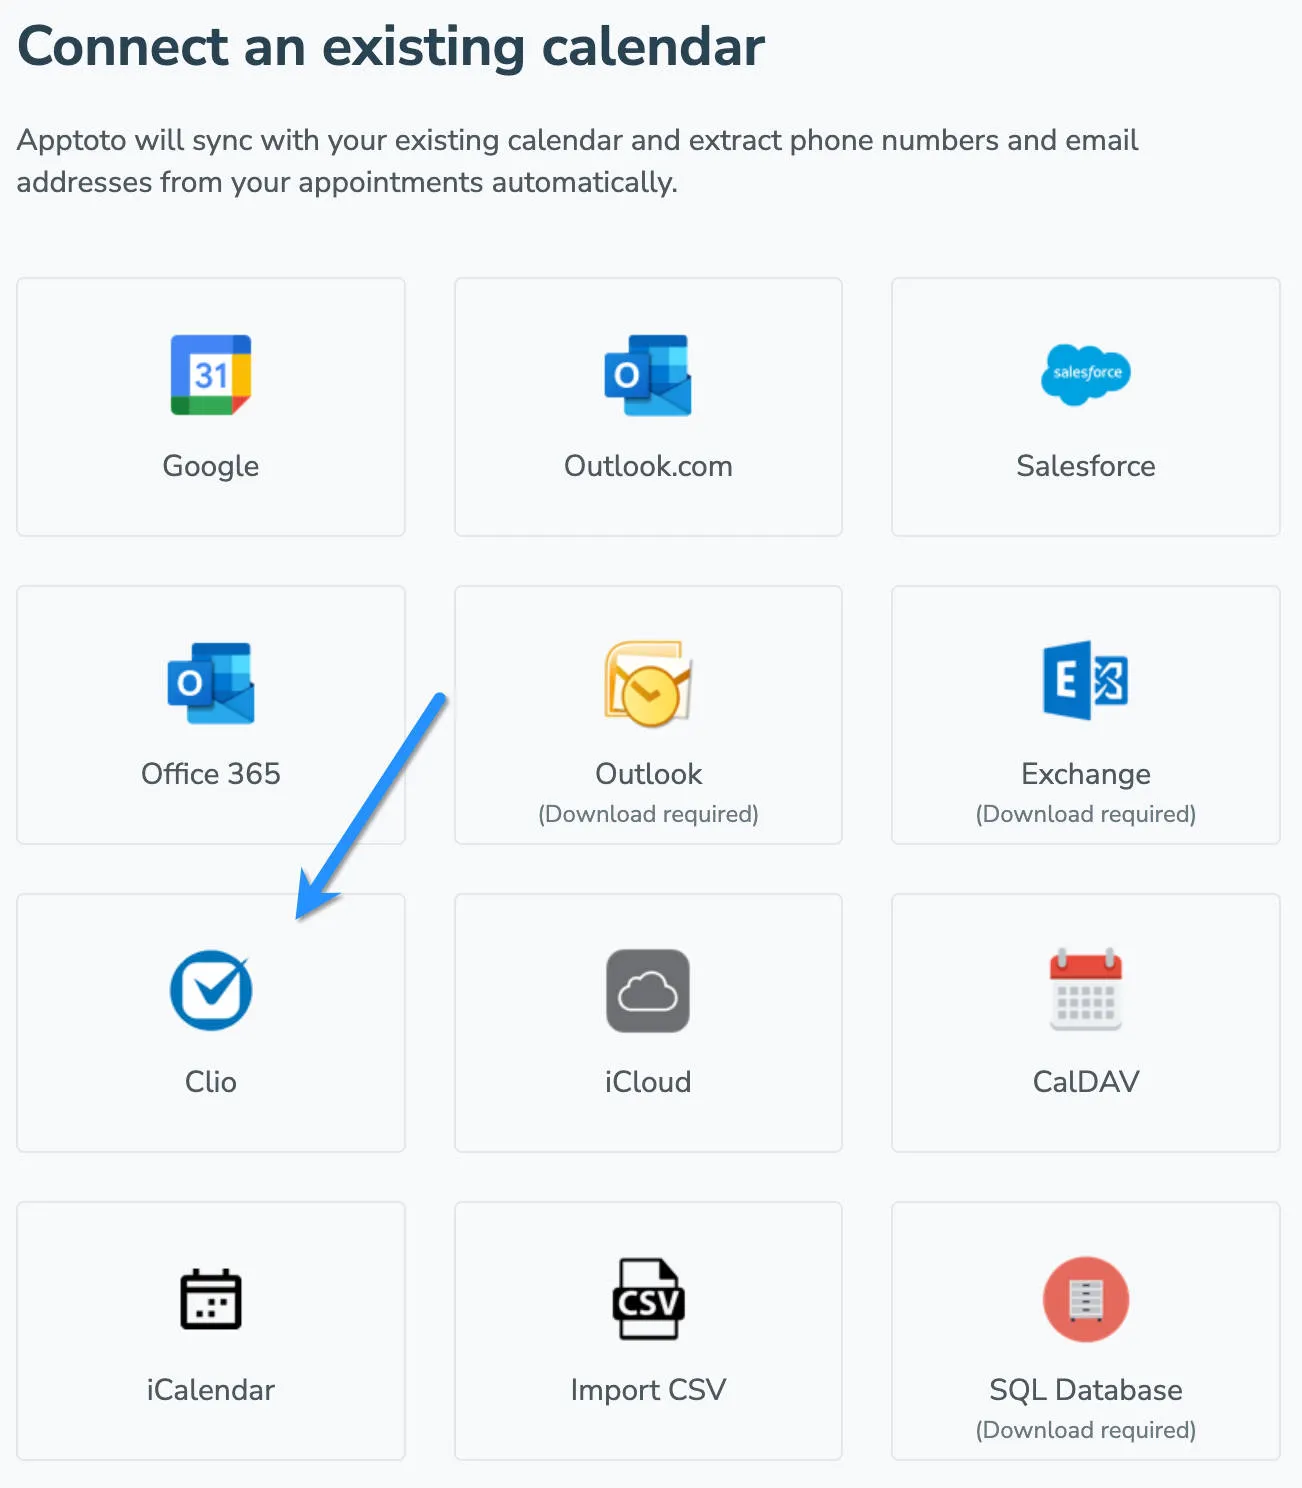
Navigate to the Appointments tab in your Apptoto account, then click the + Add Calendar button.
-
Click the Clio option.
-
On the following Clio authorization page, click Yes, Let’s Connect.
-
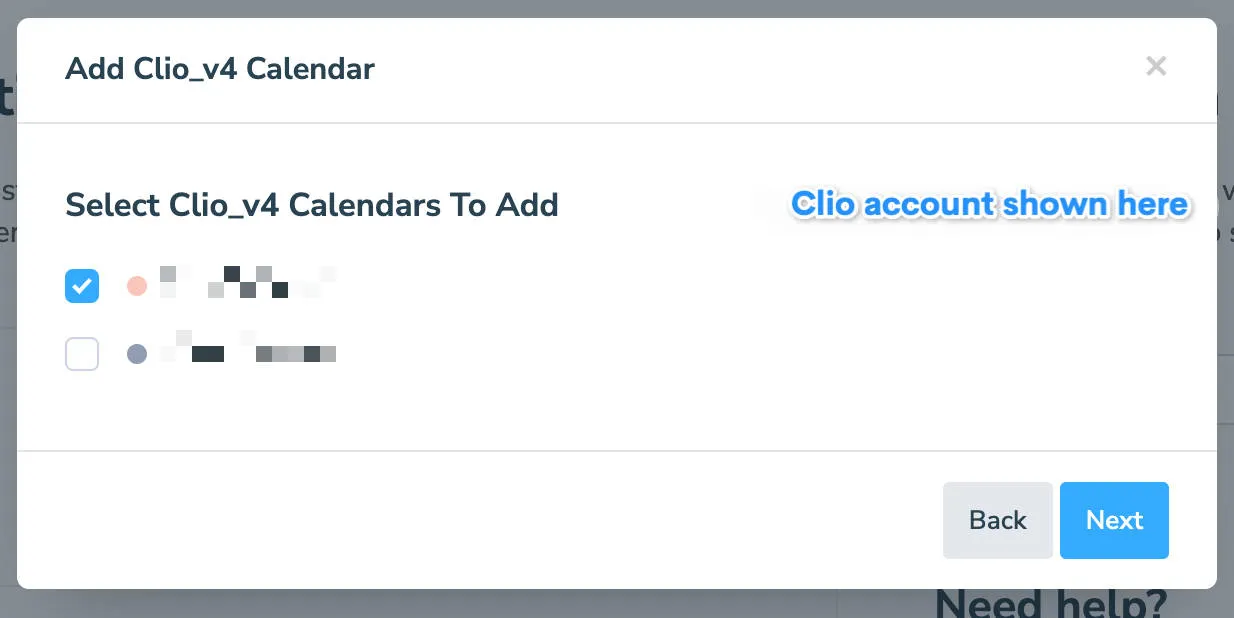
On the following page, select the calendar(s) you’d like to add from the picklist, then click Next.
-
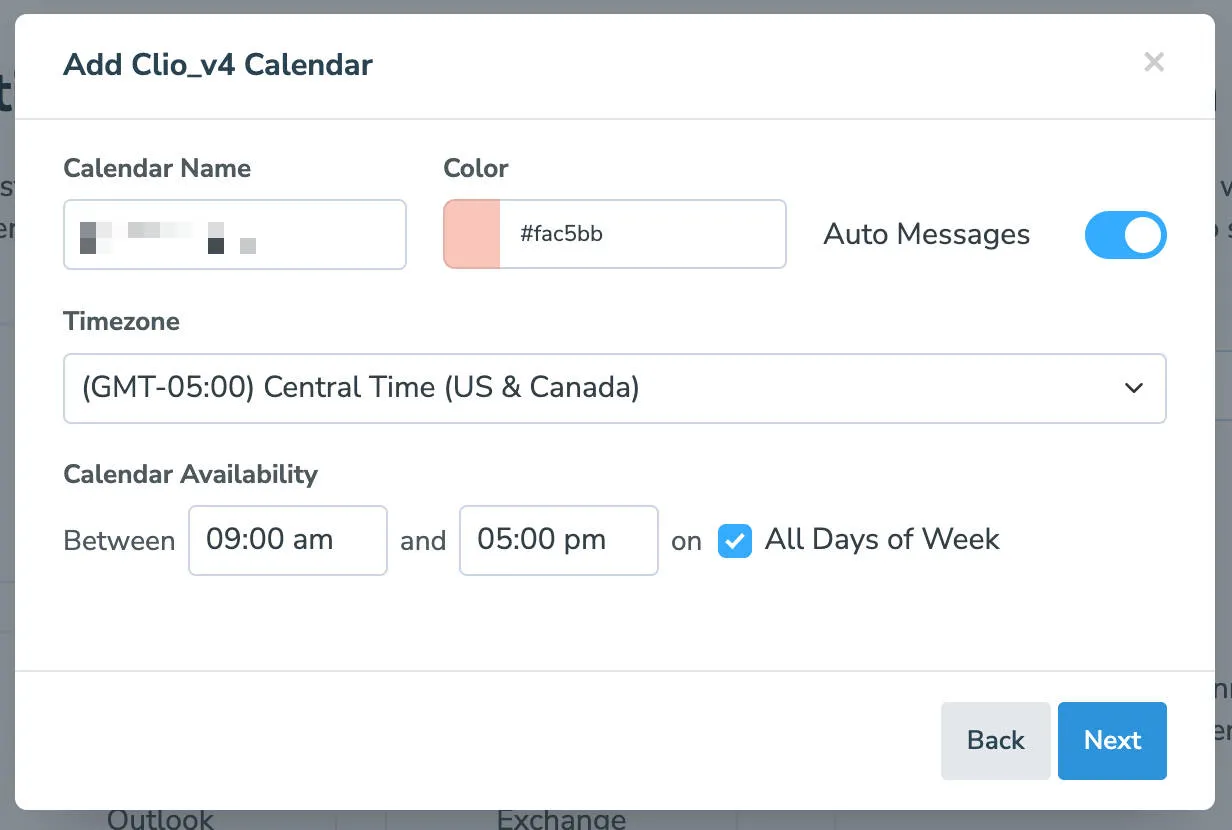
The Calendar Name and Color options are identifiers for you in Apptoto and will not impact your calendars in Clio. By default, the Calendar Name is populated with the Clio name. Once you have completed those prompts, availability can be set (relative to online booking in Apptoto) if you’d like to utilize online scheduling.
Proceed to the next step by clicking Next.
-
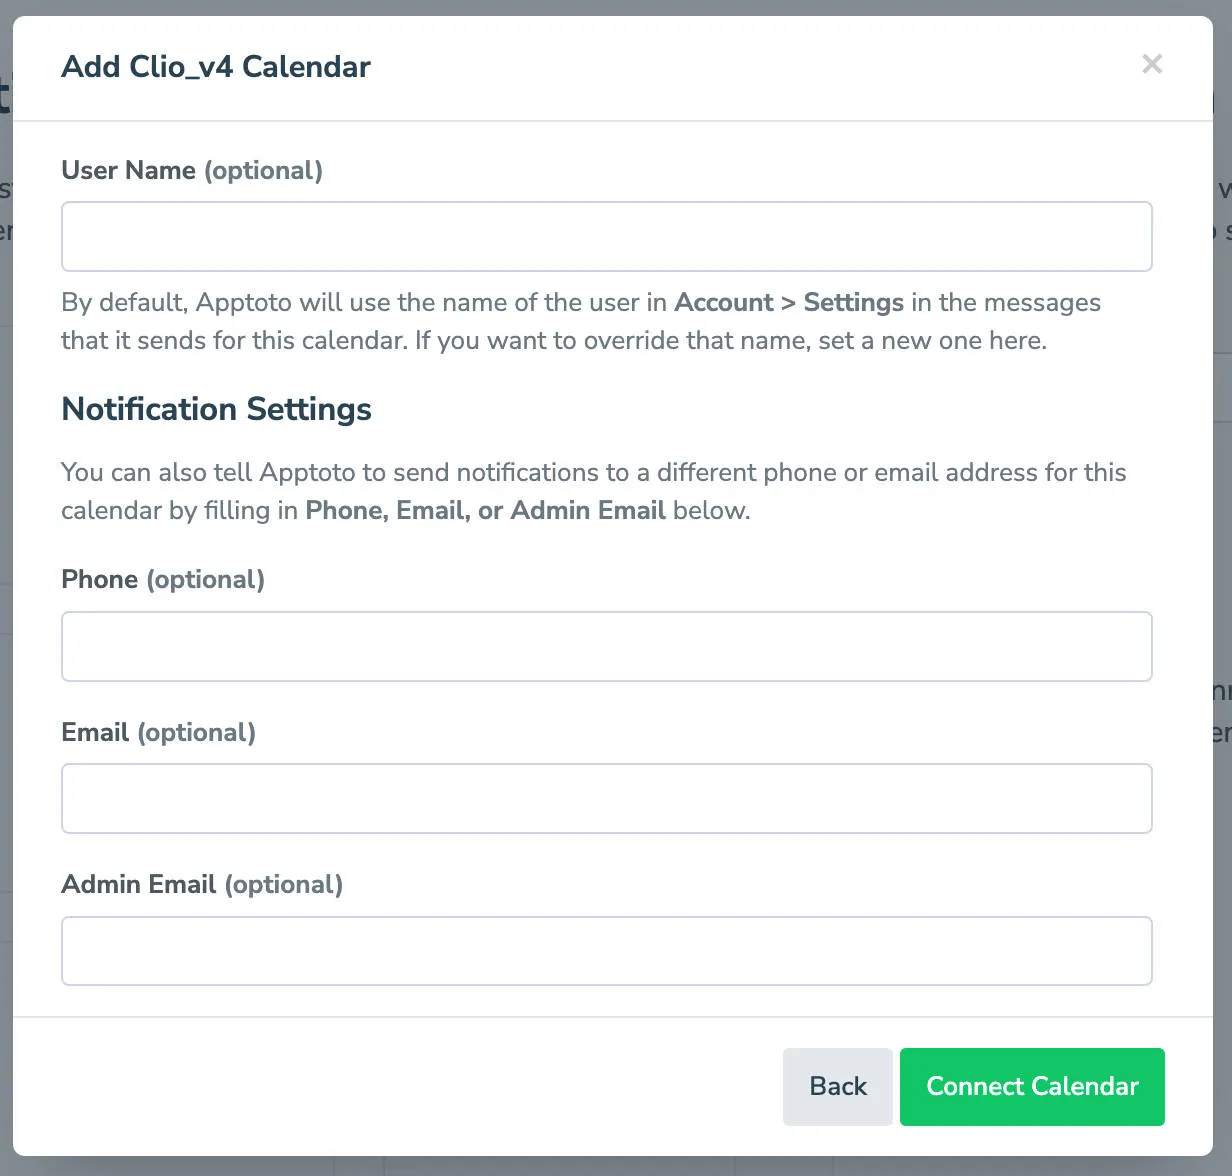
The next step allows you to set notification preferences when an individual calendar is chosen. Once completed, click Connect Calendar to complete the connection between the chosen Clio calendar(s) and Apptoto.
Apptoto will automatically connect to your existing Clio clientele’s information by looking at the Clients connected to the Matter associated with an Appointment, further streamlining the process and ensuring your clients receive their reminders with minimal effort.