Zapier
Zapier lets you connect Apptoto to other web services through automated workflows called Zaps. A Zap consists of a trigger (an event in one app) and one or more actions (things that happen in another app as a result).
Apptoto supports both directions: Apptoto can trigger actions in other apps, and other apps can trigger actions in Apptoto.
Connect Apptoto to Zapier
Section titled “Connect Apptoto to Zapier”-
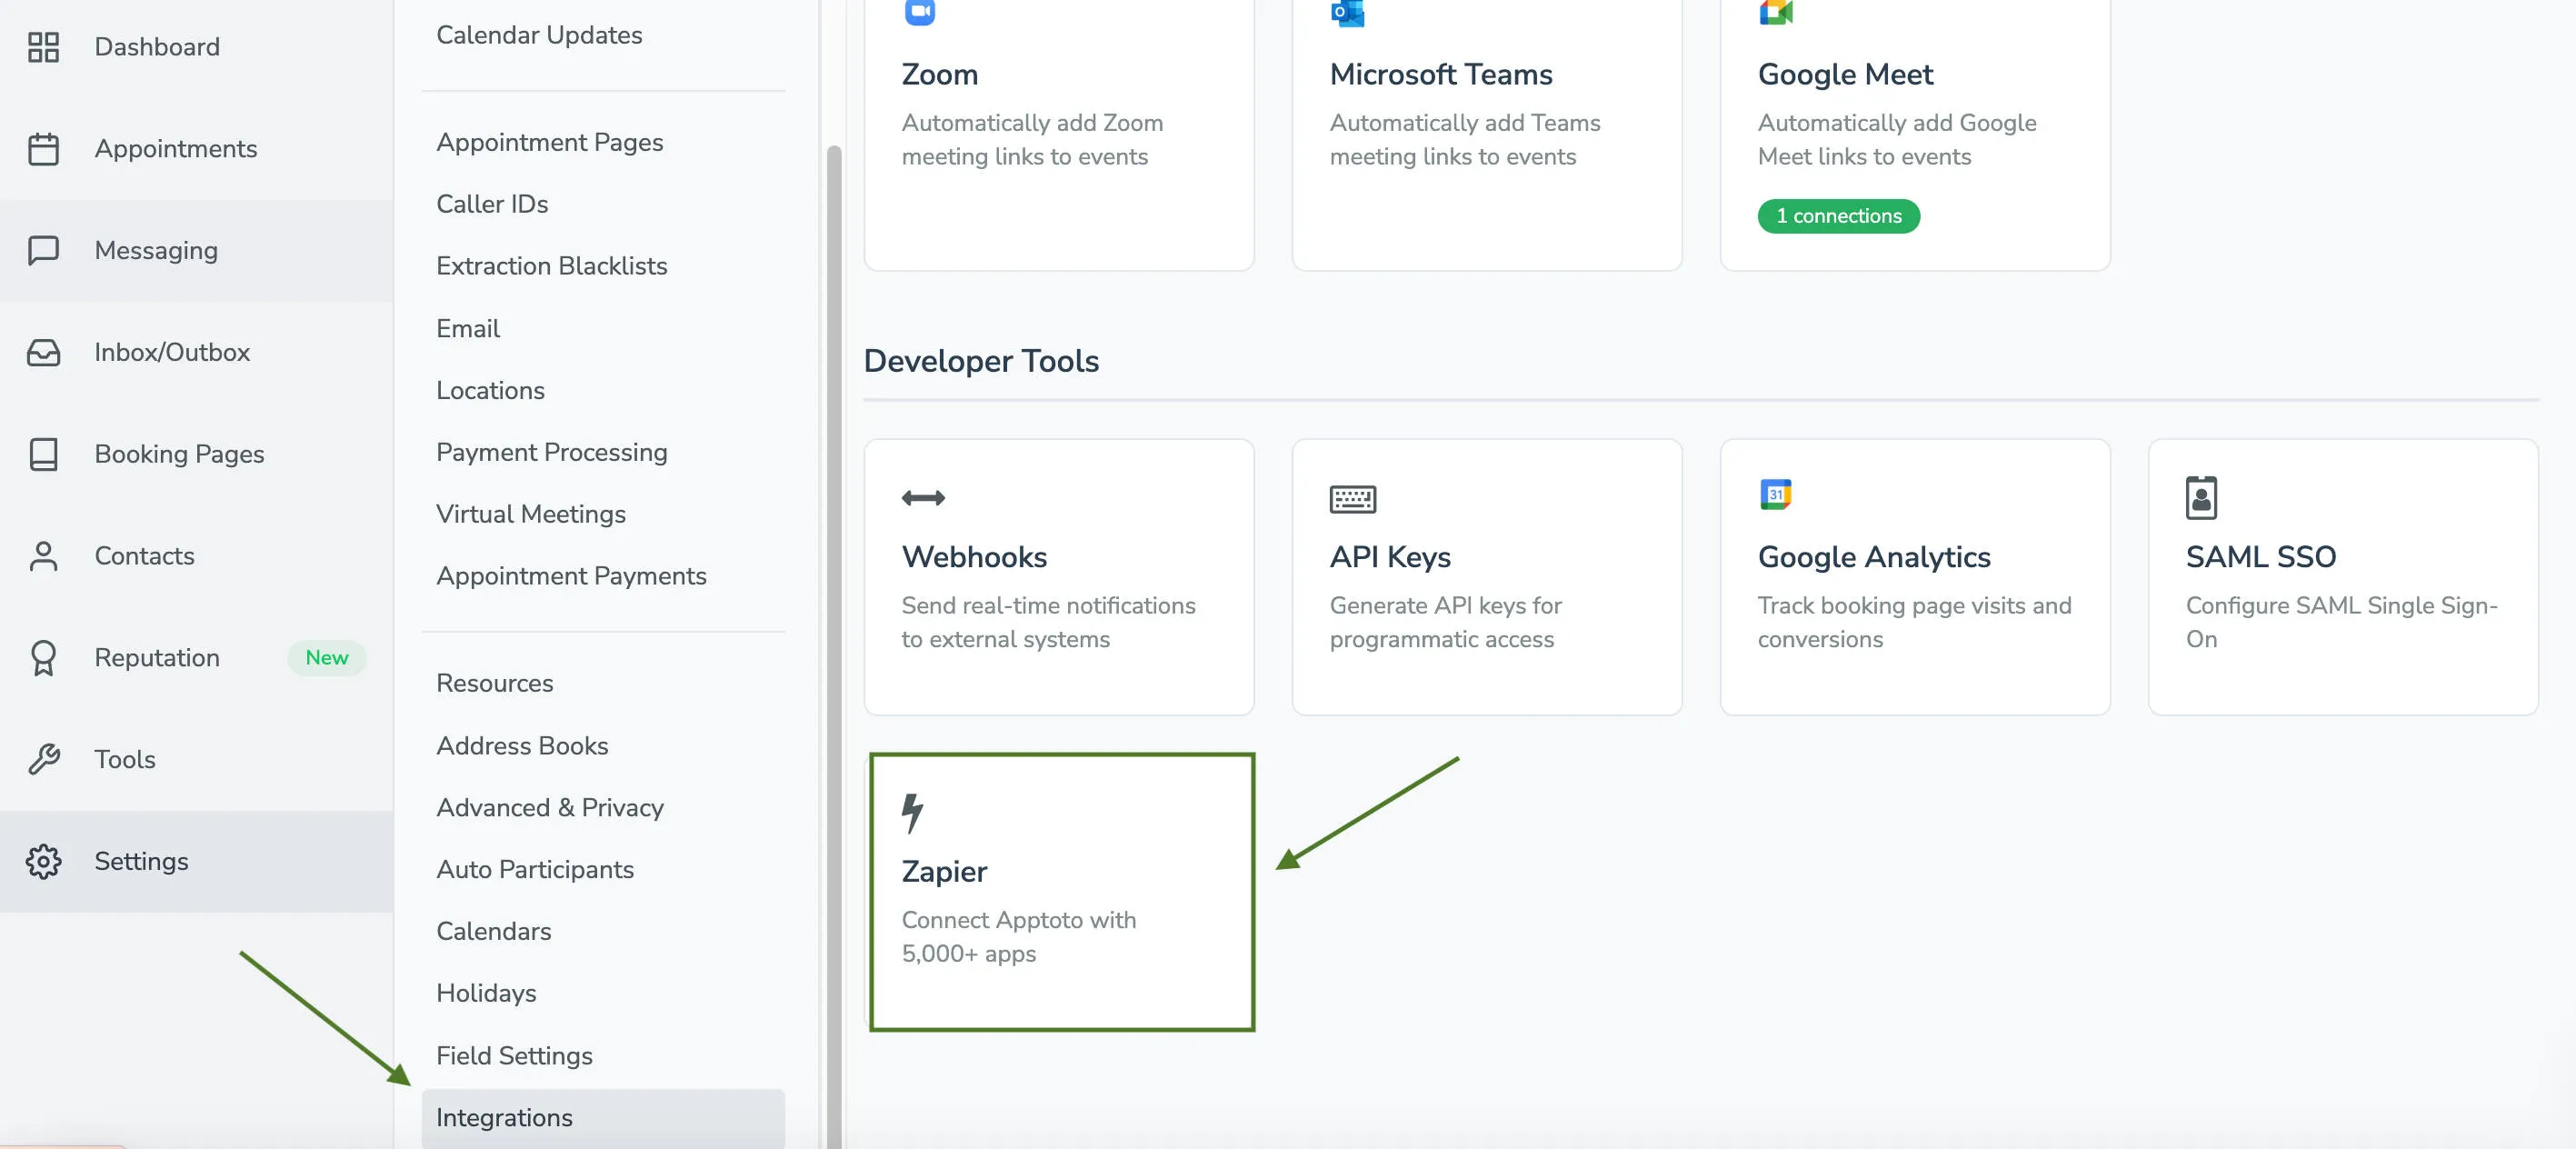
Open the Zapier integration in Apptoto - Navigate to Settings > Integrations tab > Developer Tools section in Apptoto. Click Zapier.
-
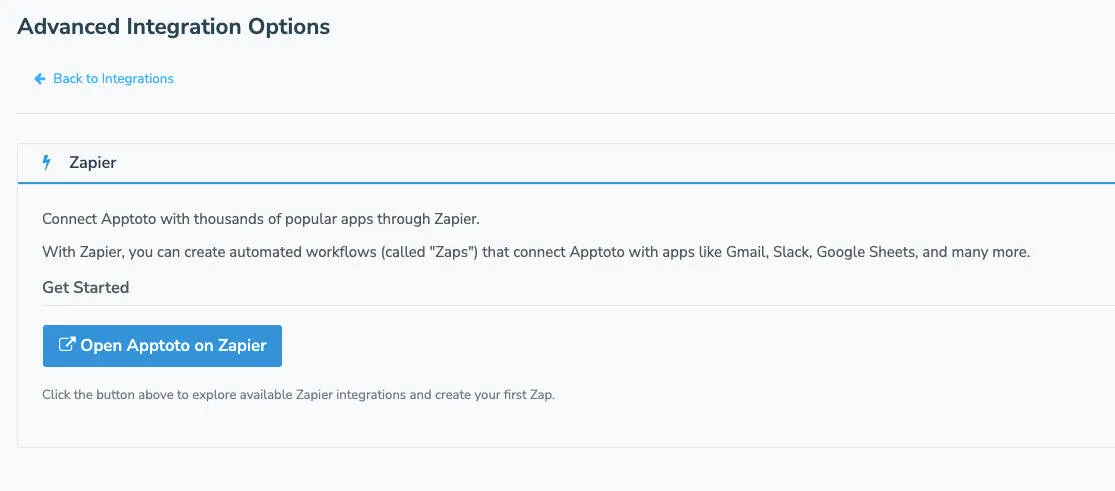
Open Apptoto on Zapier - On the Advanced Integration Options tab, click Open Apptoto on Zapier.
-
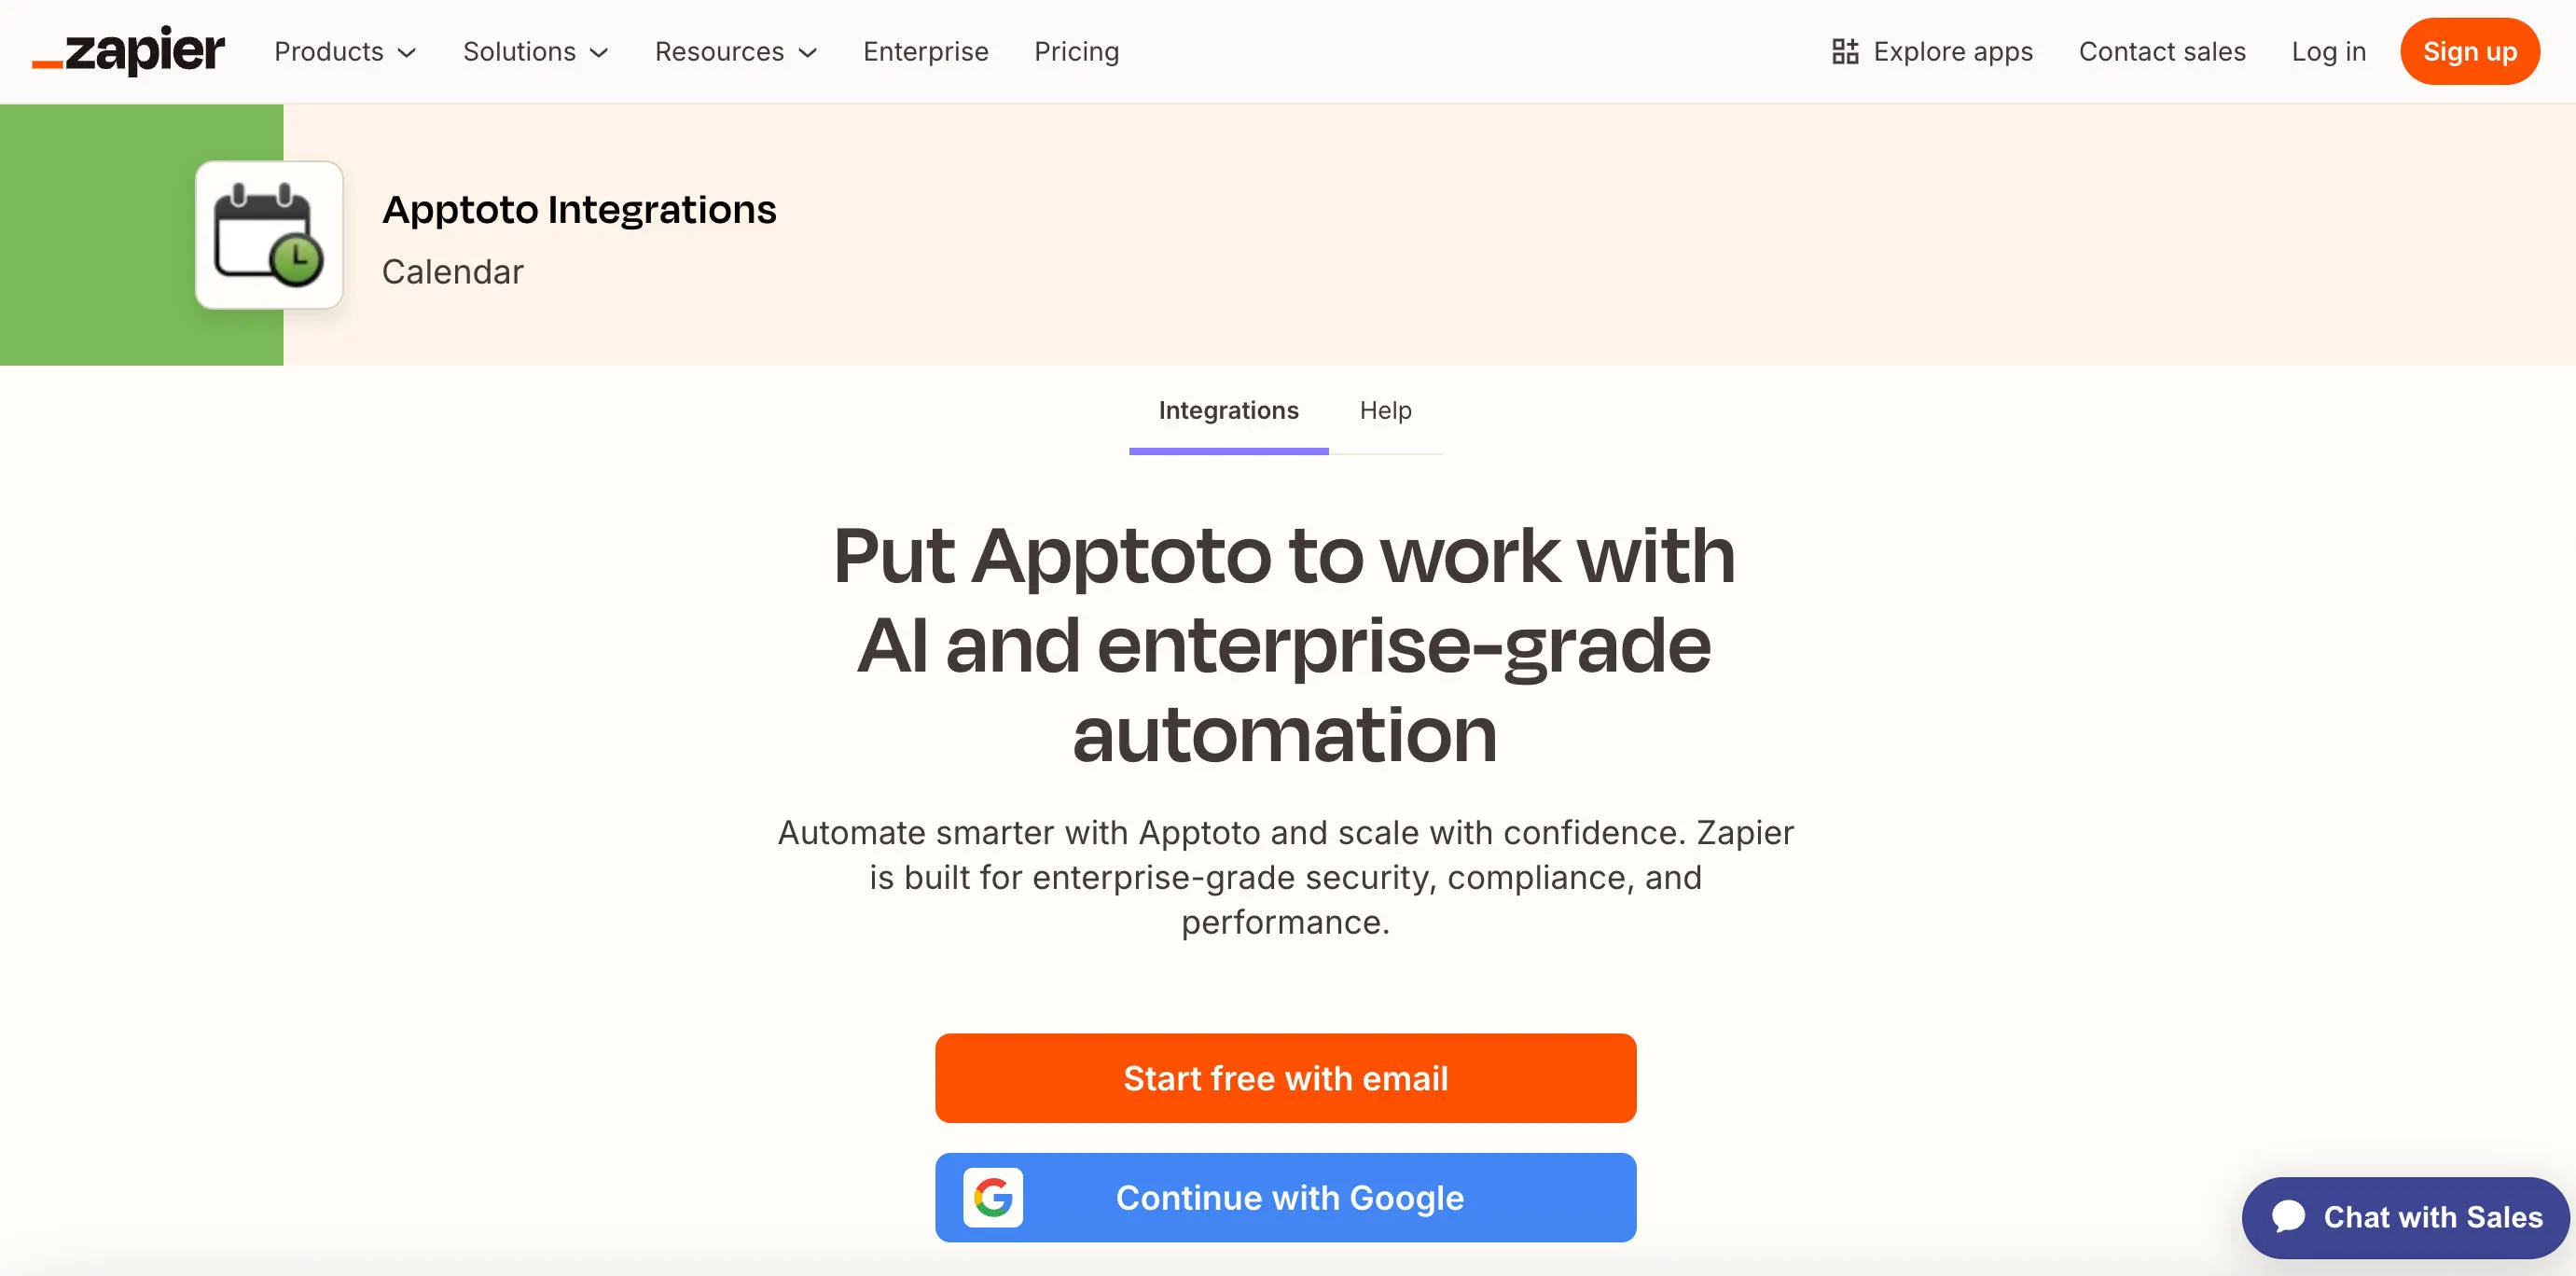
Log in or sign up for Zapier - Log in to an existing Zapier account or sign up for a new one.
-
Accept permissions - Acknowledge Zapier’s usage terms and grant necessary permissions to integrate with your Apptoto account.
Setting up a trigger Zap (Apptoto → another app)
Section titled “Setting up a trigger Zap (Apptoto → another app)”The first step involves selecting the app and event that triggers the Zap — a specific action that starts the automation, such as a new appointment booking or attendance status change. Once triggered, the Zap automatically runs remaining steps.
Apptoto trigger events
Section titled “Apptoto trigger events”-
Choose a trigger event - Select one of Apptoto’s eight trigger events.
Trigger When it fires Appointment Scheduled A new event is created through an Apptoto booking page Message Received An incoming message is received in Apptoto Message Sent A message is sent from Apptoto Participant Booking State Changed A participant’s booking state changes (invited, accepted, declined, etc.) Participant Check-In State Changed A participant’s check-in status changes (arrived, late, no-show, etc.) Participant Reminder State Changed A reminder status changes ( [REMINDED],[CONFIRMED],[CANCELLED], etc.)Payment Processed A payment is charged or captured via Apptoto Payment Refunded A payment is refunded via Apptoto 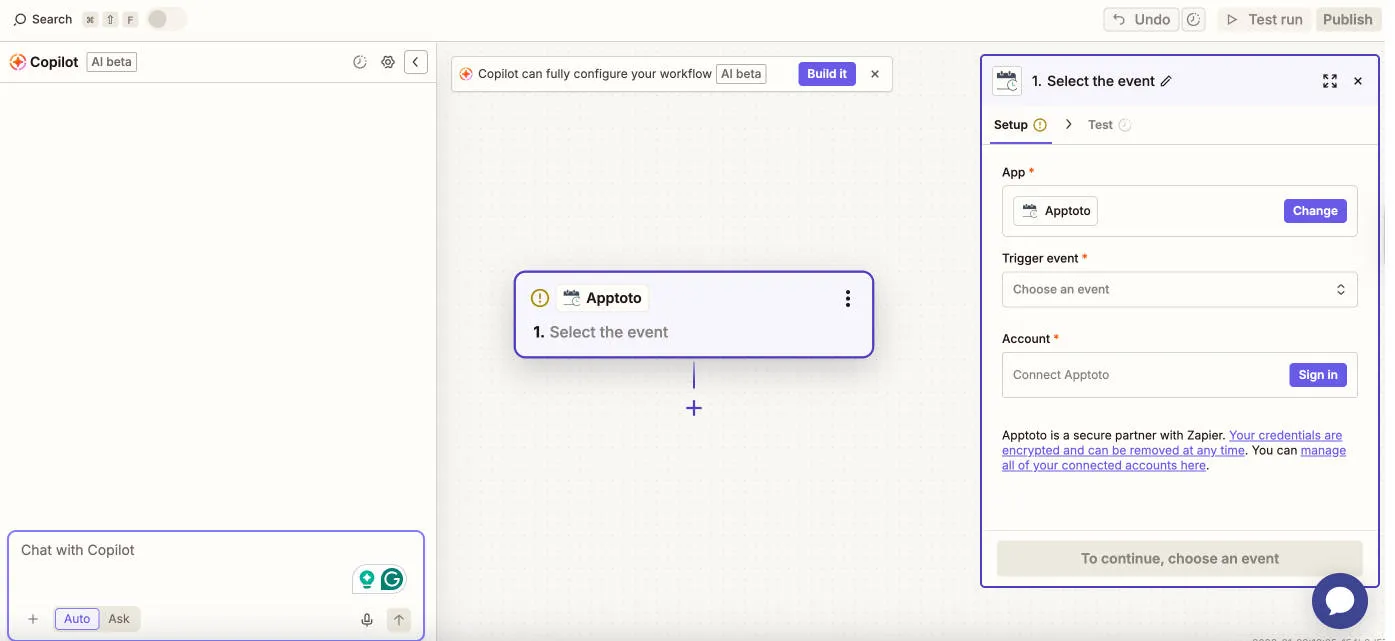
-
Connect your Apptoto account - Click Sign In and enter your Apptoto email address. When prompted for an API key:
- In Apptoto, go to Settings > Integrations > Developer Tools > API Keys.
- Click + Add API Key, enter a name for the key (e.g., “Zapier”), and click Create.
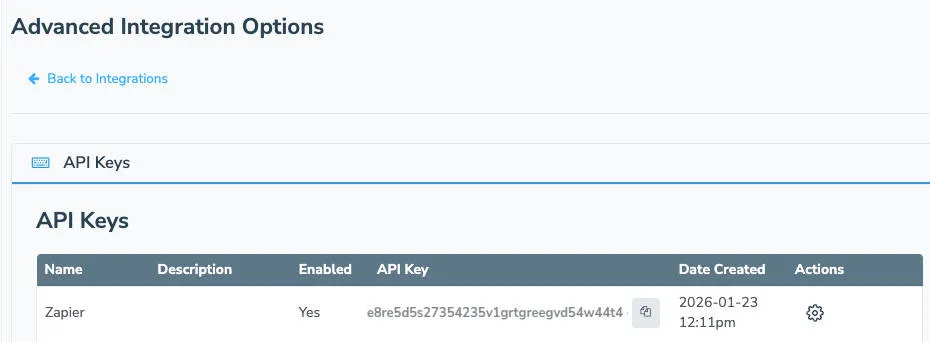
- Copy the generated API key and paste it into Zapier.
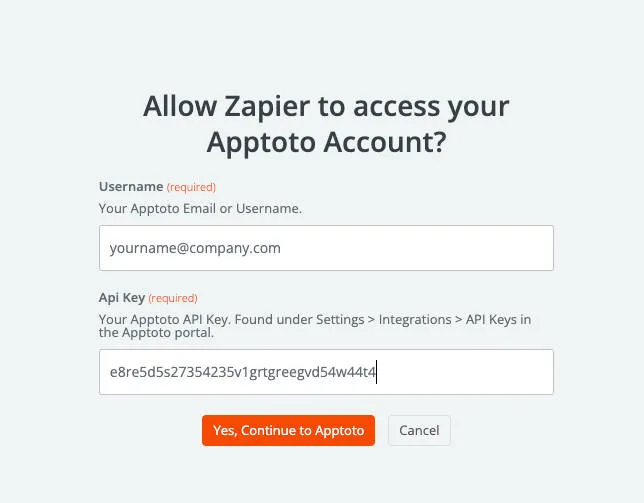
- Click Yes, Continue to Apptoto.
-
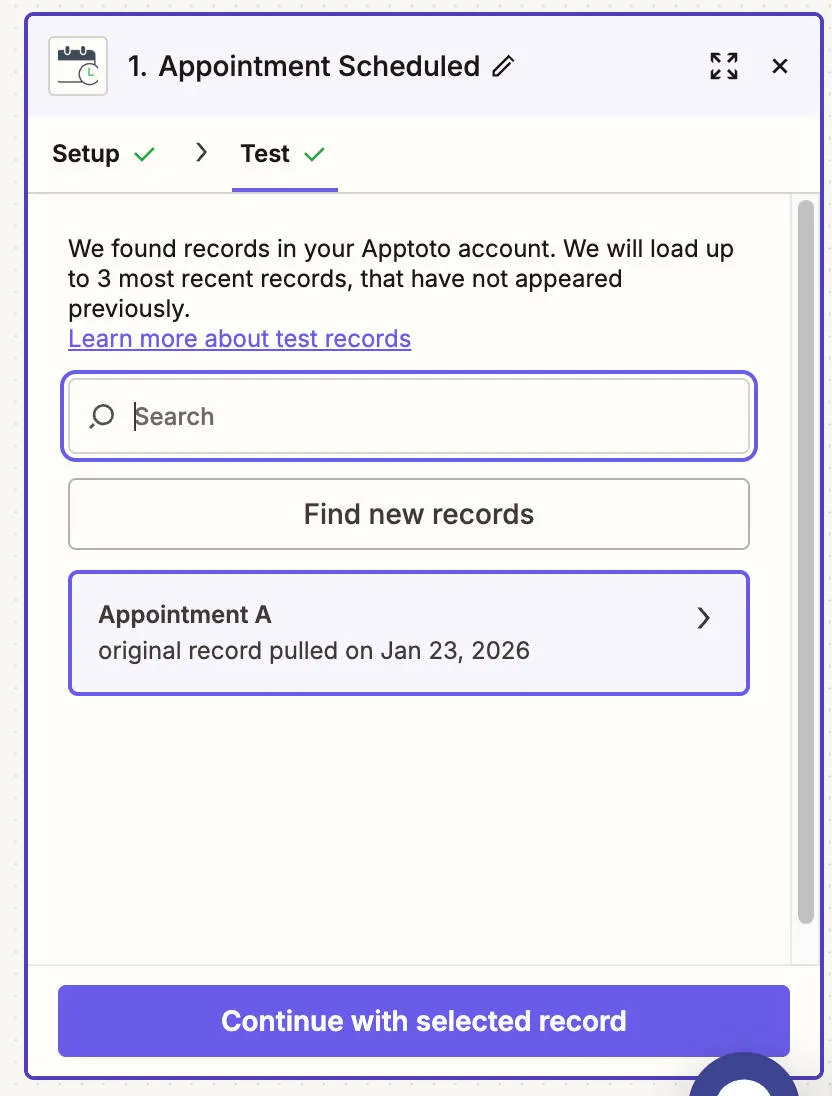
Test the trigger - Your Apptoto account should now be successfully linked. Click Test Trigger. Zapier will find the latest matching event from your Apptoto account and display it. Click Continue with selected record if it looks correct.
-
Configure the action - Select the app you want to receive the data and configure what it should do with the information from Apptoto.
-
Publish the Zap - Test the full Zap, then give it a name and click Publish.
Set up an action Zap (another app → Apptoto)
Section titled “Set up an action Zap (another app → Apptoto)”Actions let another service send data into Apptoto (for example, creating an event when a booking is made in an external system).
-
Create a trigger in your external app - Set up the trigger in the other app (for example, a new row in a Google Sheet or a new form submission).
-
Add Apptoto as the action app - Click the + below your trigger event and select Apptoto from the app list.
-
Choose an action event - Select one of Apptoto’s six action events:
Action When it fires Create or Update Contact Creates or updates a contact in an address book Create or Update Event Creates or updates an event on a calendar Remove Contact Removes a contact from an address book Remove Event Removes an event from a calendar Find a Contact Searches for a contact in Apptoto (use before Create/Update or Remove Contact actions) Find an Event Searches for an event in Apptoto (use before Create/Update or Remove Event actions) 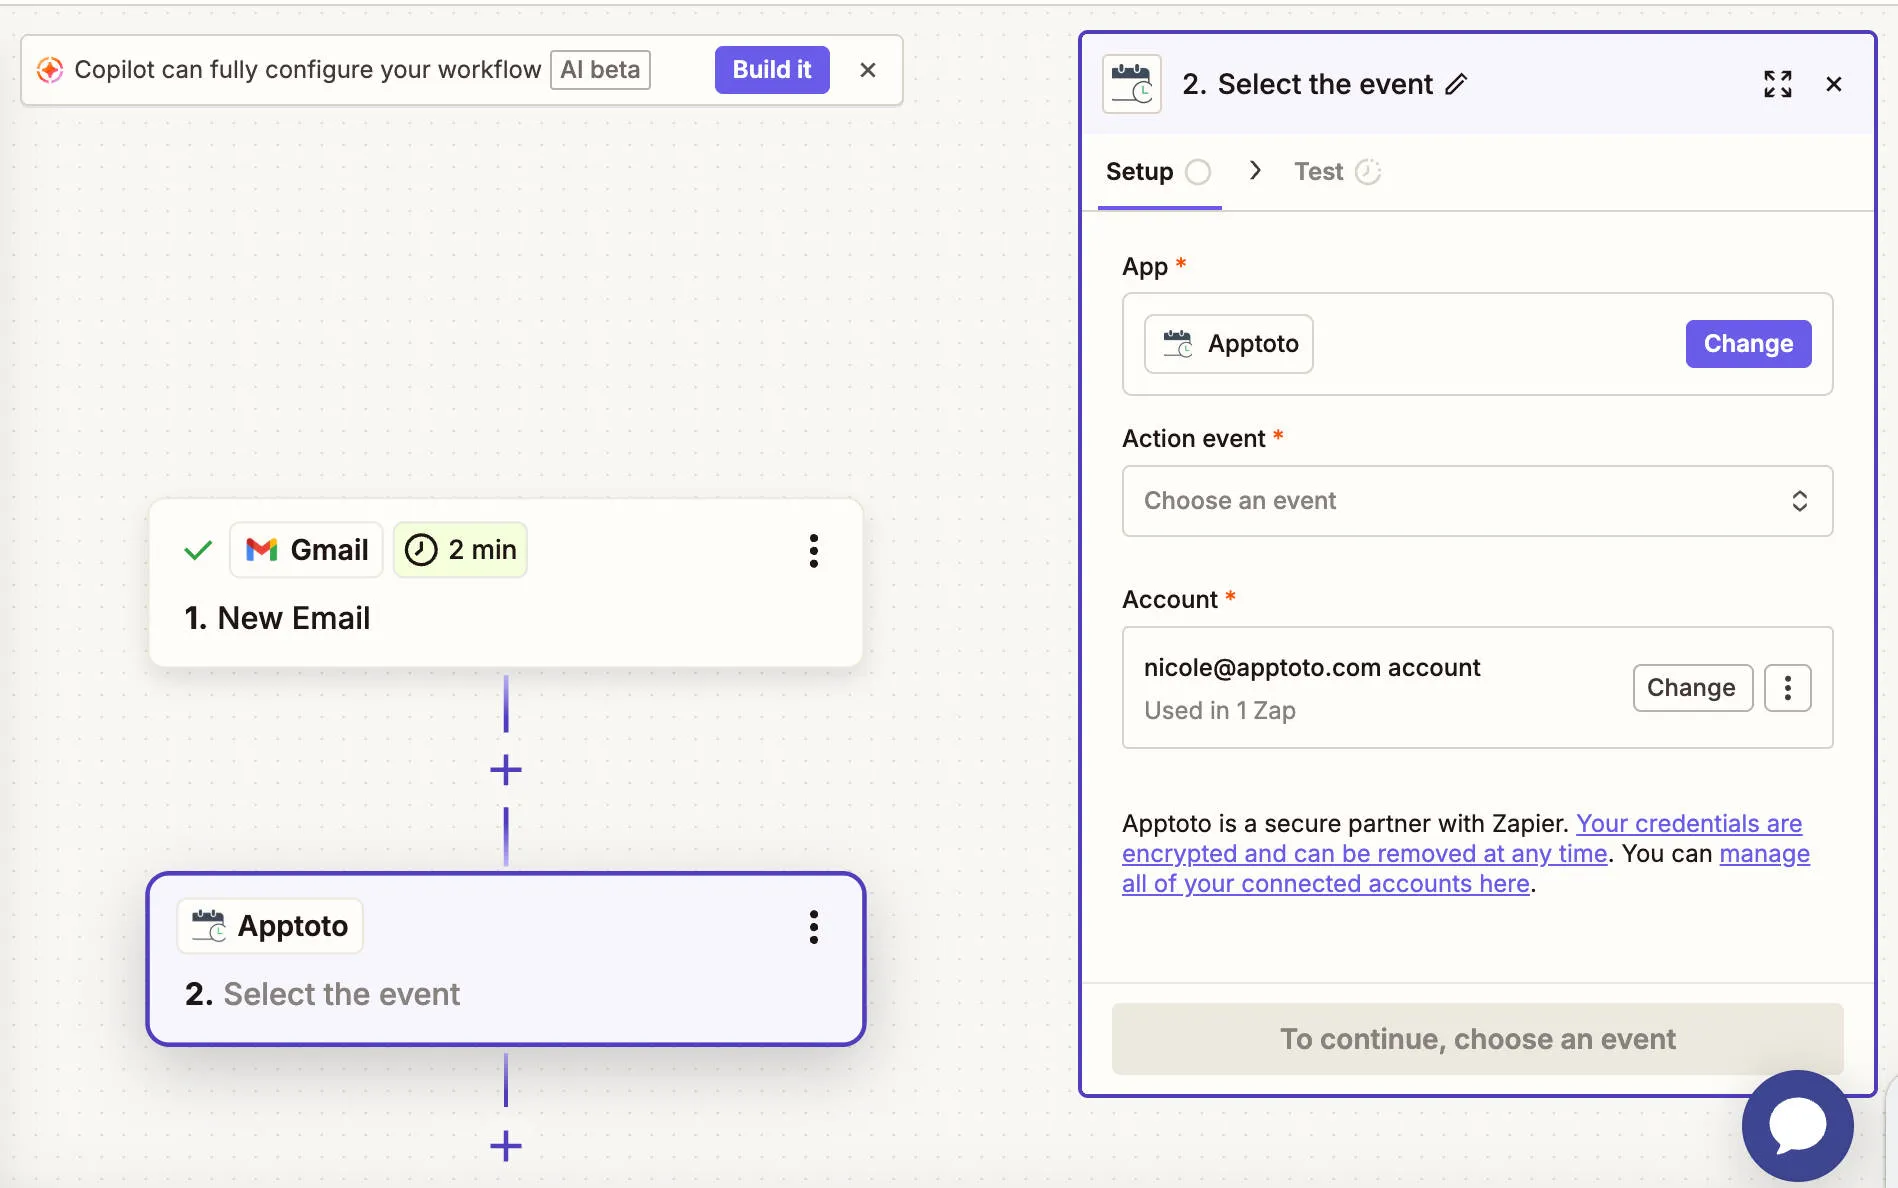
-
Map fields and test -On the Configure screen, map fields from your trigger data to the Apptoto fields. Use the + button to insert dynamic values from your trigger. Test the action, then publish.