
Outlook.com / Office 365
Apptoto supports two methods for connecting Outlook.com and Office 365 calendars:
| Method | Best for | Shared Calendars |
|---|---|---|
| Individual connection | A single person connecting their own calendar | No |
| Admin connection | Organizations connecting shared mailboxes, rooms, and team calendars | Yes |
Both are set up by signing in with Microsoft, and neither needs software installed on your network. For shared mailboxes, room and equipment calendars, and coworkers’ calendars, see Shared, Resource, and Room Calendars.
Sync troubles? If your organization requires Microsoft admin approval, see Outlook / Microsoft 365 Sync Troubleshooting.
Connecting individual calendars via OAuth
Section titled “Connecting individual calendars via OAuth”This approach allows connecting any single Outlook.com / Office 365 user calendar but doesn’t provide access to shared calendars. For shared calendar access, use the Exchange Connector method instead.
-
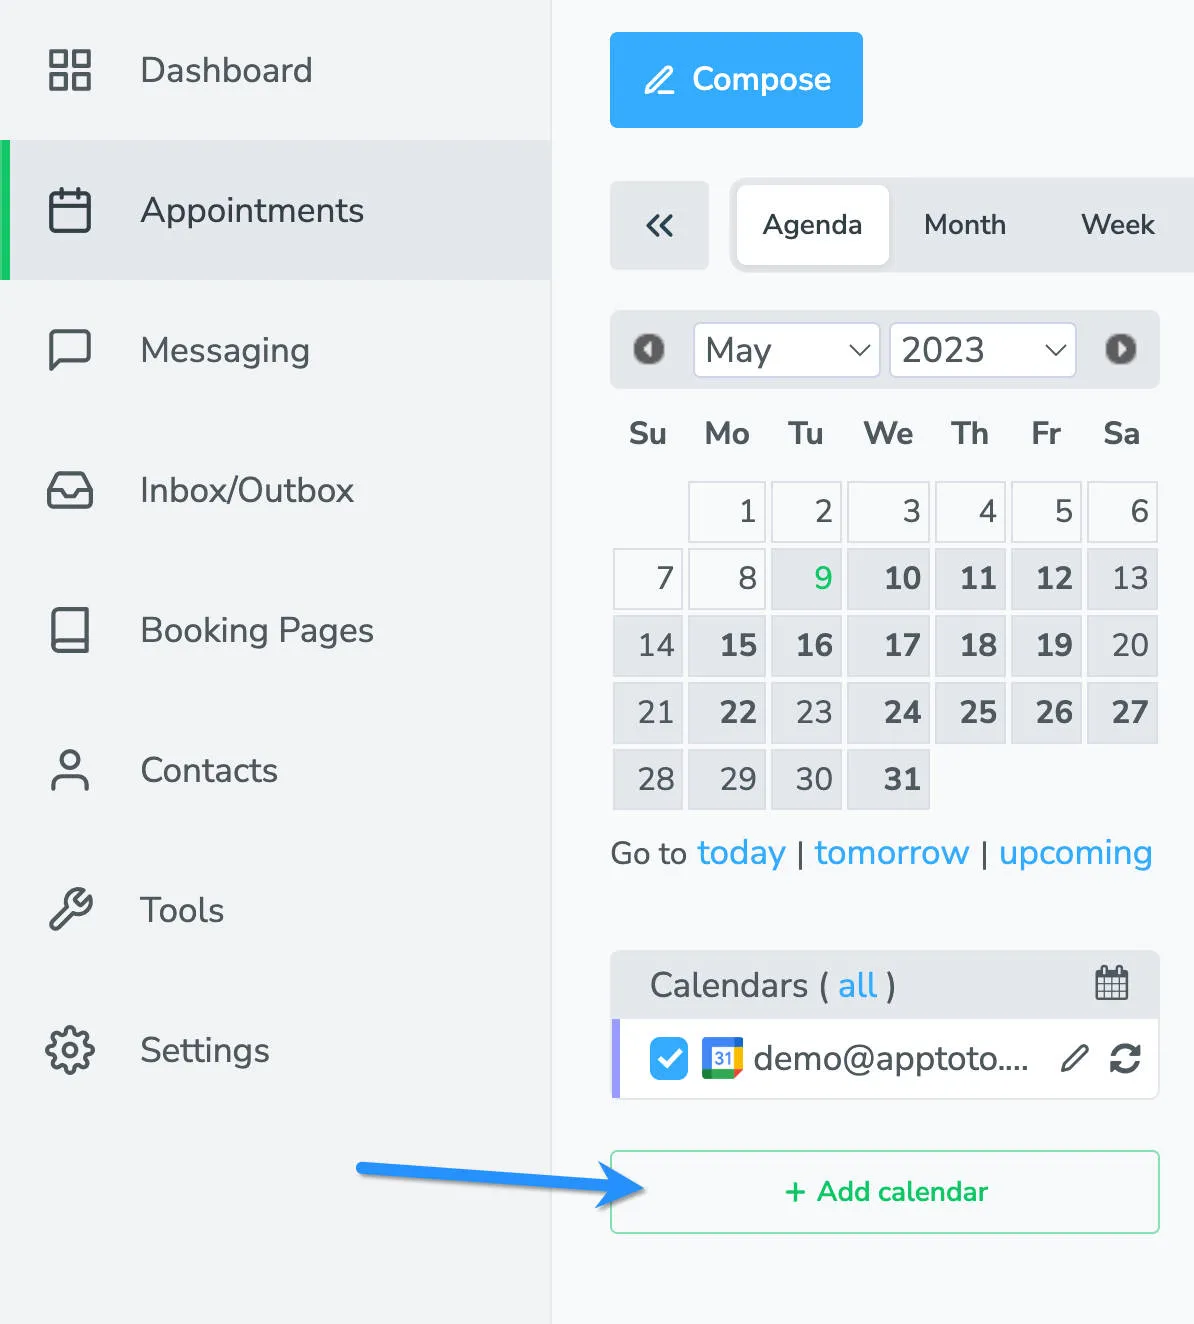
Navigate to Add Calendar. Click the + Add Calendar button on your Appointments tab.
-
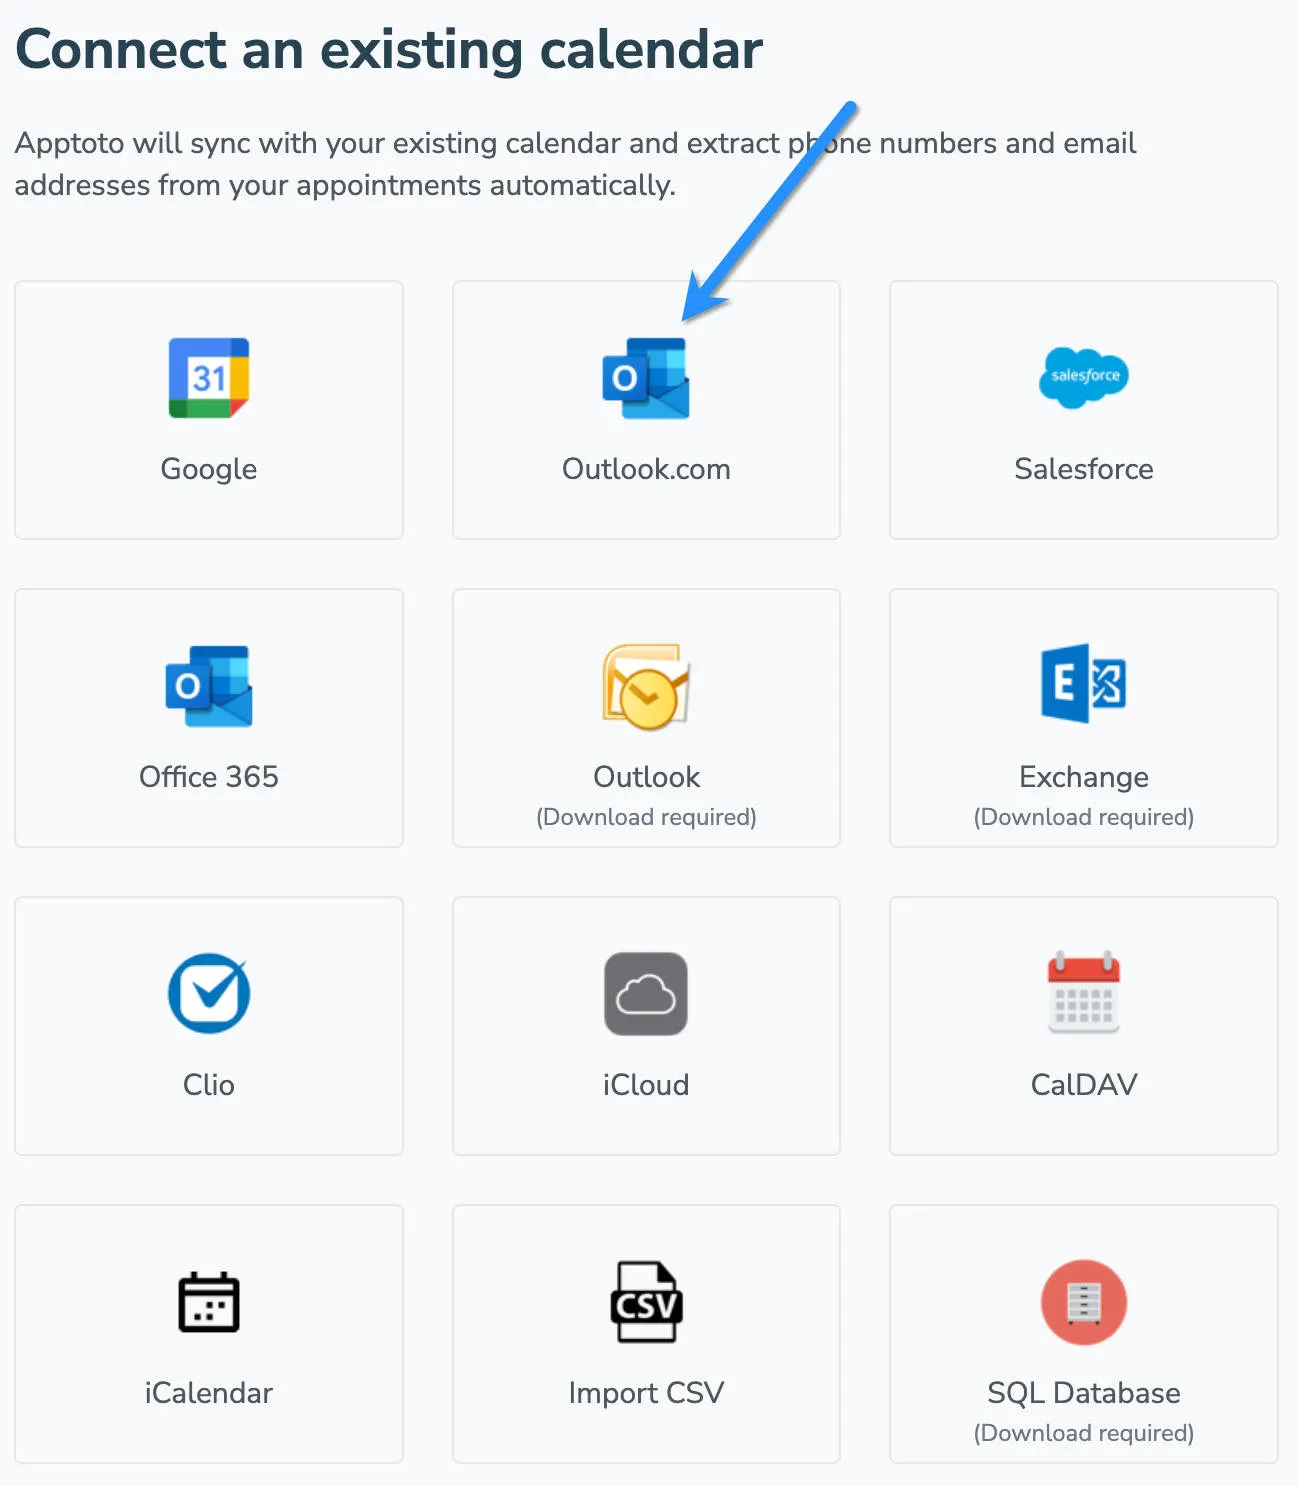
Select Outlook.com or Office 365. Choose your provider from the integration list, which directs you to the official Outlook.com / Office 365 login page. Enter your account credentials.
-
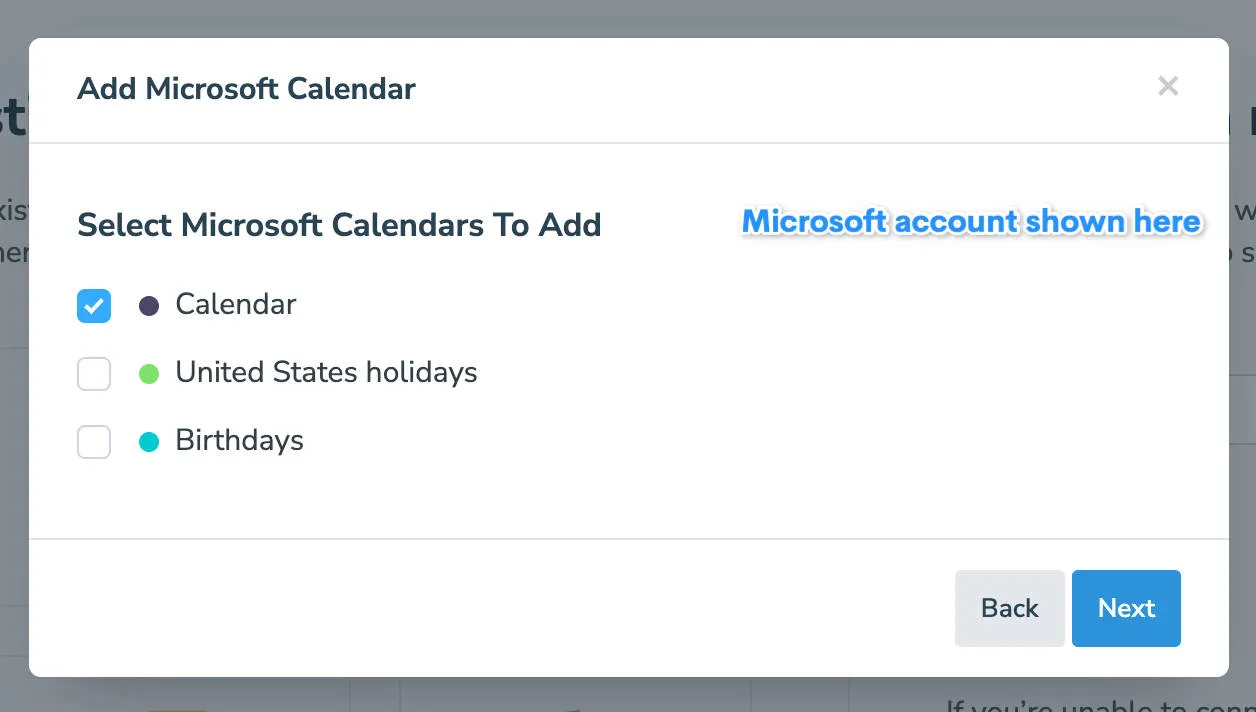
Select calendar. From the dropdown menu, select the specific calendar to sync with Apptoto, then click Next.
-
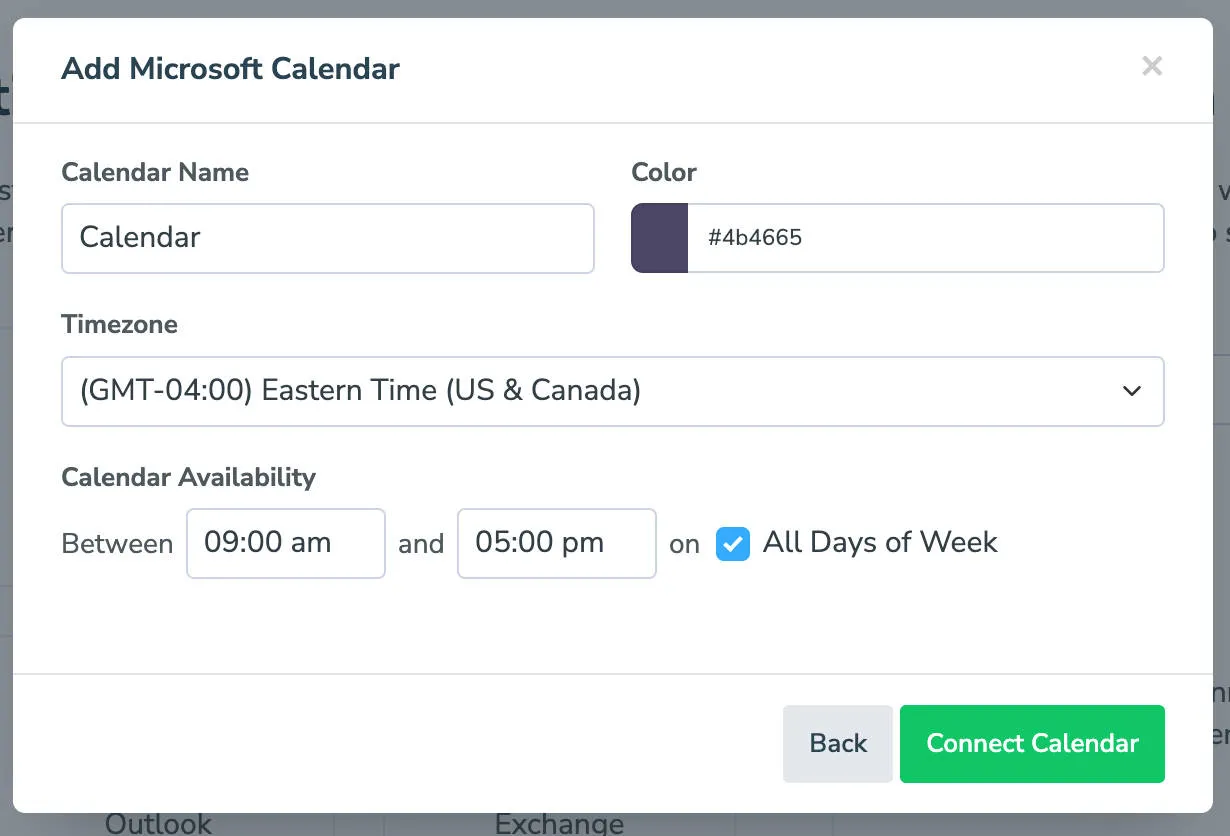
Configure calendar settings. Set the calendar name and color (identifiers in Apptoto only). Configure availability settings for online booking if desired. Note that clients won’t schedule unless you create a booking page. Click Connect Calendar to proceed.
-
Verify in Appointments tab. Navigate to apptoto.com, access your account menu, and confirm your calendars appear in the Appointments tab.
Connect shared, resource, and room calendars
Section titled “Connect shared, resource, and room calendars”An individual connection only brings in the calendars that belong to the account you signed in with. To sync a shared mailbox, a room or equipment calendar, a coworker’s calendar, or a Microsoft 365 Group calendar, use an admin connection and then add each calendar by its email address.
Full walkthrough: Shared, Resource, and Room Calendars. If you are migrating a public folder calendar, see Move a Public Folder Calendar to a Shared Mailbox.
Troubleshooting
Section titled “Troubleshooting”My calendar stopped syncing
This usually means your Microsoft authentication token has expired or been revoked. Go to Settings > Calendars, find the affected calendar, and click Reconnect. You’ll be prompted to sign in with Microsoft again. If your organization uses admin-controlled permissions, your admin may need to re-approve Apptoto — see Outlook / Microsoft 365 Sync Troubleshooting.
New appointments are not appearing
Apptoto syncs your calendar automatically once per hour. To pull in new appointments immediately, click the Sync button on the Appointments tab or under Settings > Calendars. If appointments still don’t appear after a manual sync, confirm the correct calendar is selected under Settings > Calendars and that the appointments fall within Apptoto’s sync window (upcoming appointments only).
The wrong calendar is connected
Go to Settings > Calendars and check which calendar is currently synced. If it’s the wrong one, remove it and click + Add to connect the correct calendar. During setup, use the calendar dropdown to select the specific calendar you want Apptoto to read from. If your Microsoft account has multiple calendars, make sure you’re choosing the one where your appointments are created.
Shared calendar is not visible
An individual connection only shows the calendars owned by the account you signed in with. Shared calendars are added separately, by email address: on Settings > Integrations, click the arrow next to Add Calendar on the connection and choose Add Calendar By Email. If the connected account does not have permission to that mailbox, add an admin connection instead. See Shared, Resource, and Room Calendars for the full steps, or contact Apptoto Support for help.
After connecting calendars, proceed to Message Setup for the next configuration steps.