Eyefinity Encompass
If you use Eyefinity Encompass to manage patient relationships and appointments as an optometrist and/or eye care clinic, you can now connect Encompass directly to Apptoto. This integration automatically syncs your appointments and patient contact details, so you can automatically send appointment reminders, confirmations, and follow-ups without changing your existing workflow.
Enable the Eyefinity Encompass integration
Section titled “Enable the Eyefinity Encompass integration”-
If you are new to Apptoto, start by creating an account and completing the onboarding steps.
-
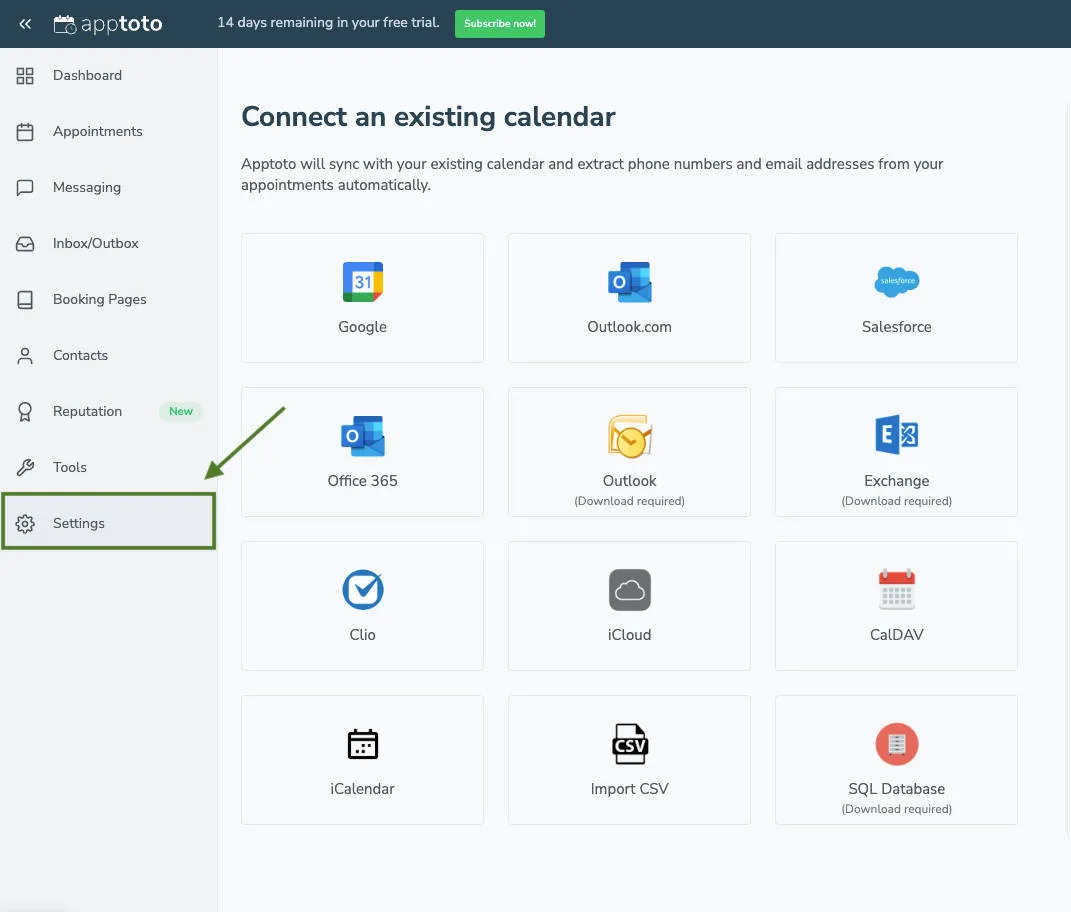
Once the integration has been enabled, log back into Apptoto. When you reach the Connect an existing calendar screen, click the Settings tab, then Integrations.
-
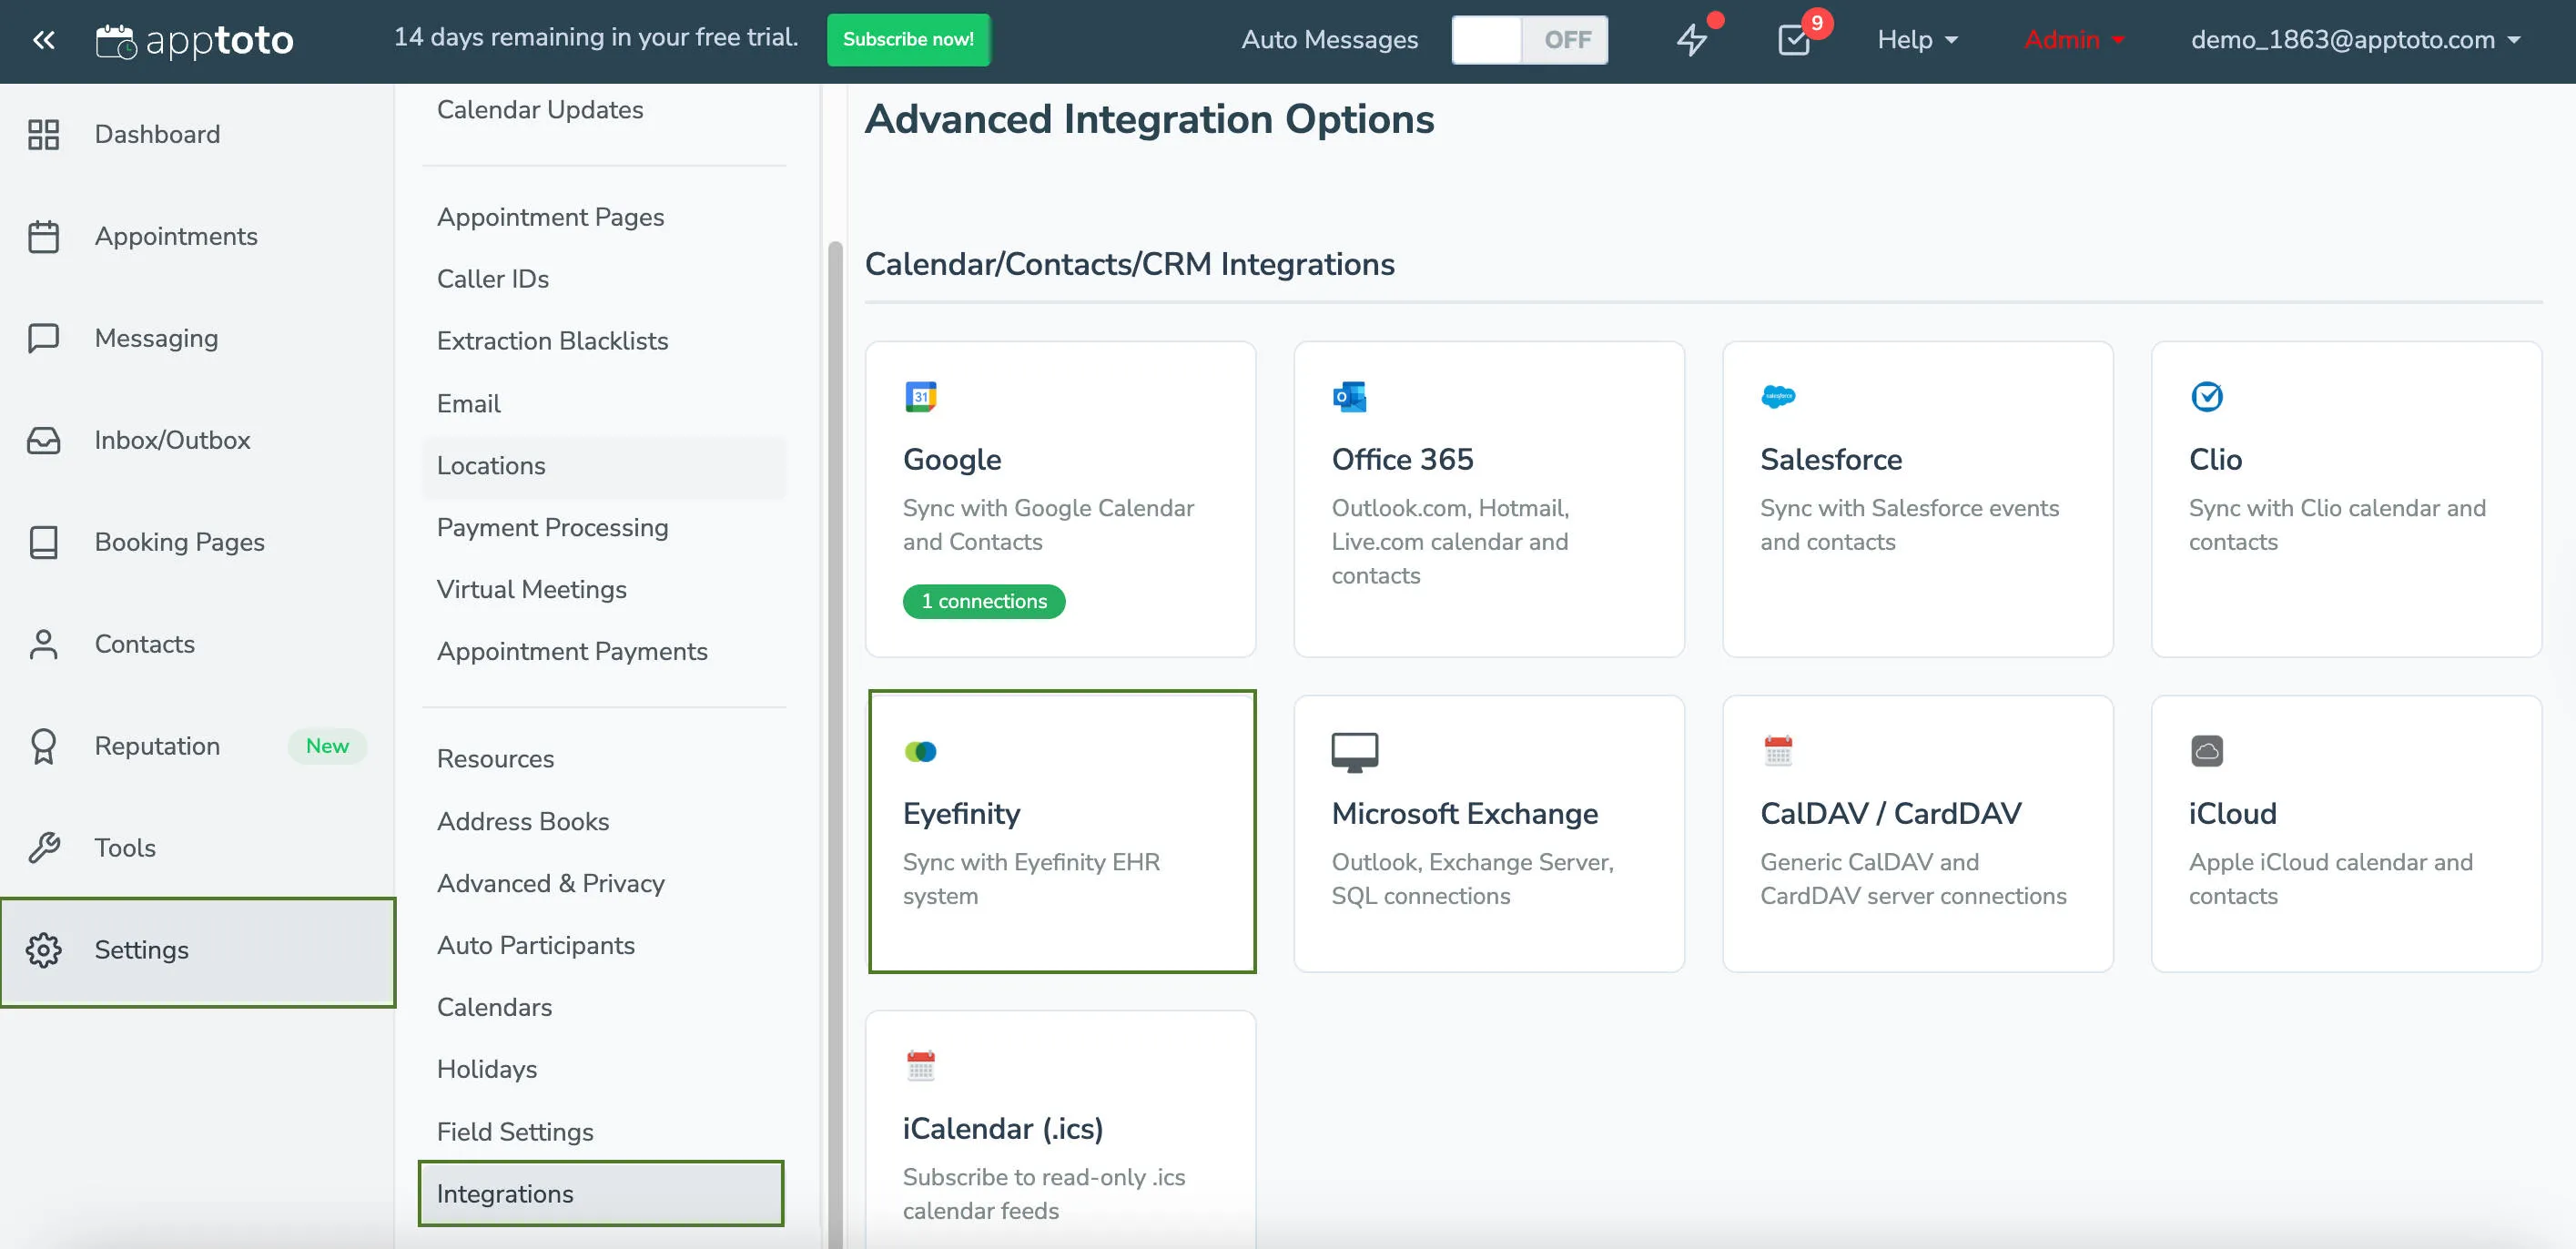
On the Integrations tab, select Eyefinity.
-
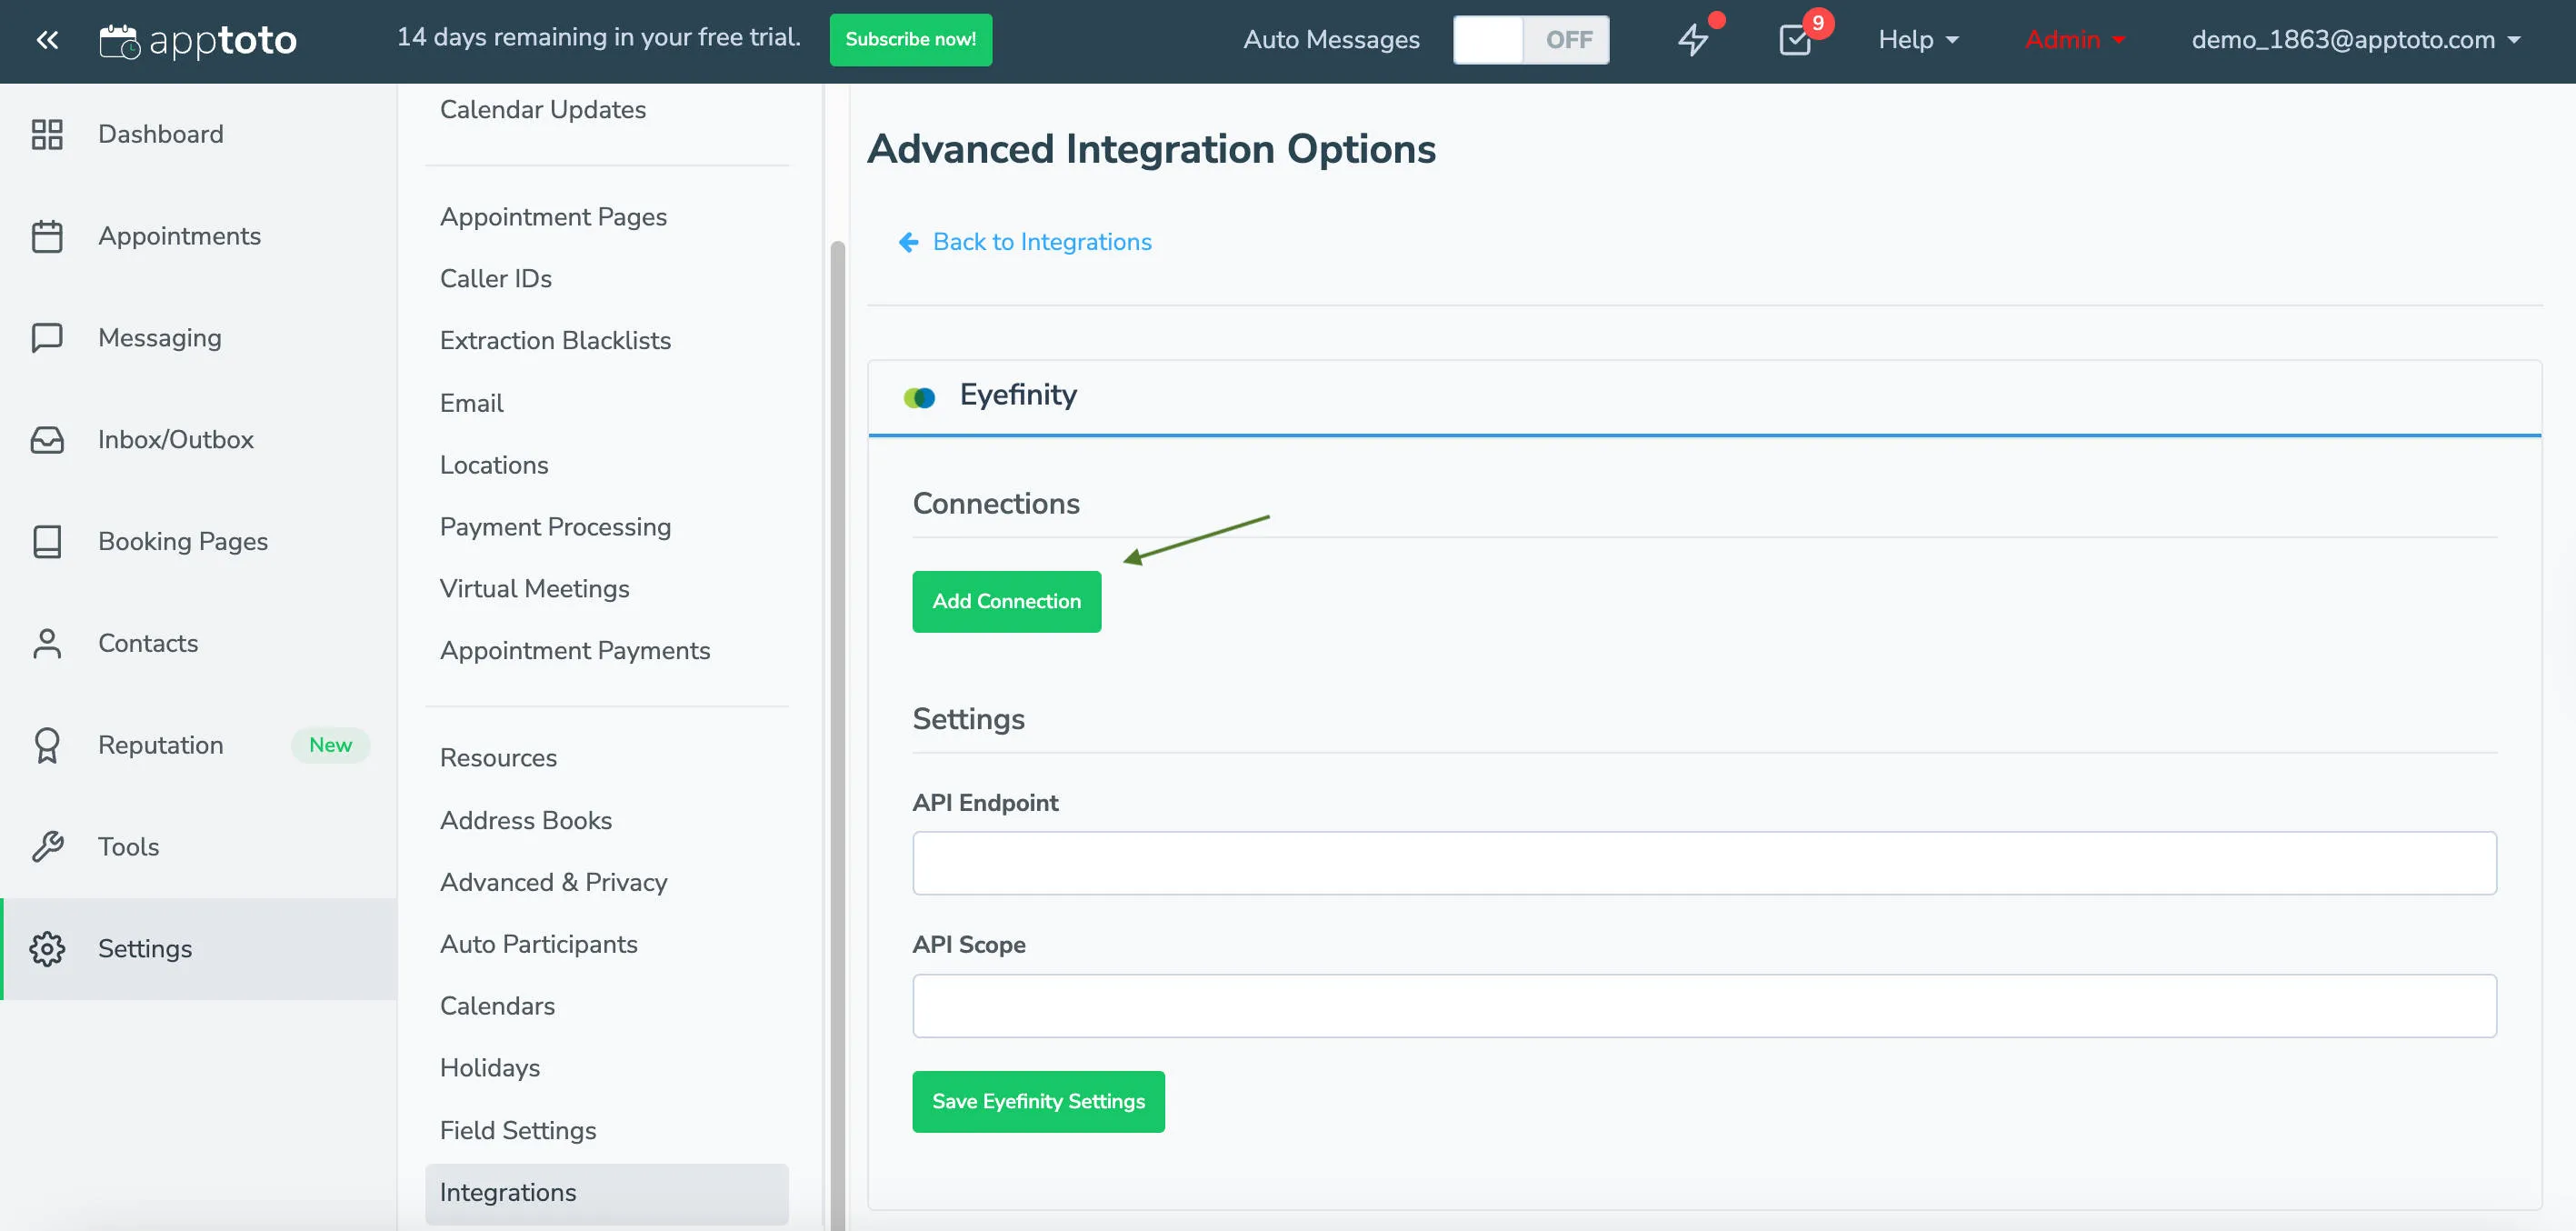
On the Eyefinity integrations tab, click Add Connection. You’ll be taken to the Eyefinity website to enter your credentials and connect Eyefinity to Apptoto.
-
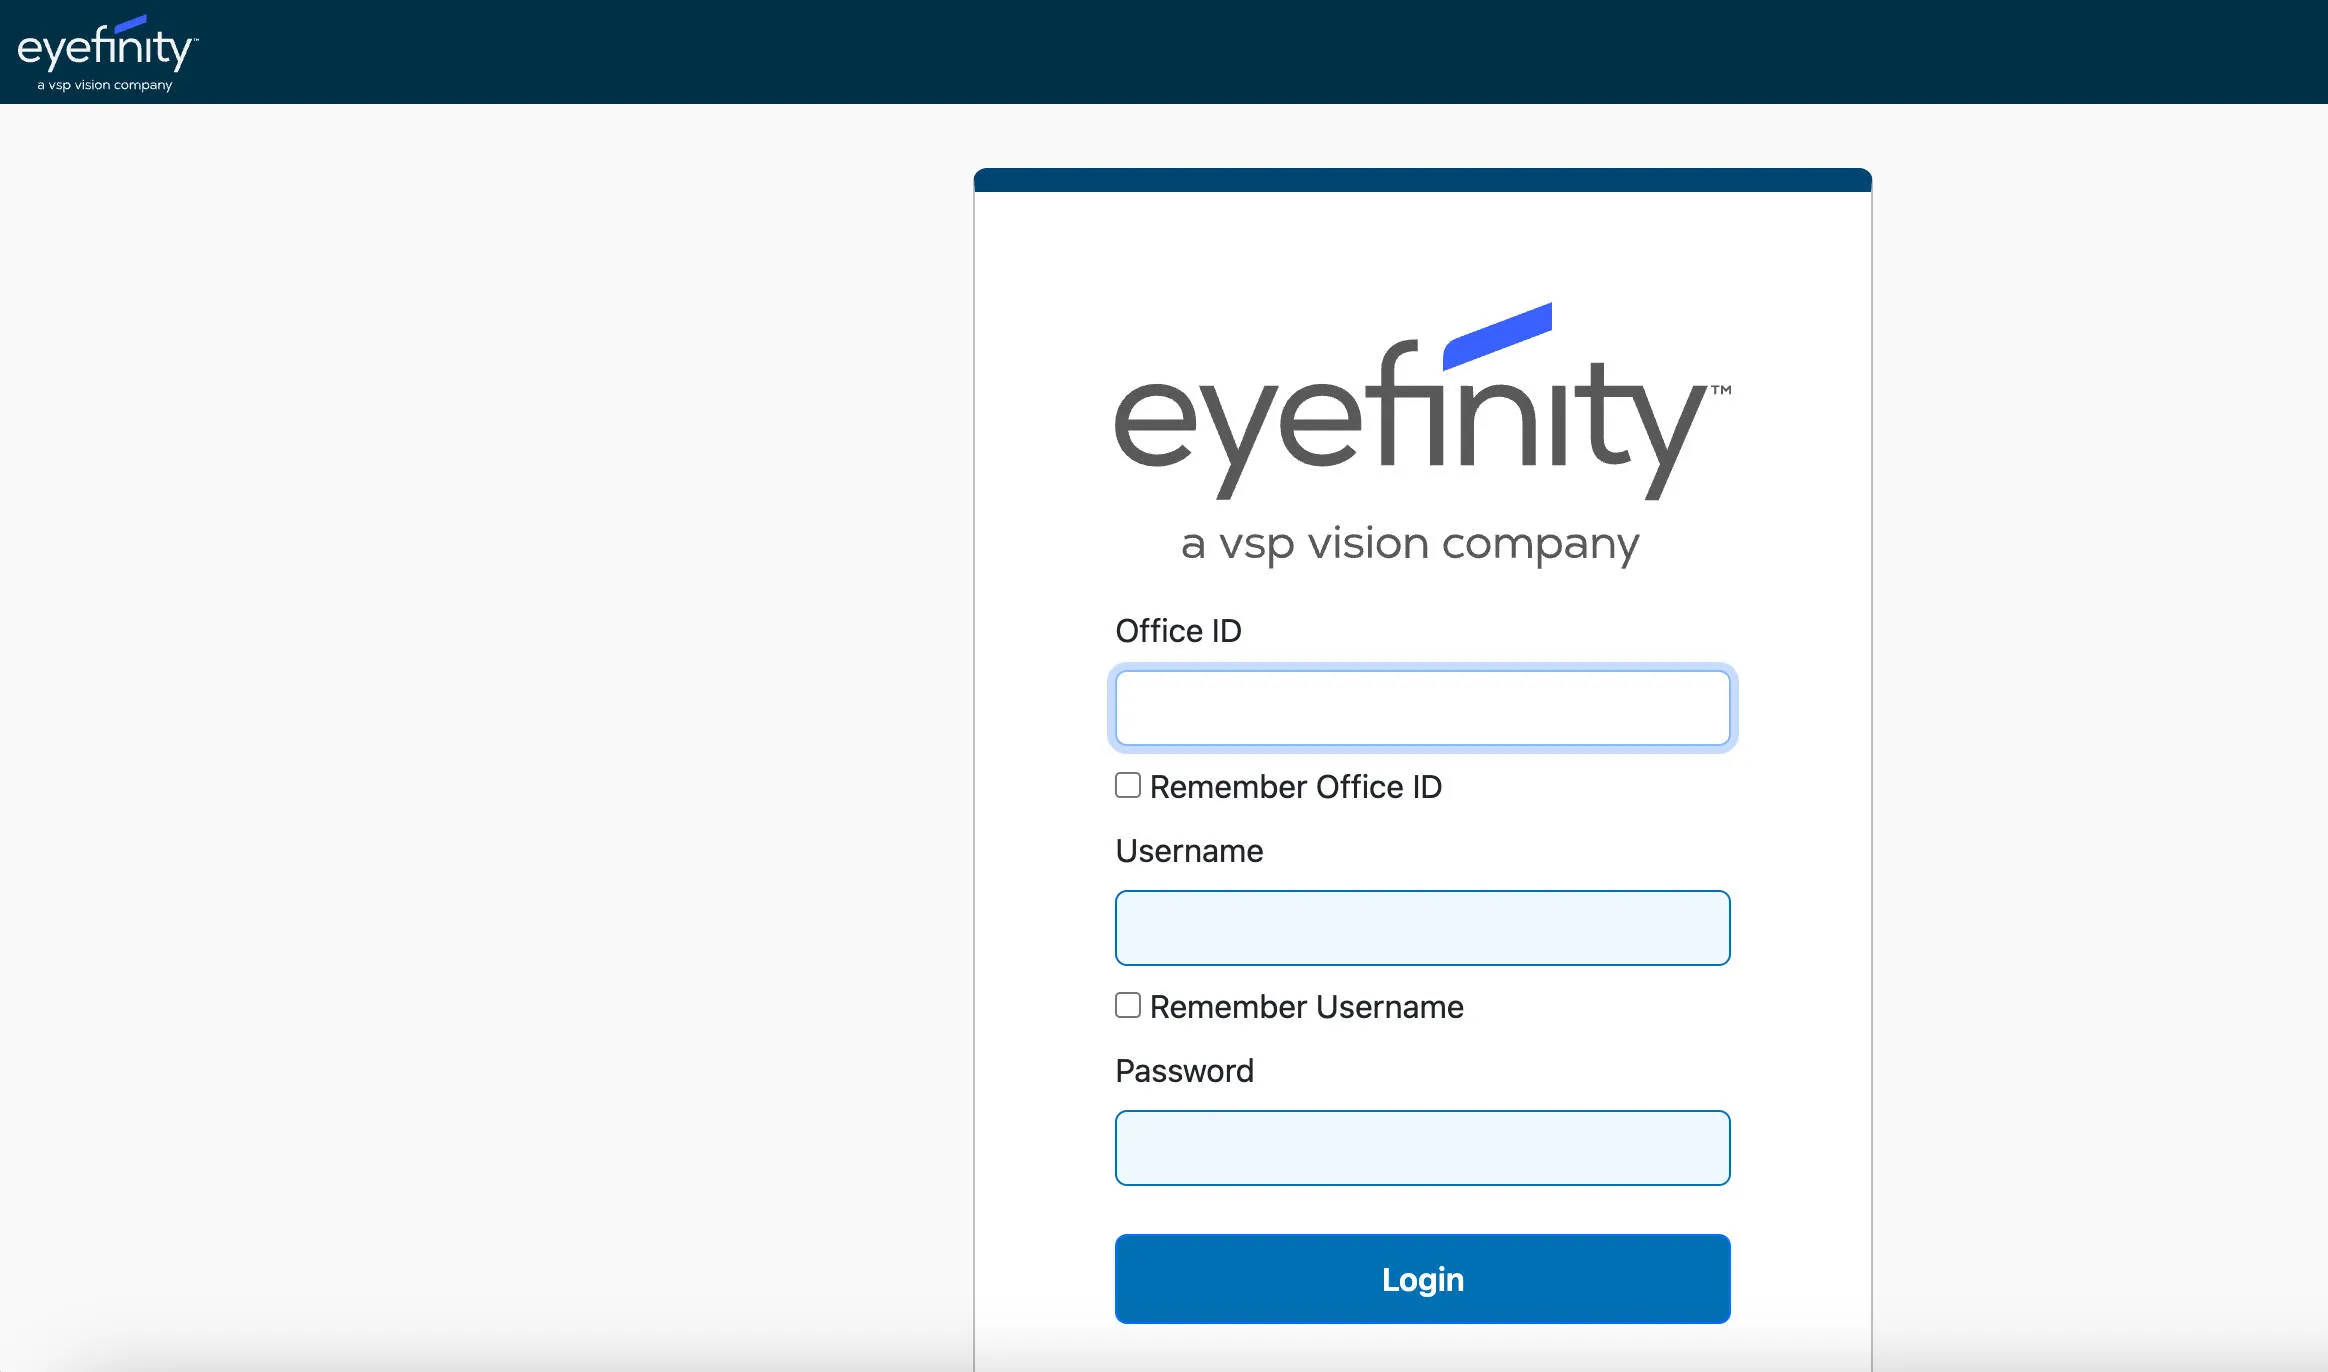
Enter your Eyefinity Encompass office ID, username, and password. Click Login to authenticate your account, and approve any required permissions for Apptoto to access your Calendar and Contacts.
-
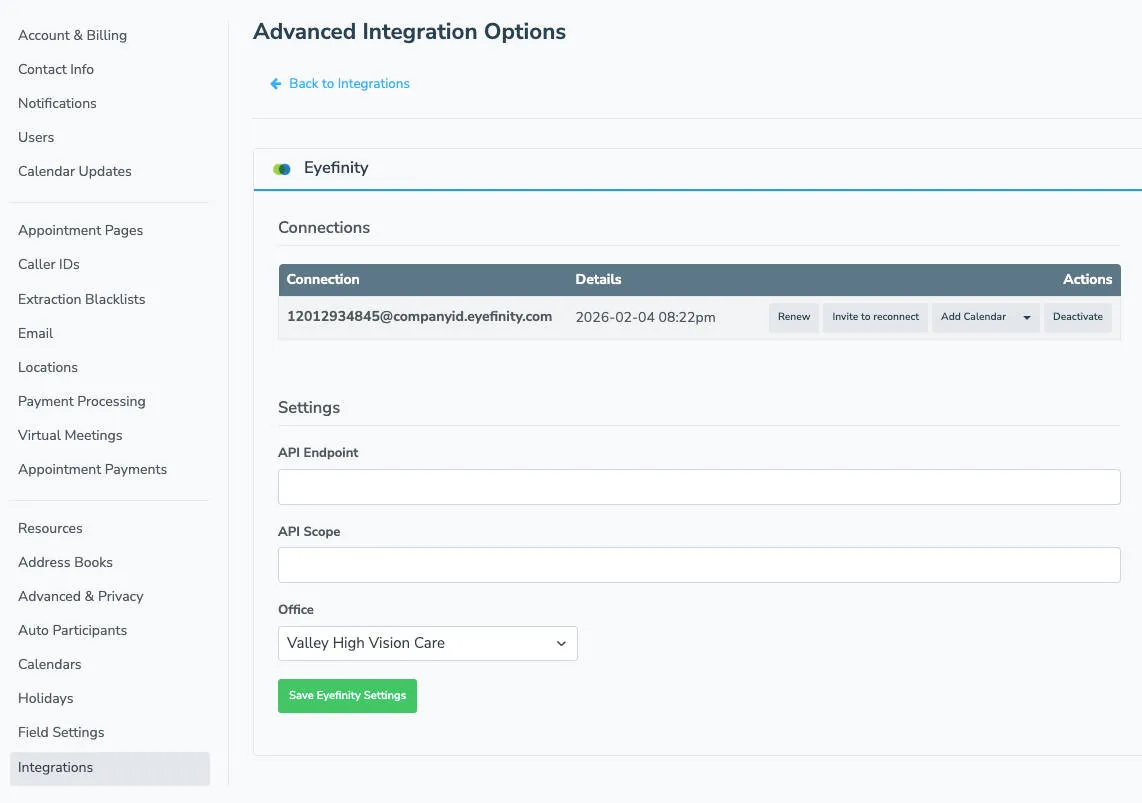
When successfully synced, your Eyefinity connection should look similar to this. Your office should be available/selectable in the Office field near the bottom of the Eyefinity integration tab. Click Save Eyefinity Settings.
-
On the same tab, click Add Calendar to sync any Eyefinity appointment calendars you want added to Apptoto. You can also click the downward arrow to sync Address Books with your patients and their contact information.
-
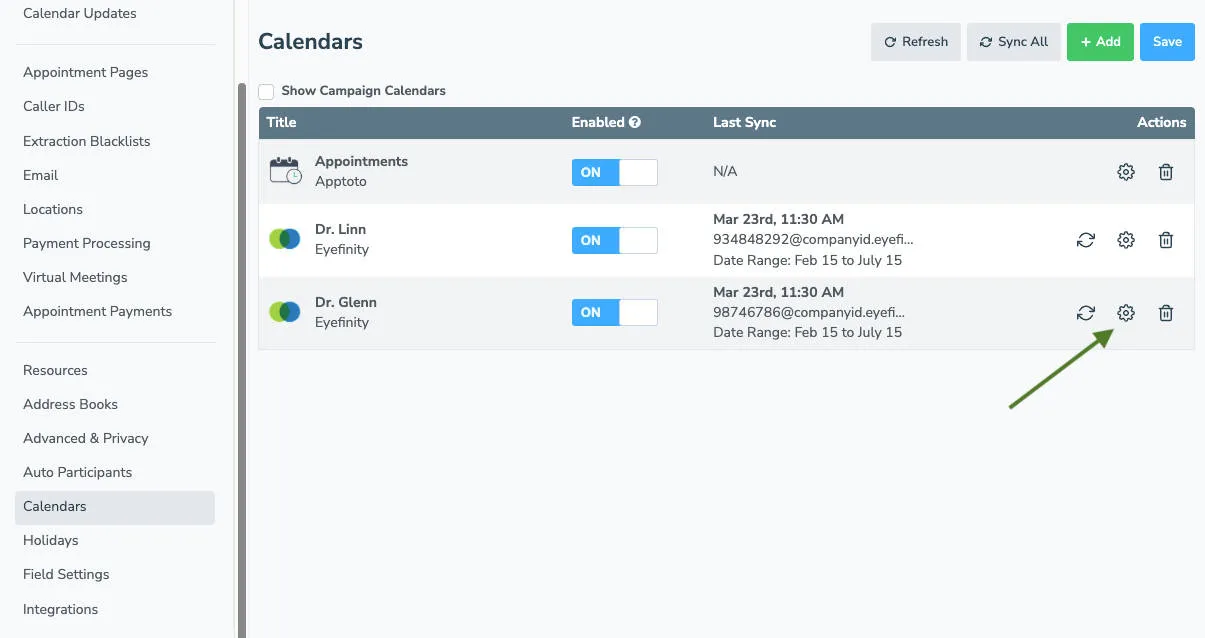
Navigate to Settings > Calendars to adjust settings for your Eyefinity Encompass calendar, including your calendar name, appointment availability, time zone, and optional notification settings (which control who receives booking notices, reminder statuses, etc.). Click the gear icon to the right of the calendar name you want to edit.
-
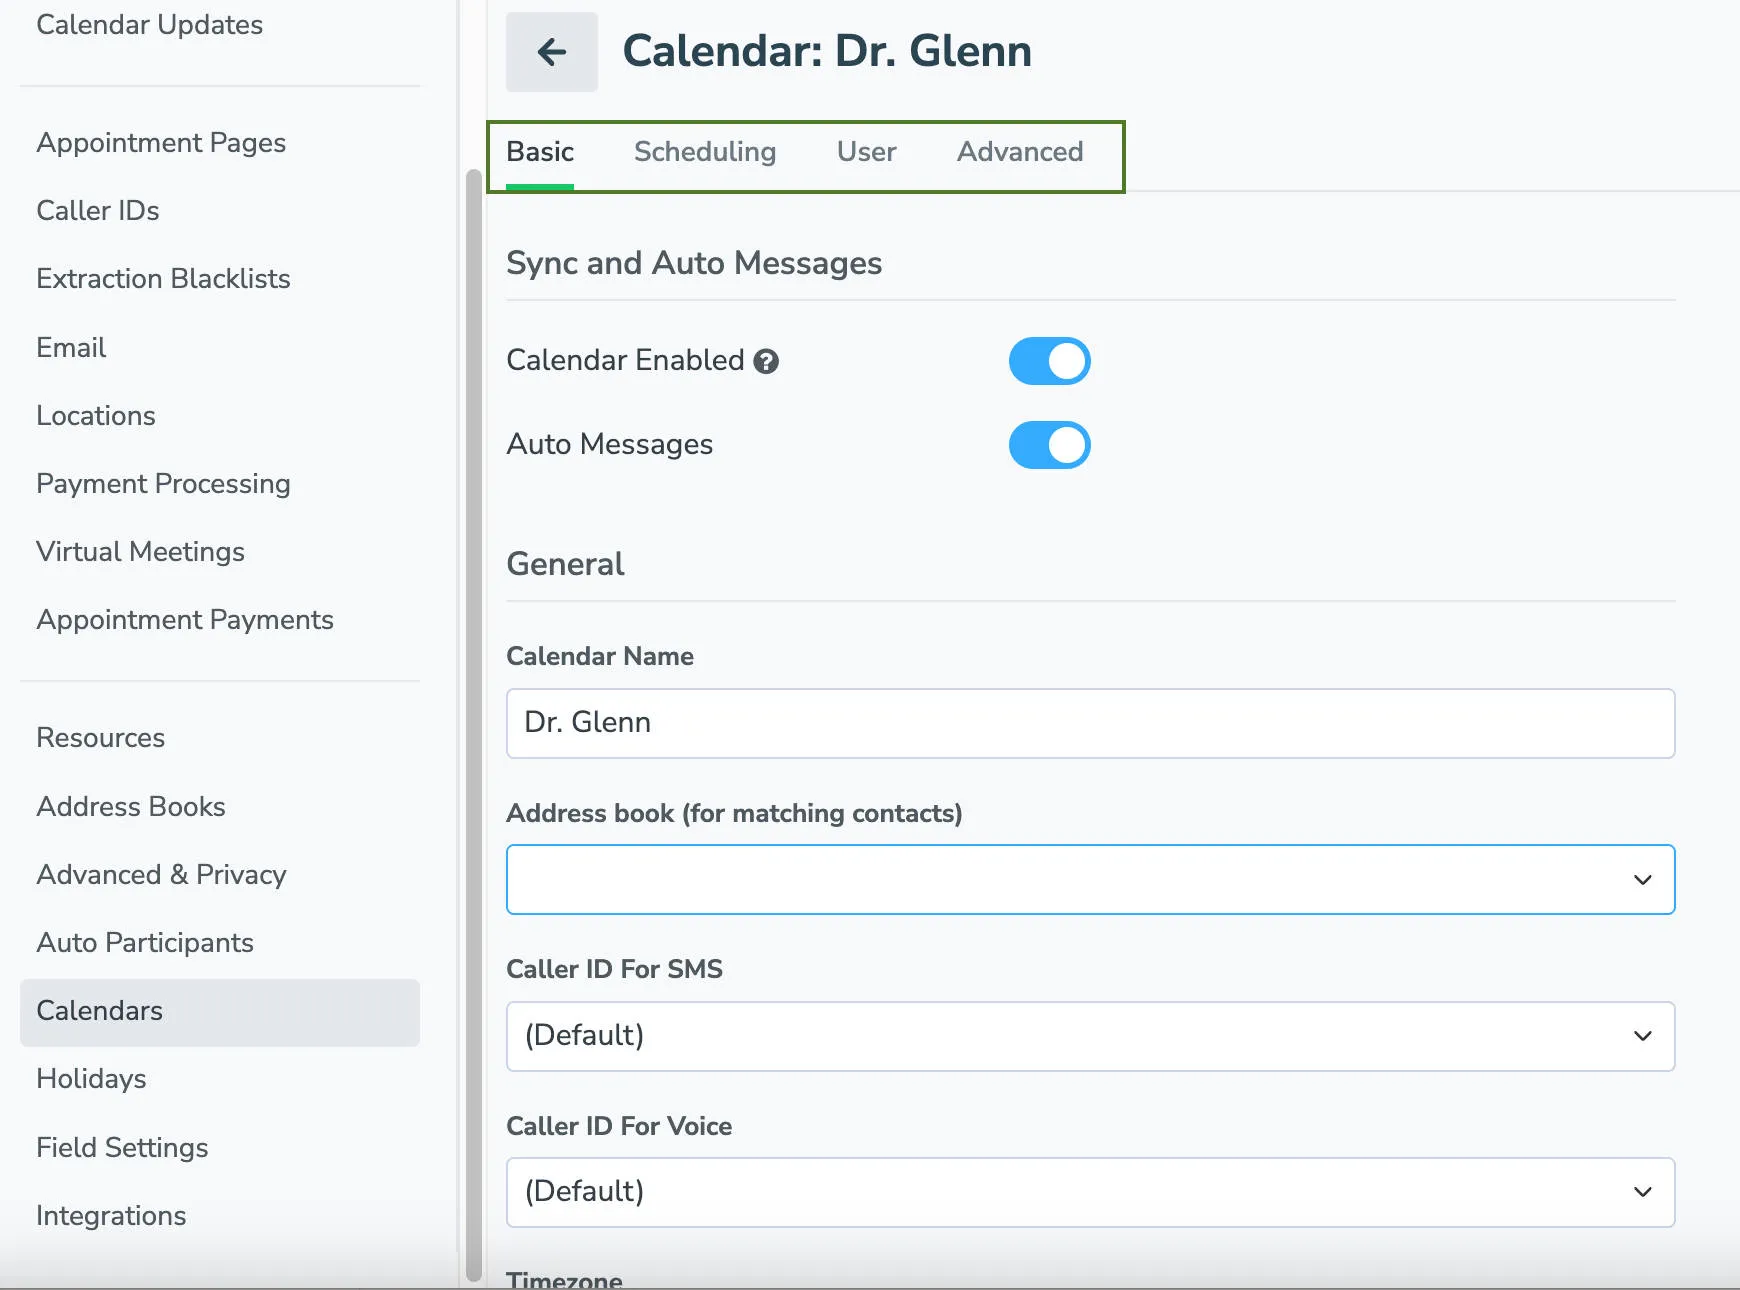
Make any settings adjustments you’d like to your calendar via the Basic, Scheduling, User, and Advanced tabs. Click Save to apply all your changes.
-
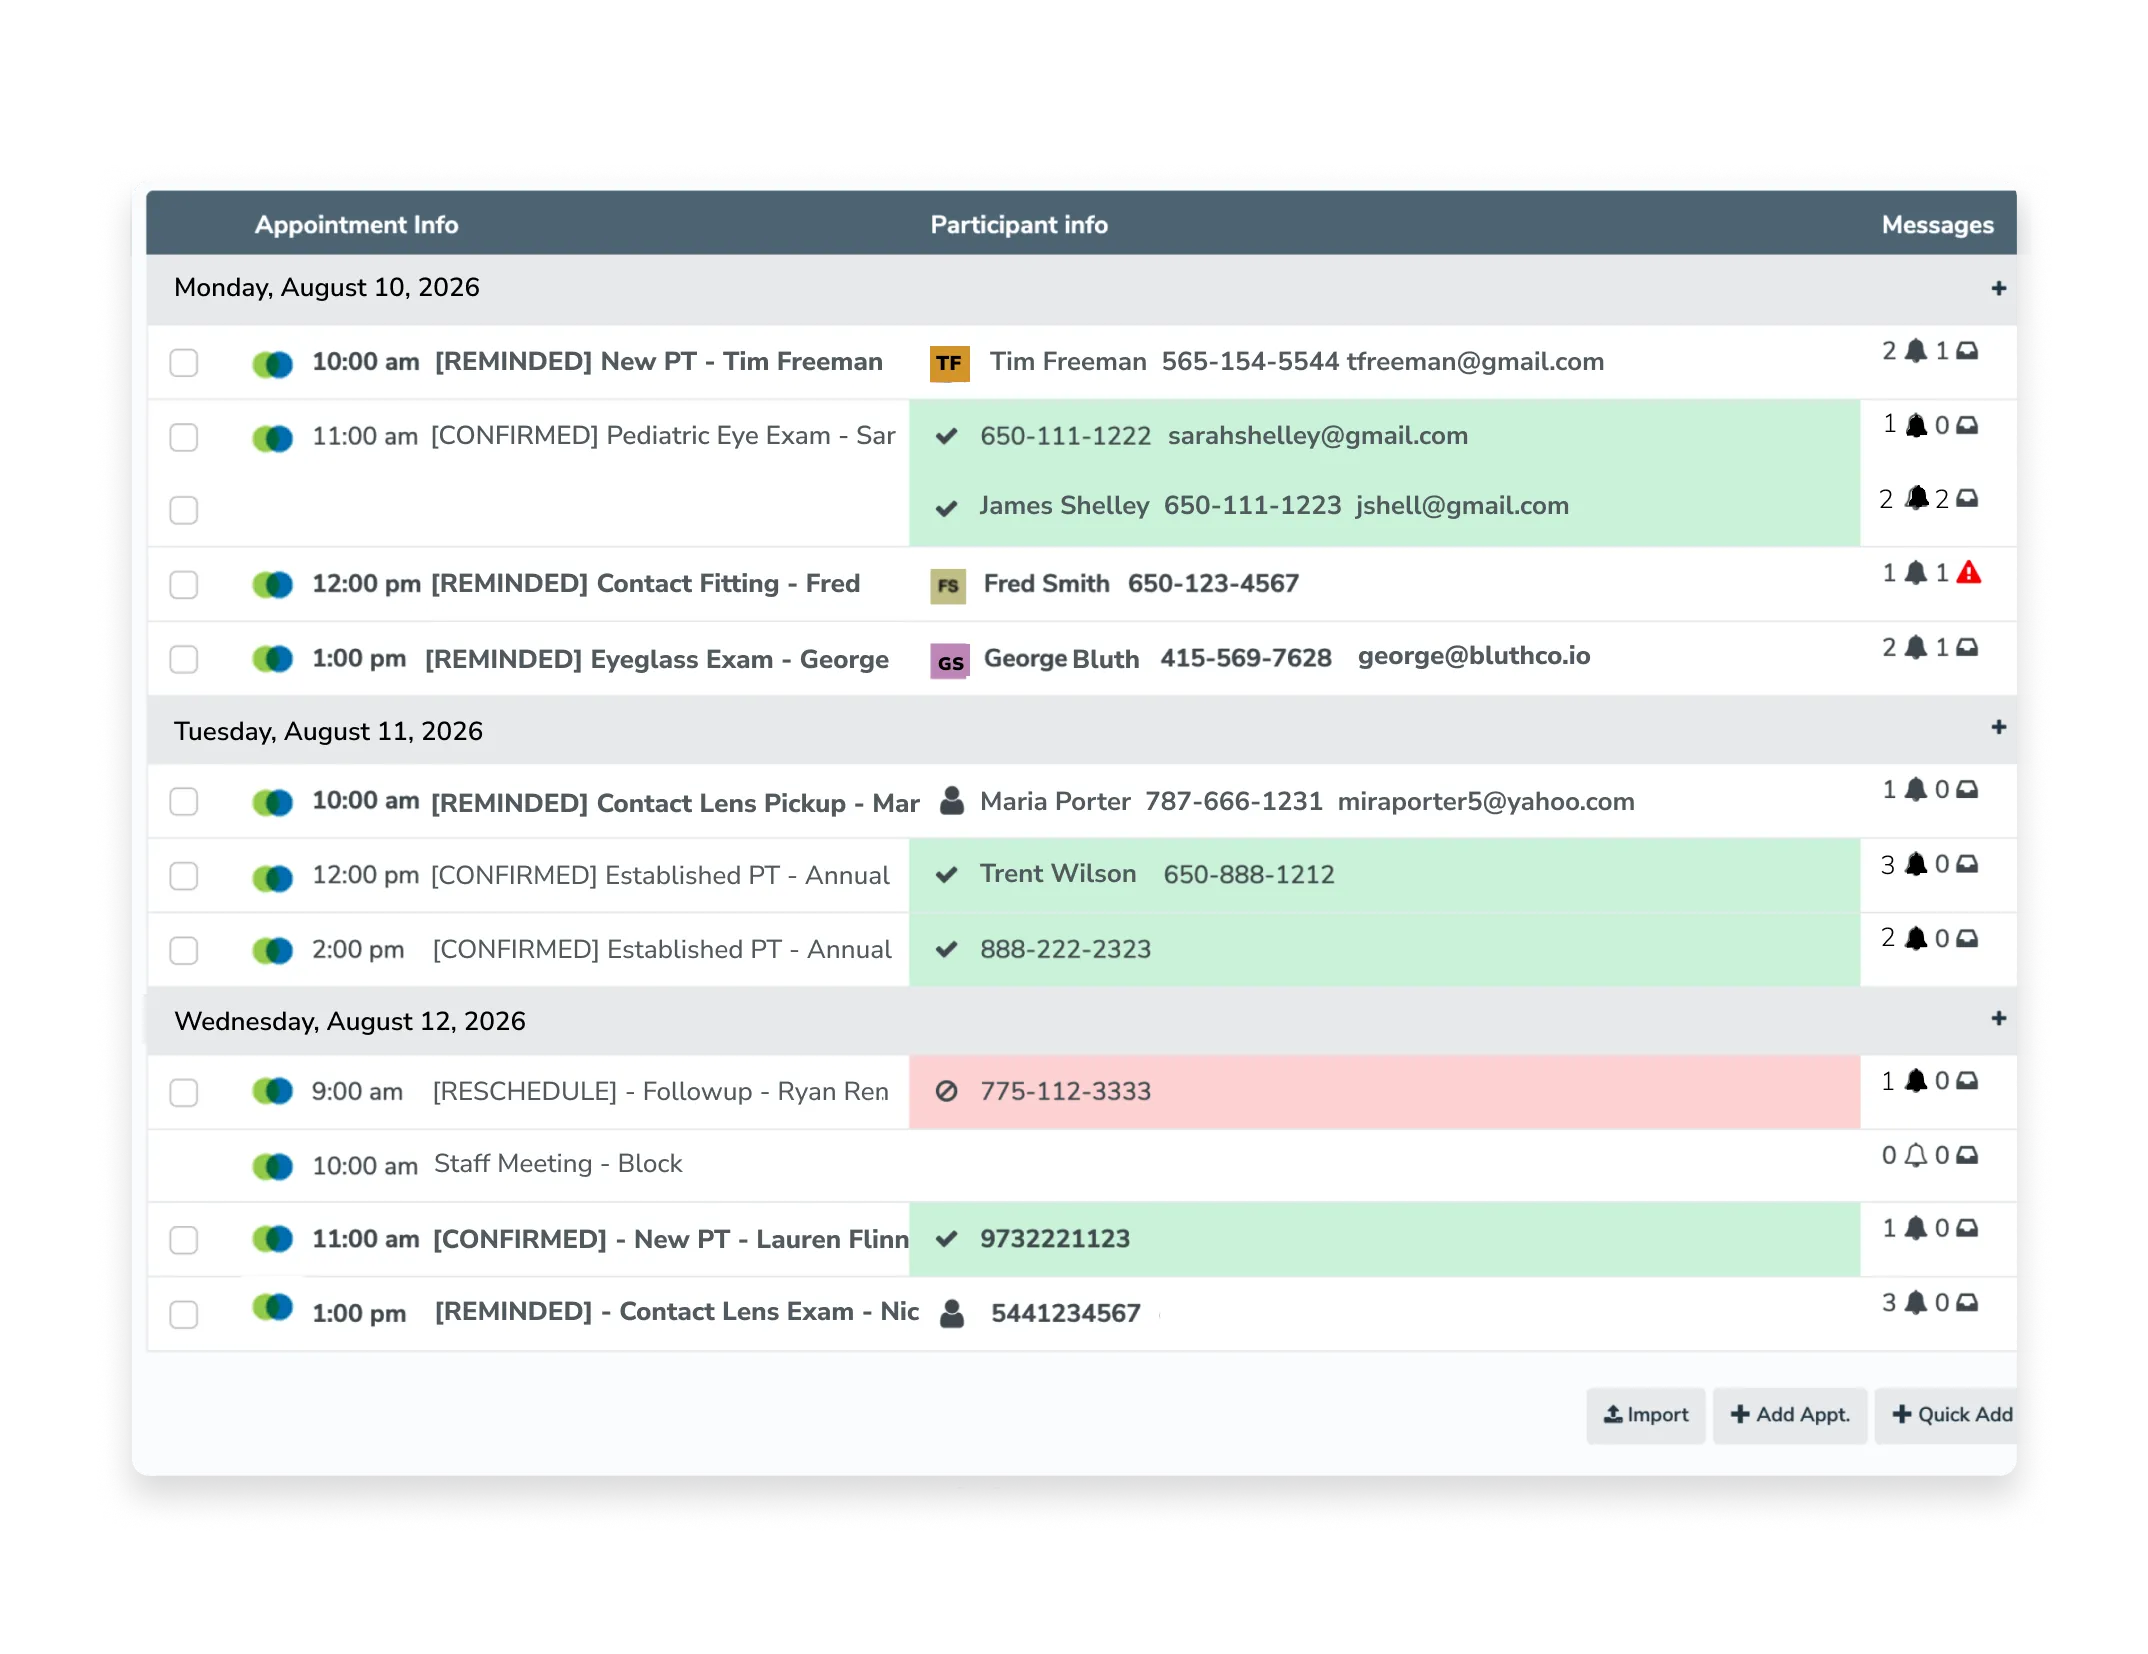
Once complete, Apptoto will begin importing your Eyefinity Encompass appointments and associated patient contact details.
-
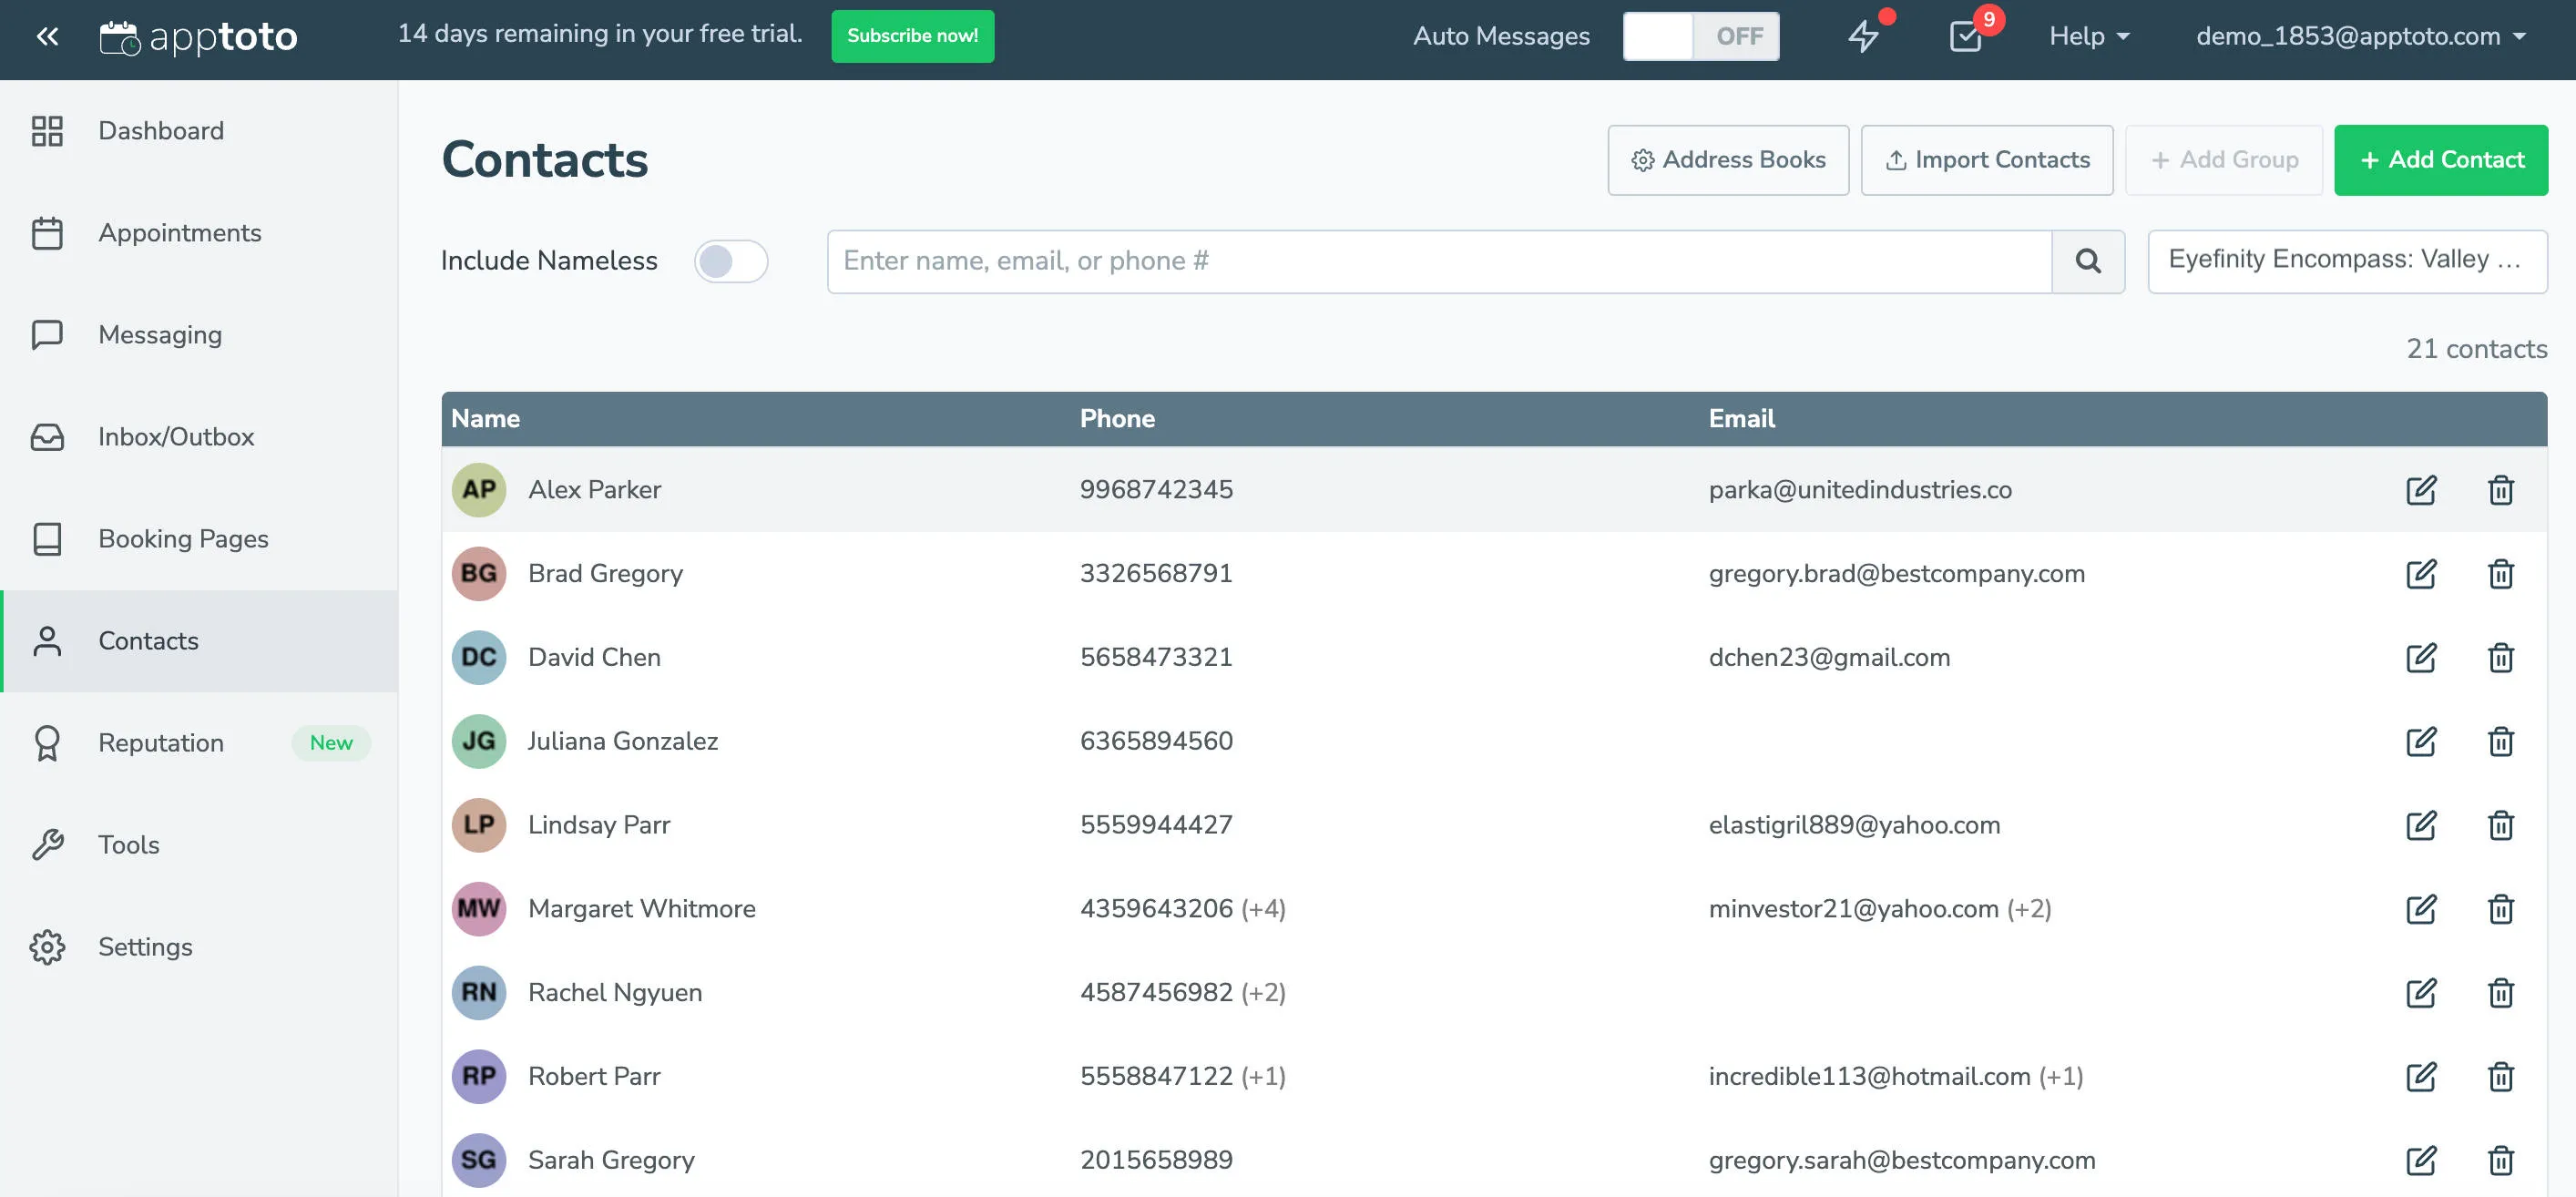
Your Eyefinity Encompass patient contact details will also automatically sync to the Contacts tab in Apptoto and link to their corresponding appointments.
-
To set up and turn on automated appointment messaging, navigate to Messages and select Appointment Auto Messages.
- By default, generic text, call, and email appointment reminders are set up to be sent to all your appointments one day before the appointment.
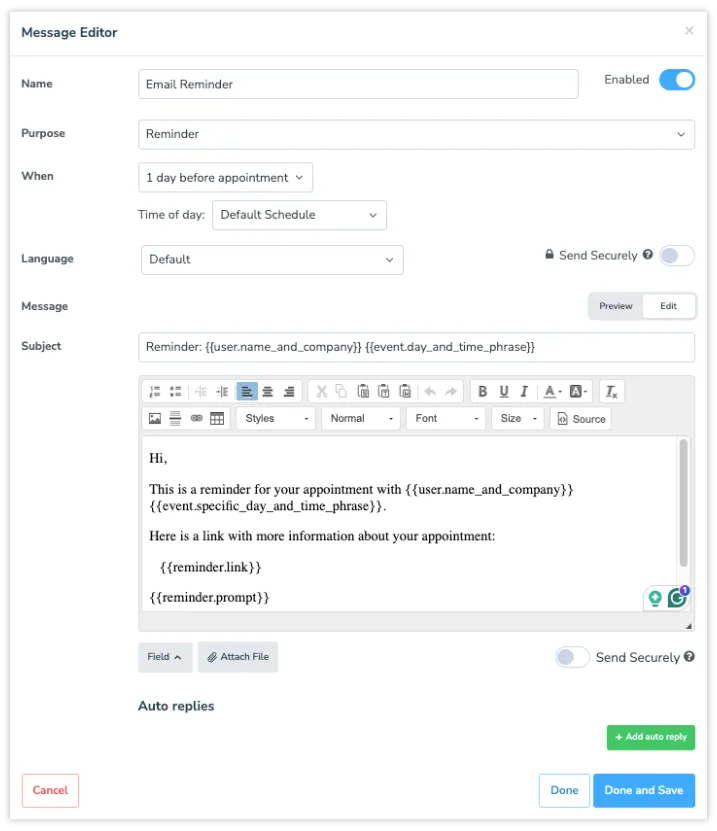
- You can edit existing messages, add new messaging rules (+ Add Rule), or add new message types (+ Add Message).
- Set the message type (reminder, confirmation, or follow-up), the timing (e.g., 24 hours before the appointment), and customize the message content using dynamic fields such as the patient’s name, date, and time.
-
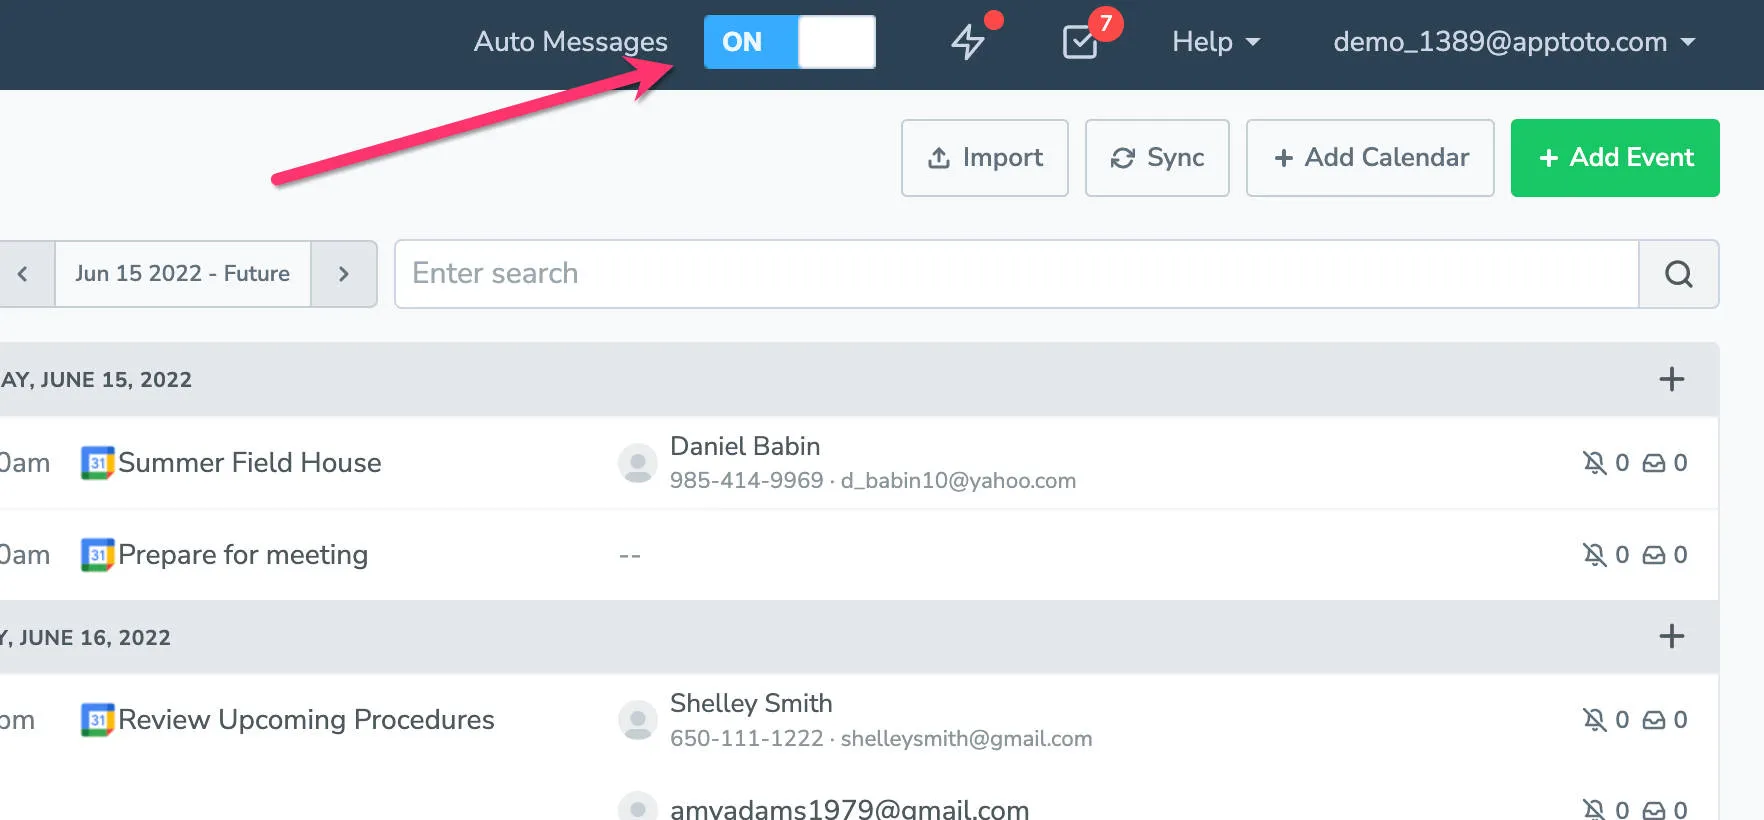
Once you’ve set up your patient messages to your preferences, navigate back to the Appointments tab and toggle Auto Messages on.
How the integration works
Section titled “How the integration works”The Eyefinity Encompass integration is a two-way sync between Eyefinity Encompass and Apptoto.
What syncs automatically from Eyefinity Encompass to Apptoto
Section titled “What syncs automatically from Eyefinity Encompass to Apptoto”- Appointments from selected Eyefinity Encompass calendars
- Associated patient contact records and details
- Patient contact information linked to each appointment
What syncs automatically from Apptoto to Eyefinity Encompass
Section titled “What syncs automatically from Apptoto to Eyefinity Encompass”- Patient confirmation status is updated in the event title once the patient confirms, cancels, or requests a reschedule
How Apptoto uses this synced information
Section titled “How Apptoto uses this synced information”- Send automated reminders
- Send follow-up messages
- Launch messaging campaigns
- Send review requests
How Apptoto uses your appointments and contacts to send patients messages
Section titled “How Apptoto uses your appointments and contacts to send patients messages”When an appointment syncs into Apptoto, the system looks for contact information directly inside the event invite. Apptoto scans the:
- Appointment title
- Event description
- Location field
If it finds a name, phone number, or email address, it uses that information and the messaging rules you’ve set up to identify who should receive messages.
Apptoto compares that information against your existing contacts:
- If a matching contact already exists, Apptoto links the appointment to that contact and fills in any missing details.
- If no matching contact is found, Apptoto will use the extracted information to send messages using any valid contact details available.
This process happens automatically in the background, ensuring your patients receive appointment reminders and follow-ups without requiring manual data entry.
After syncing: what you can do next
Section titled “After syncing: what you can do next”Once your Eyefinity Encompass appointments and contacts sync into Apptoto, you can:
- Configure more appointment reminders and follow-ups to your company’s unique needs
- Set up and register your unique texting/voice call phone number
- Send bulk campaigns to patients
- Launch review request sequences
All messaging can be customized to align with your business processes and compliance requirements.
Eyefinity & Apptoto: HIPAA compliant appointment messaging
Section titled “Eyefinity & Apptoto: HIPAA compliant appointment messaging”If your practice requires HIPAA-compliant messaging, Apptoto offers a HIPAA-compliant environment that includes:
- SSL encryption and HITRUST-certified account hosting (via AWS)
- Data encryption for all sensitive data at rest and in transit
- Server-side logging disabled
- Accounts disabled after 6 failed login attempts
- A signed Business Associate Agreement (BAA)
- HIPAA-trained Apptoto staff
Getting started
Section titled “Getting started”You’re welcome to explore Apptoto during your 14-day free trial, but the trial environment is not HIPAA-compliant by default. During the trial, we recommend sending only test messages or messages approved by your compliance department for use outside a HIPAA-compliant system.
If you’d like to evaluate Apptoto in a fully HIPAA-compliant environment, we recommend signing up for a paid plan first. Every paid plan includes a 30-day money-back guarantee, so you can connect your real patient data, test the full integration, and confirm everything meets your needs with zero risk.
To start the HIPAA setup process, contact us at support@apptoto.com. We’ll migrate your account to our HIPAA-compliant server and execute a BAA with your organization.
Still need help?
Section titled “Still need help?”If authentication fails or calendars do not appear:
- Confirm your Eyefinity Encompass credentials are correct.
- Ensure your Eyefinity Encompass user has calendar access permissions.
- Contact support@apptoto.com for assistance.