Estimated reading time: 7 minutes
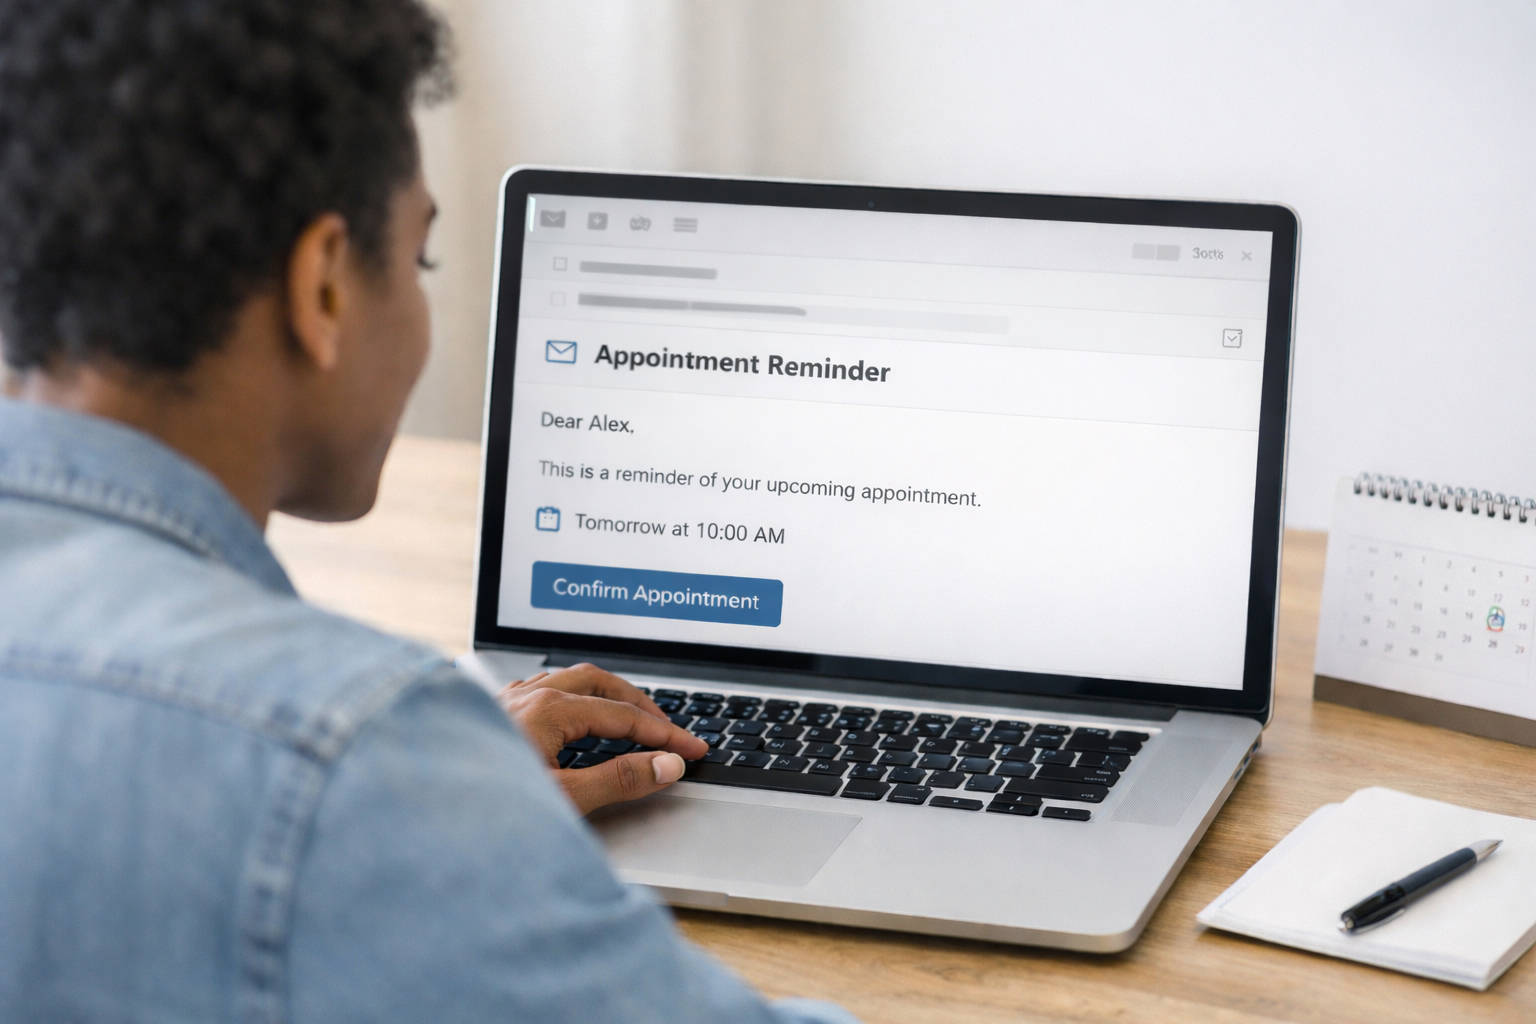
It goes without saying that appointment reminders should say the right time, or else you risk hurting your business as opposed to helping. Sometimes, getting the time right can actually be tricky. This typically applies if you hold appointments with clients in multiple time zones.
This blog post will outline the steps you should take if your business holds appointments with clients in different time zones.
Step 1) Include the time zone in your messages
The first step is to add the time zone to your messages. This ensures that even if the time that is announced to your client is not in their time zone, they might notice the time zone is different and respond appropriately.
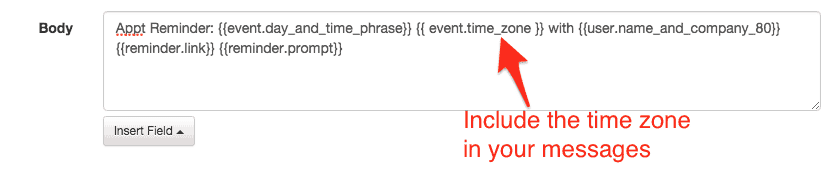
You can do this by including the {{ event.time_zone }} field in your Apptoto messages.
We recommend you add the time zone immediately after the time in the body of the SMS and the call messages. In Apptoto, you can do this by clicking on the “Auto Messages” tab and then editing your SMS and call messages. Here is how the message should look after you’ve added the time zone field.
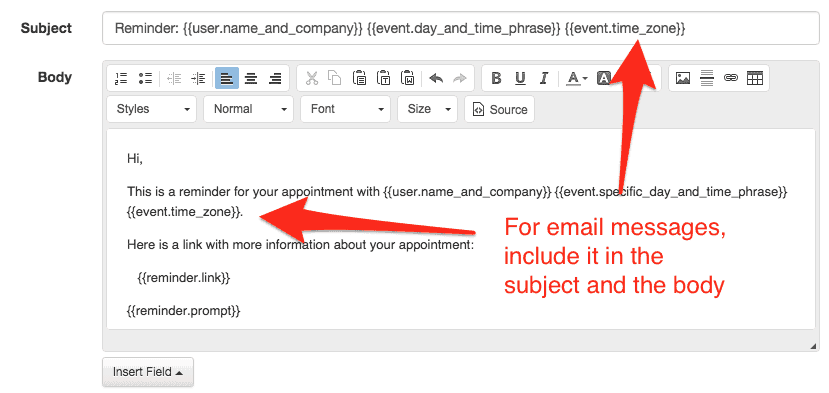
For automatic email messages, you will want to include the time zone in the subject and the body of the message like so:
Step 2) Change the Appointment Page to use “Browser Time”
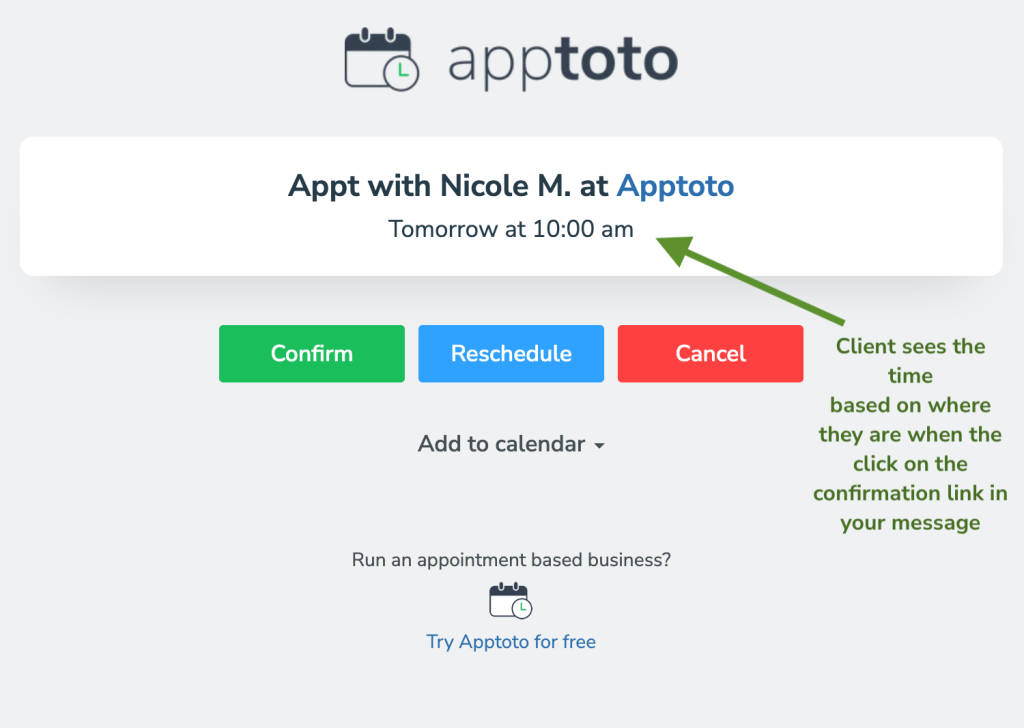
The “Appointment Page” is the page that clients see when they click on the link that Apptoto includes in your SMS or Email message (via the {{ reminder.link }} field). You can customize the time that appears on that page on the “Settings” > “Appointment Page” tab in Apptoto.
You can take advantage of the fact that the browser knows what time zone the client is currently in by using {{ event.start_time | browser_date_and_time }} or {{event.start_time | browser_time }} in the appointment page settings.
Here is what the appointment page then looks like for the client when they click on the link:
Step 3) Check your time zone settings in Apptoto for your calendar
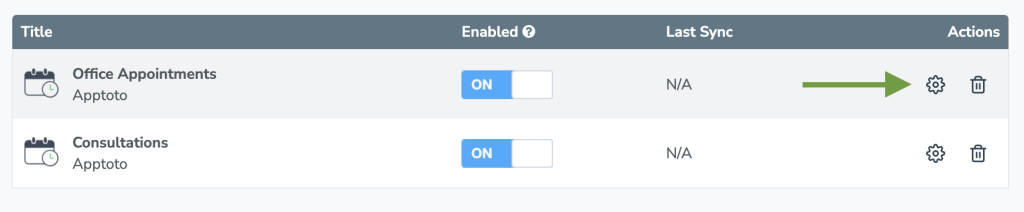
Each calendar in your Apptoto account can be set to use a different default time zone, so it’s important to check that the time zone settings are correct for each calendar. Typically, they are correct by default, but if you’re having trouble with the time showing up properly in Apptoto, then you will want to check these settings.
You can find the calendar settings on the “Settings” > “Calendars” tab. Once on that tab, click the “Gear” icon to access the settings for each calendar.
Then, check the calendar’s settings to make sure the time zone is set properly.
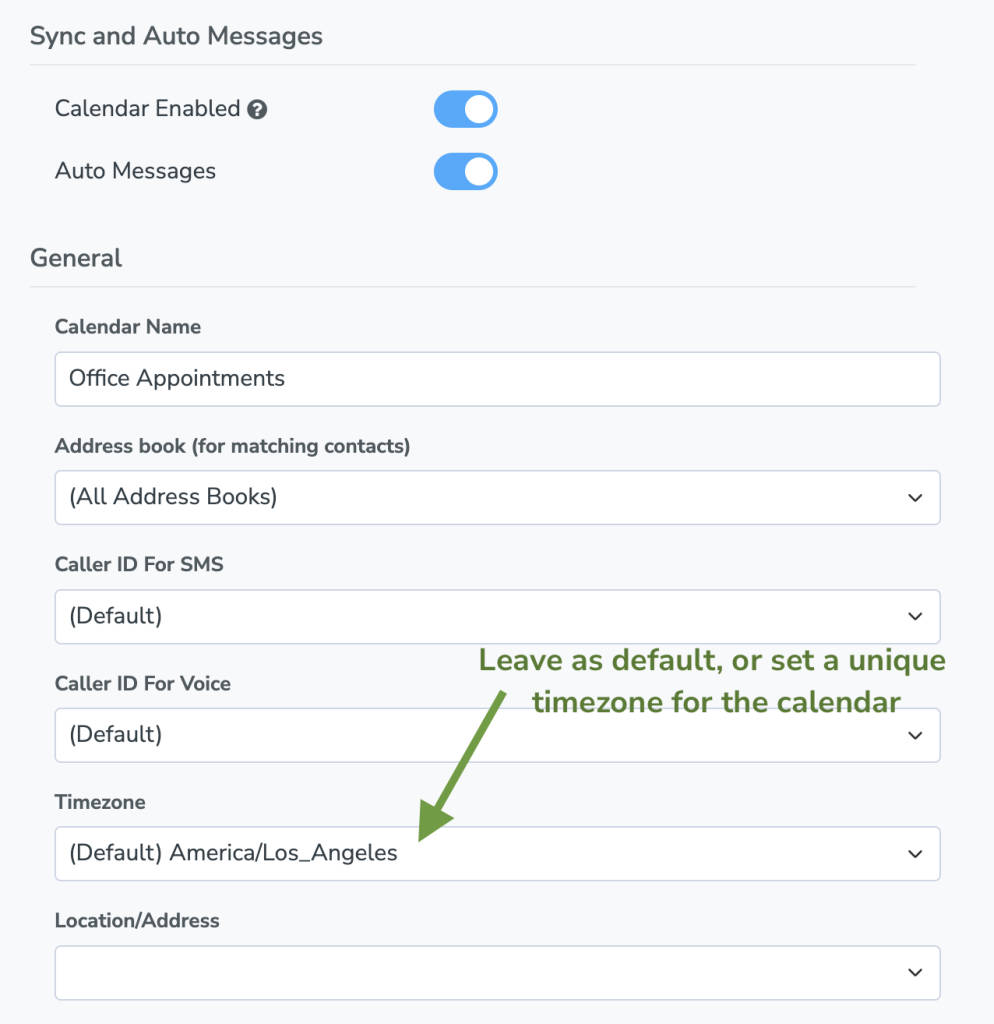
Be sure to click “Save Changes” if you make any changes.
Step 4) Tell Apptoto which time zone your client is in
If your client’s time zone is different than your time zone, then you need to tell Apptoto which time zone your client is in. There are four ways you can do that:
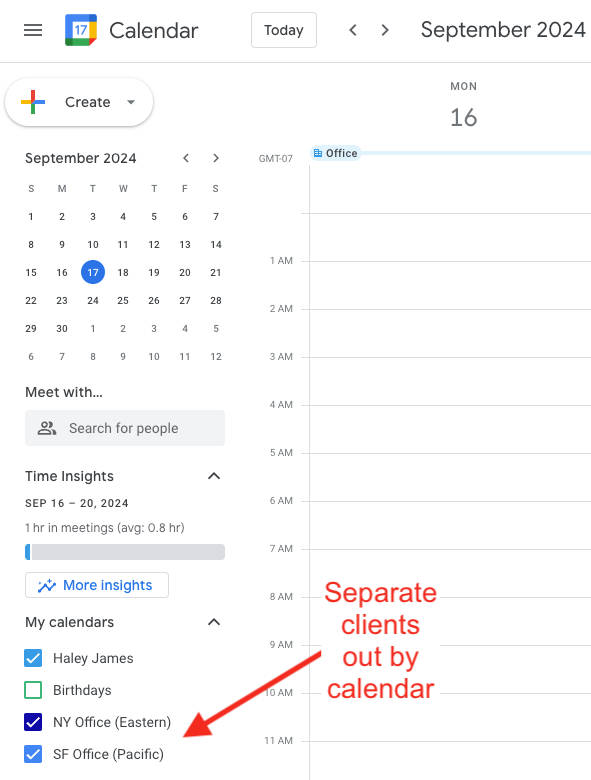
4.a) Segment your client’s time zones by calendar
In other words, have one calendar for each time zone that you have clients in and put the appointments on the correct calendar when you schedule them. While this sounds strange, sometimes it’s the easiest approach. Especially if you already have different calendars for each sales region or for each regional office.
4.b) Or, change the event’s time zone
Some of the calendaring systems that Apptoto integrates with (e.g. Google, Office 365, and Outlook) allow you to specify the time zone for each event. For example, in Google, you can change the time zone for an event by clicking “Time zone” to the right of the time on the “Edit Event” screen. Here is a screenshot:

If the event’s time zone is different than the time zone of the calendar, then Apptoto shows a dotted line under the time in Apptoto. If you hover over the time, Apptoto will tell you what time the appointment is for you and your client.

4.c) Or, include the time zone or zip code in the event’s body or content
You can set the time zone by prefacing the time zone with “Time zone:” in the body of the appointment.
For example, you can put the following in the body of the appointment, and Apptoto will use Eastern time when sending the message.
time zone: EDT
This works great if you’re using a system like YouCanBook.me or Acuity Scheduling to book your appointments. Those systems can be configured to add the client’s detected time zone into the body of the appointment.
Apptoto will recognize all standard time zone names and abbreviations.
Alternatively, you can put the zip code in the appointment (US Only). For example:
zip: 10001
NOTE: Be sure to turn on the “Use time zone found in event body” option if you want to use this approach.

4.d) By setting your contact’s zip code (US Only)
Lastly, if you’re using Apptoto’s contact matching feature, then Apptoto can detect the client’s time zone by using the zip code listed in the contact record.
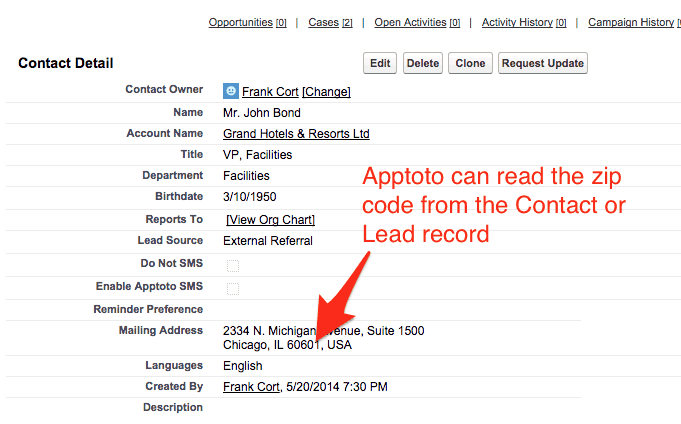
Our Salesforce users love this approach because the contact or lead record in Salesforce typically has the zip code properly recorded.
You can also set the zip code for each contact in Apptoto on the “Contacts” tab.
NOTE: Be sure to turn on the “Use time zone based on contact zip code (US Only)” feature if you want to use this approach. To enable this setting navigate to “Settings” > “Contact Info” > “Timezone” > “Client Timezone” section.

—
Founder